One Step at a Time

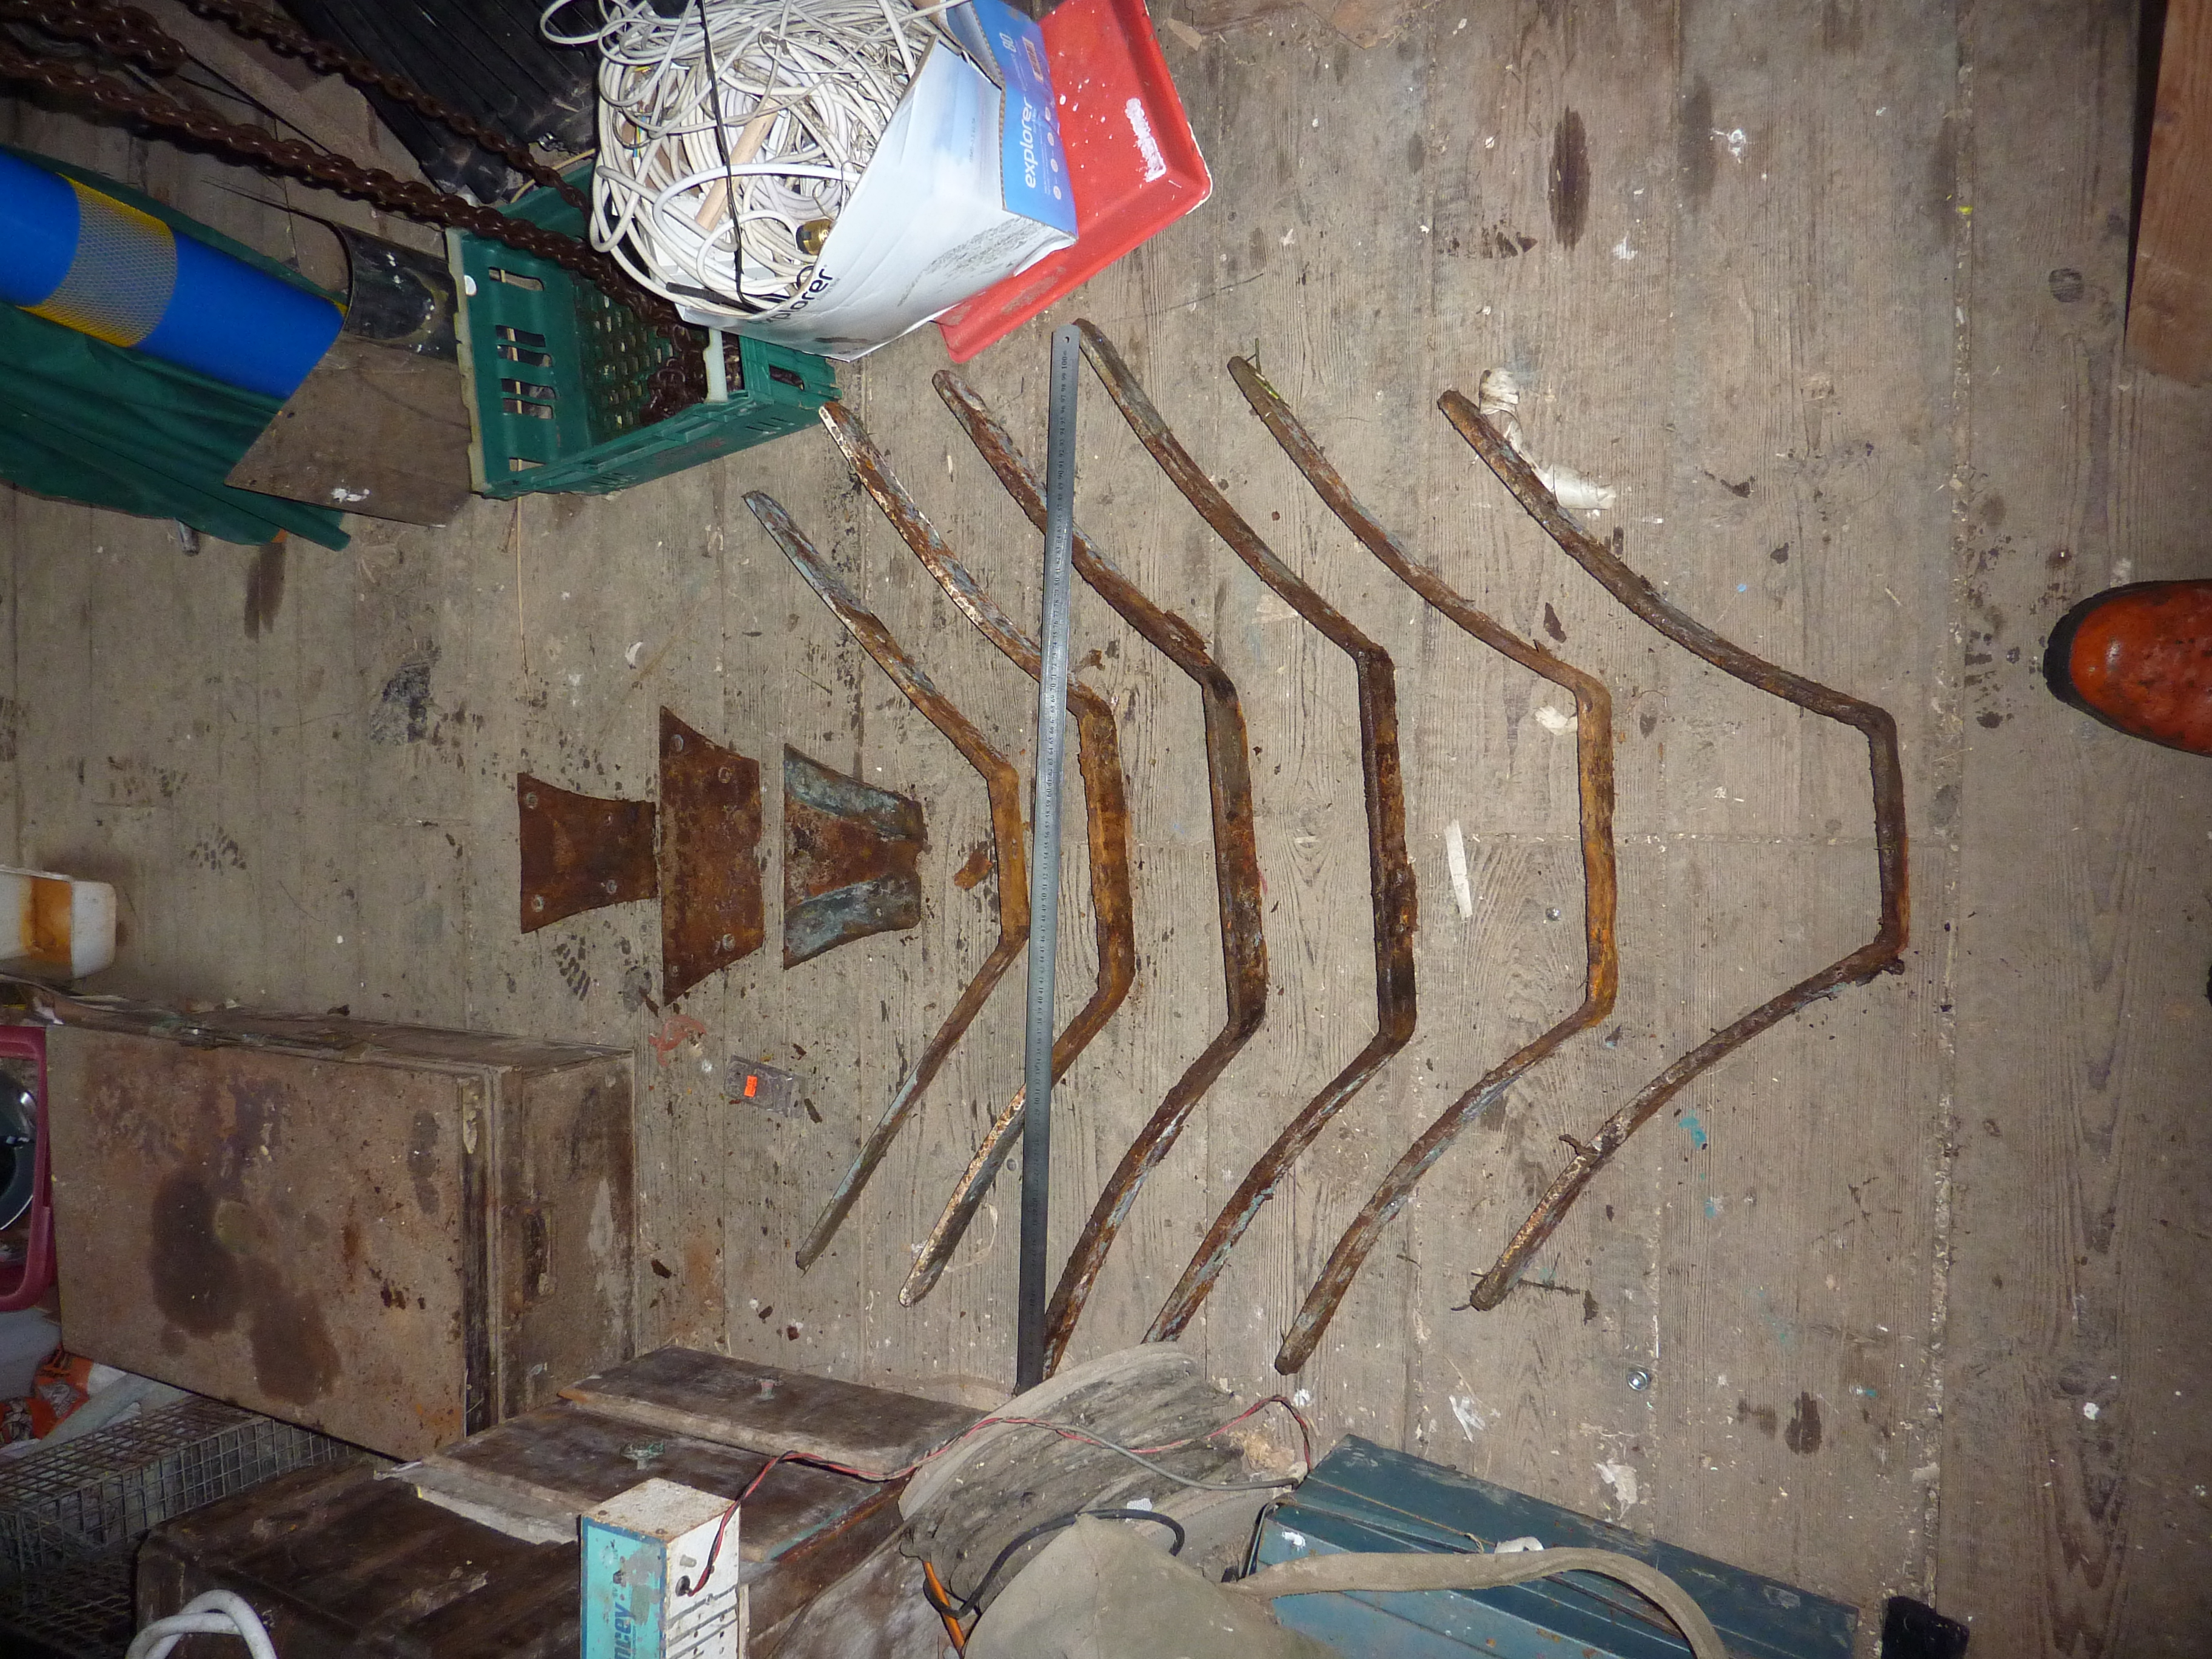
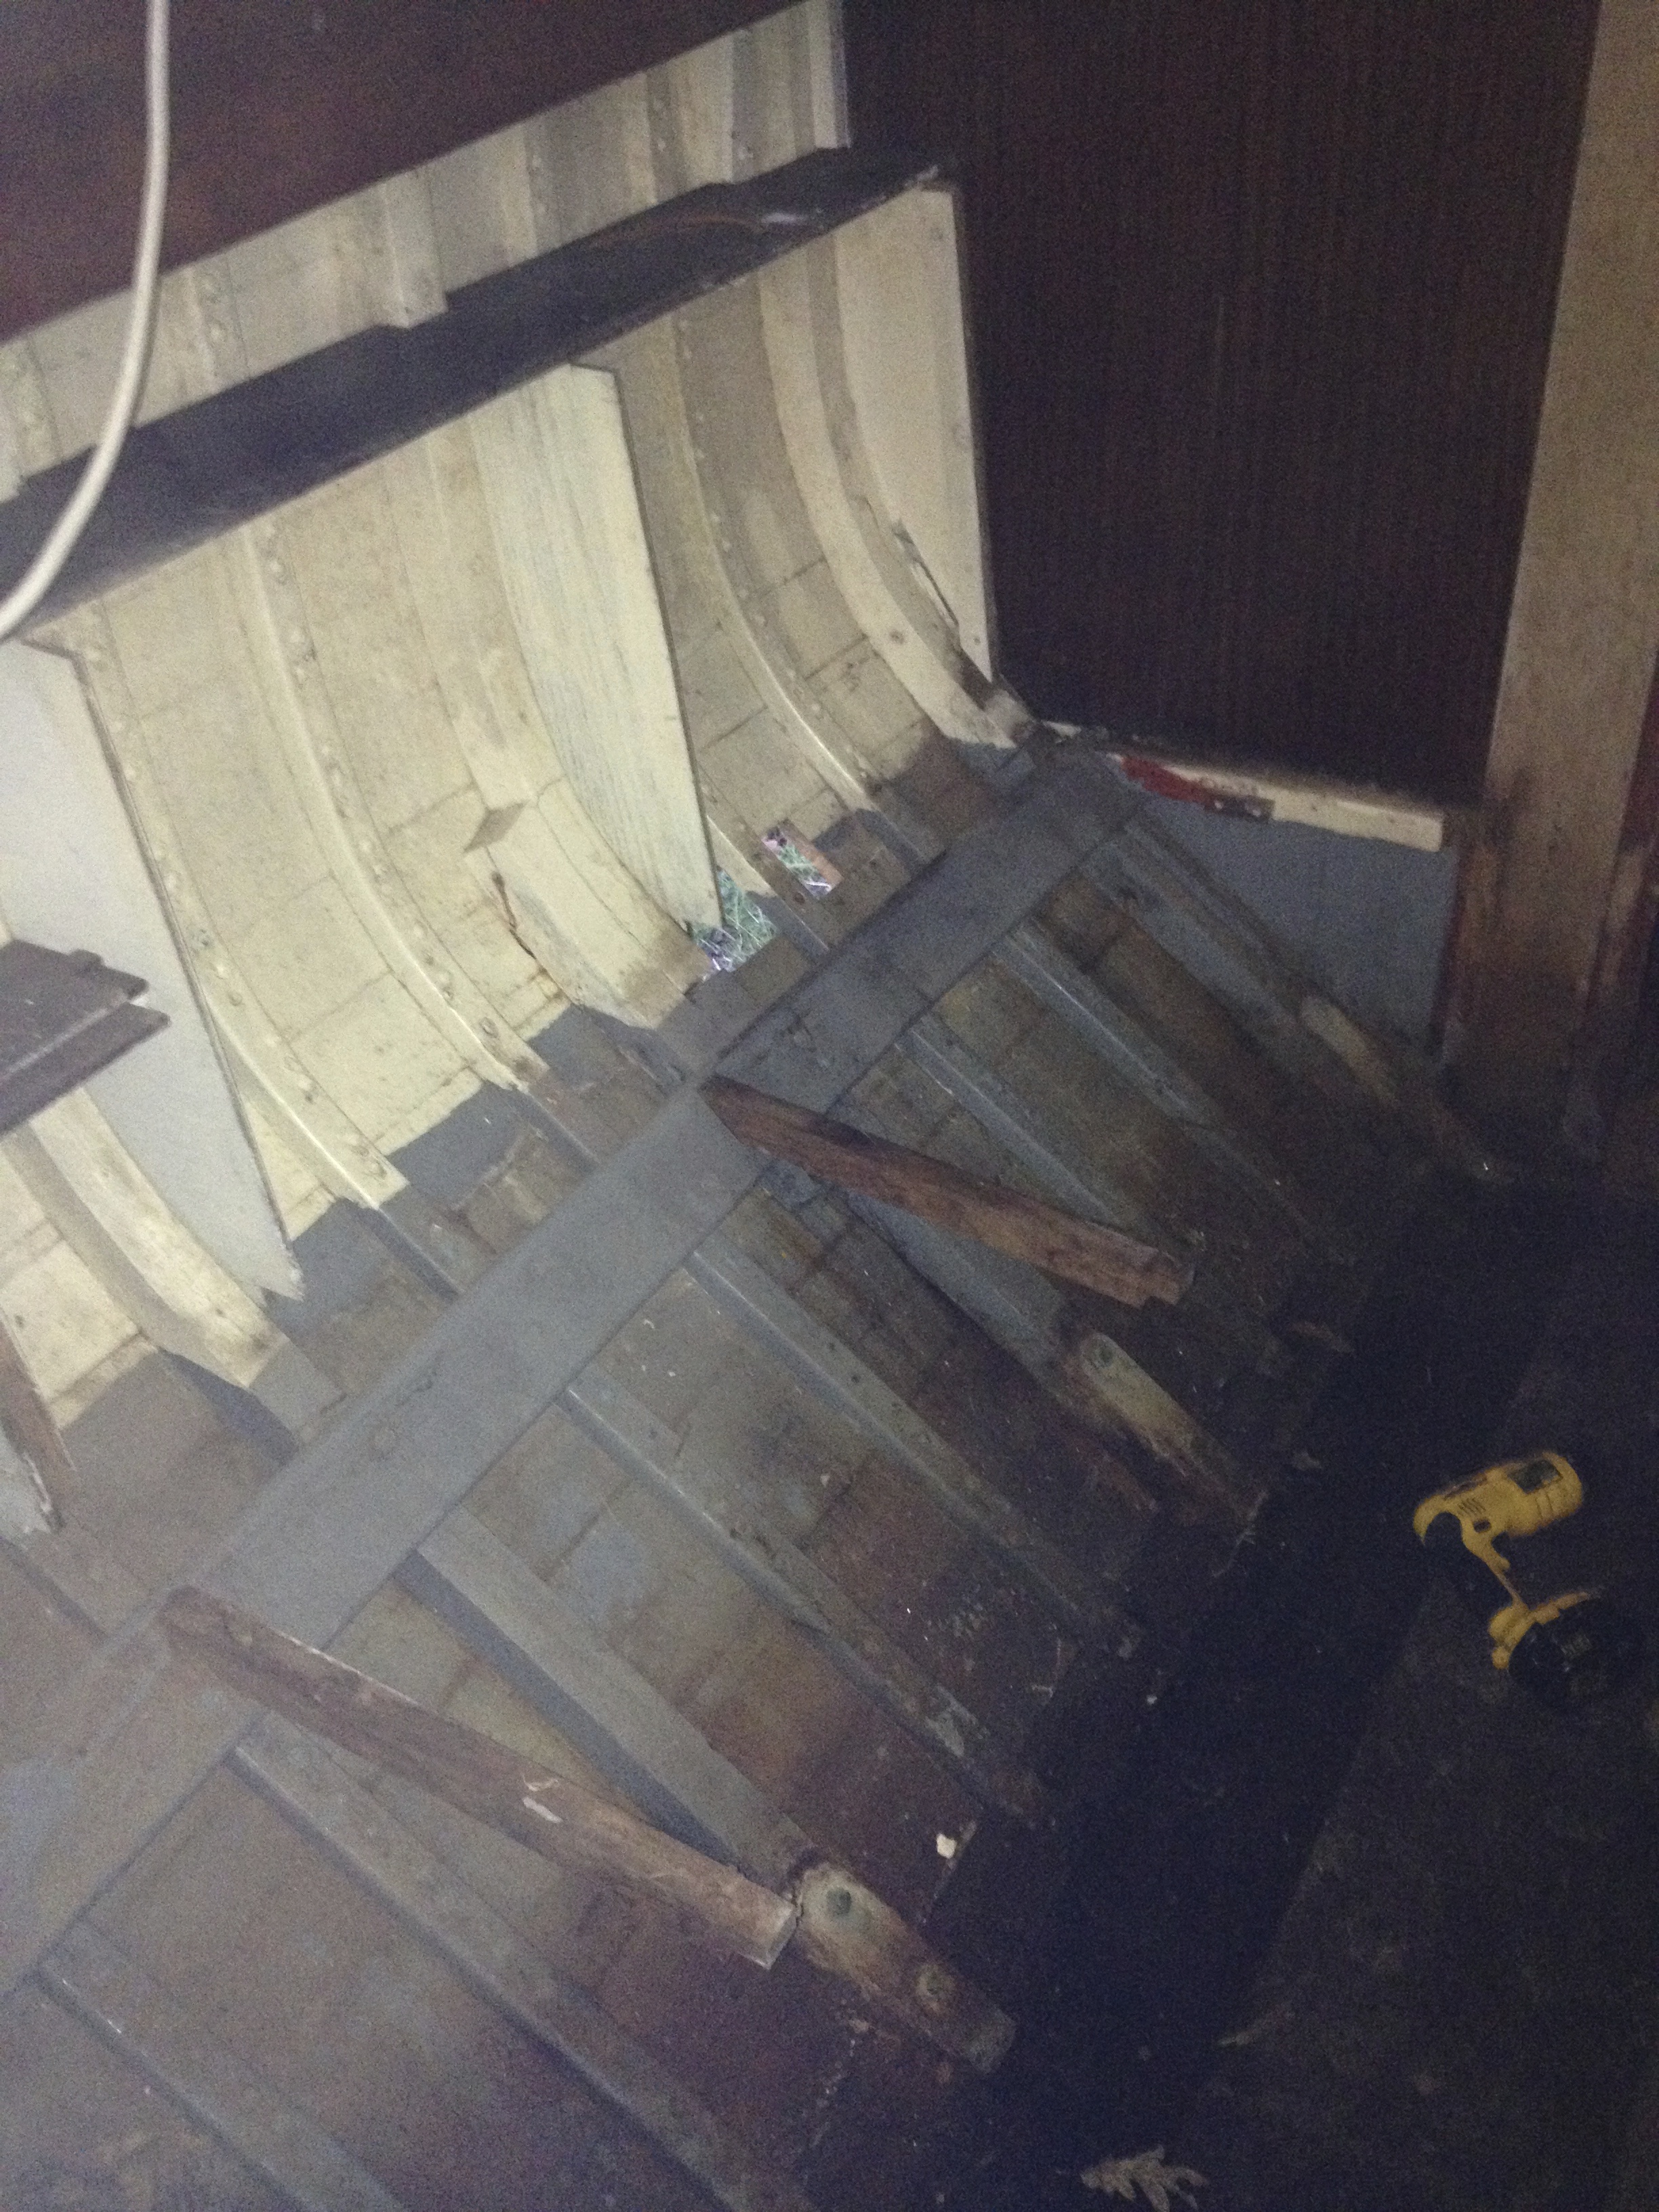
I love internet shopping! Lunch time on Thursday I remembered I really did need that extra large adjustable spanner if I was going to undo the huge nuts holding the mast step in place, so I ordered it…. Saturday morning it arrived! By Saturday lunch the reluctant mast step was removed along with a very badly corroded steel floor. £17 well spent! The massive lump of oak reminded me of a piece of timber we once dug out of the foundations of the house, a  relic of the old mill that used to stand here. It had lain under the ground so long it had turned to a dark ebony like material that was so brittle and crystalline  it fractured across the grain and blunted tools very quickly.

Showing signs of nail sickness ?
The mast step showing signs of nail sickness or turned to bog oak ?

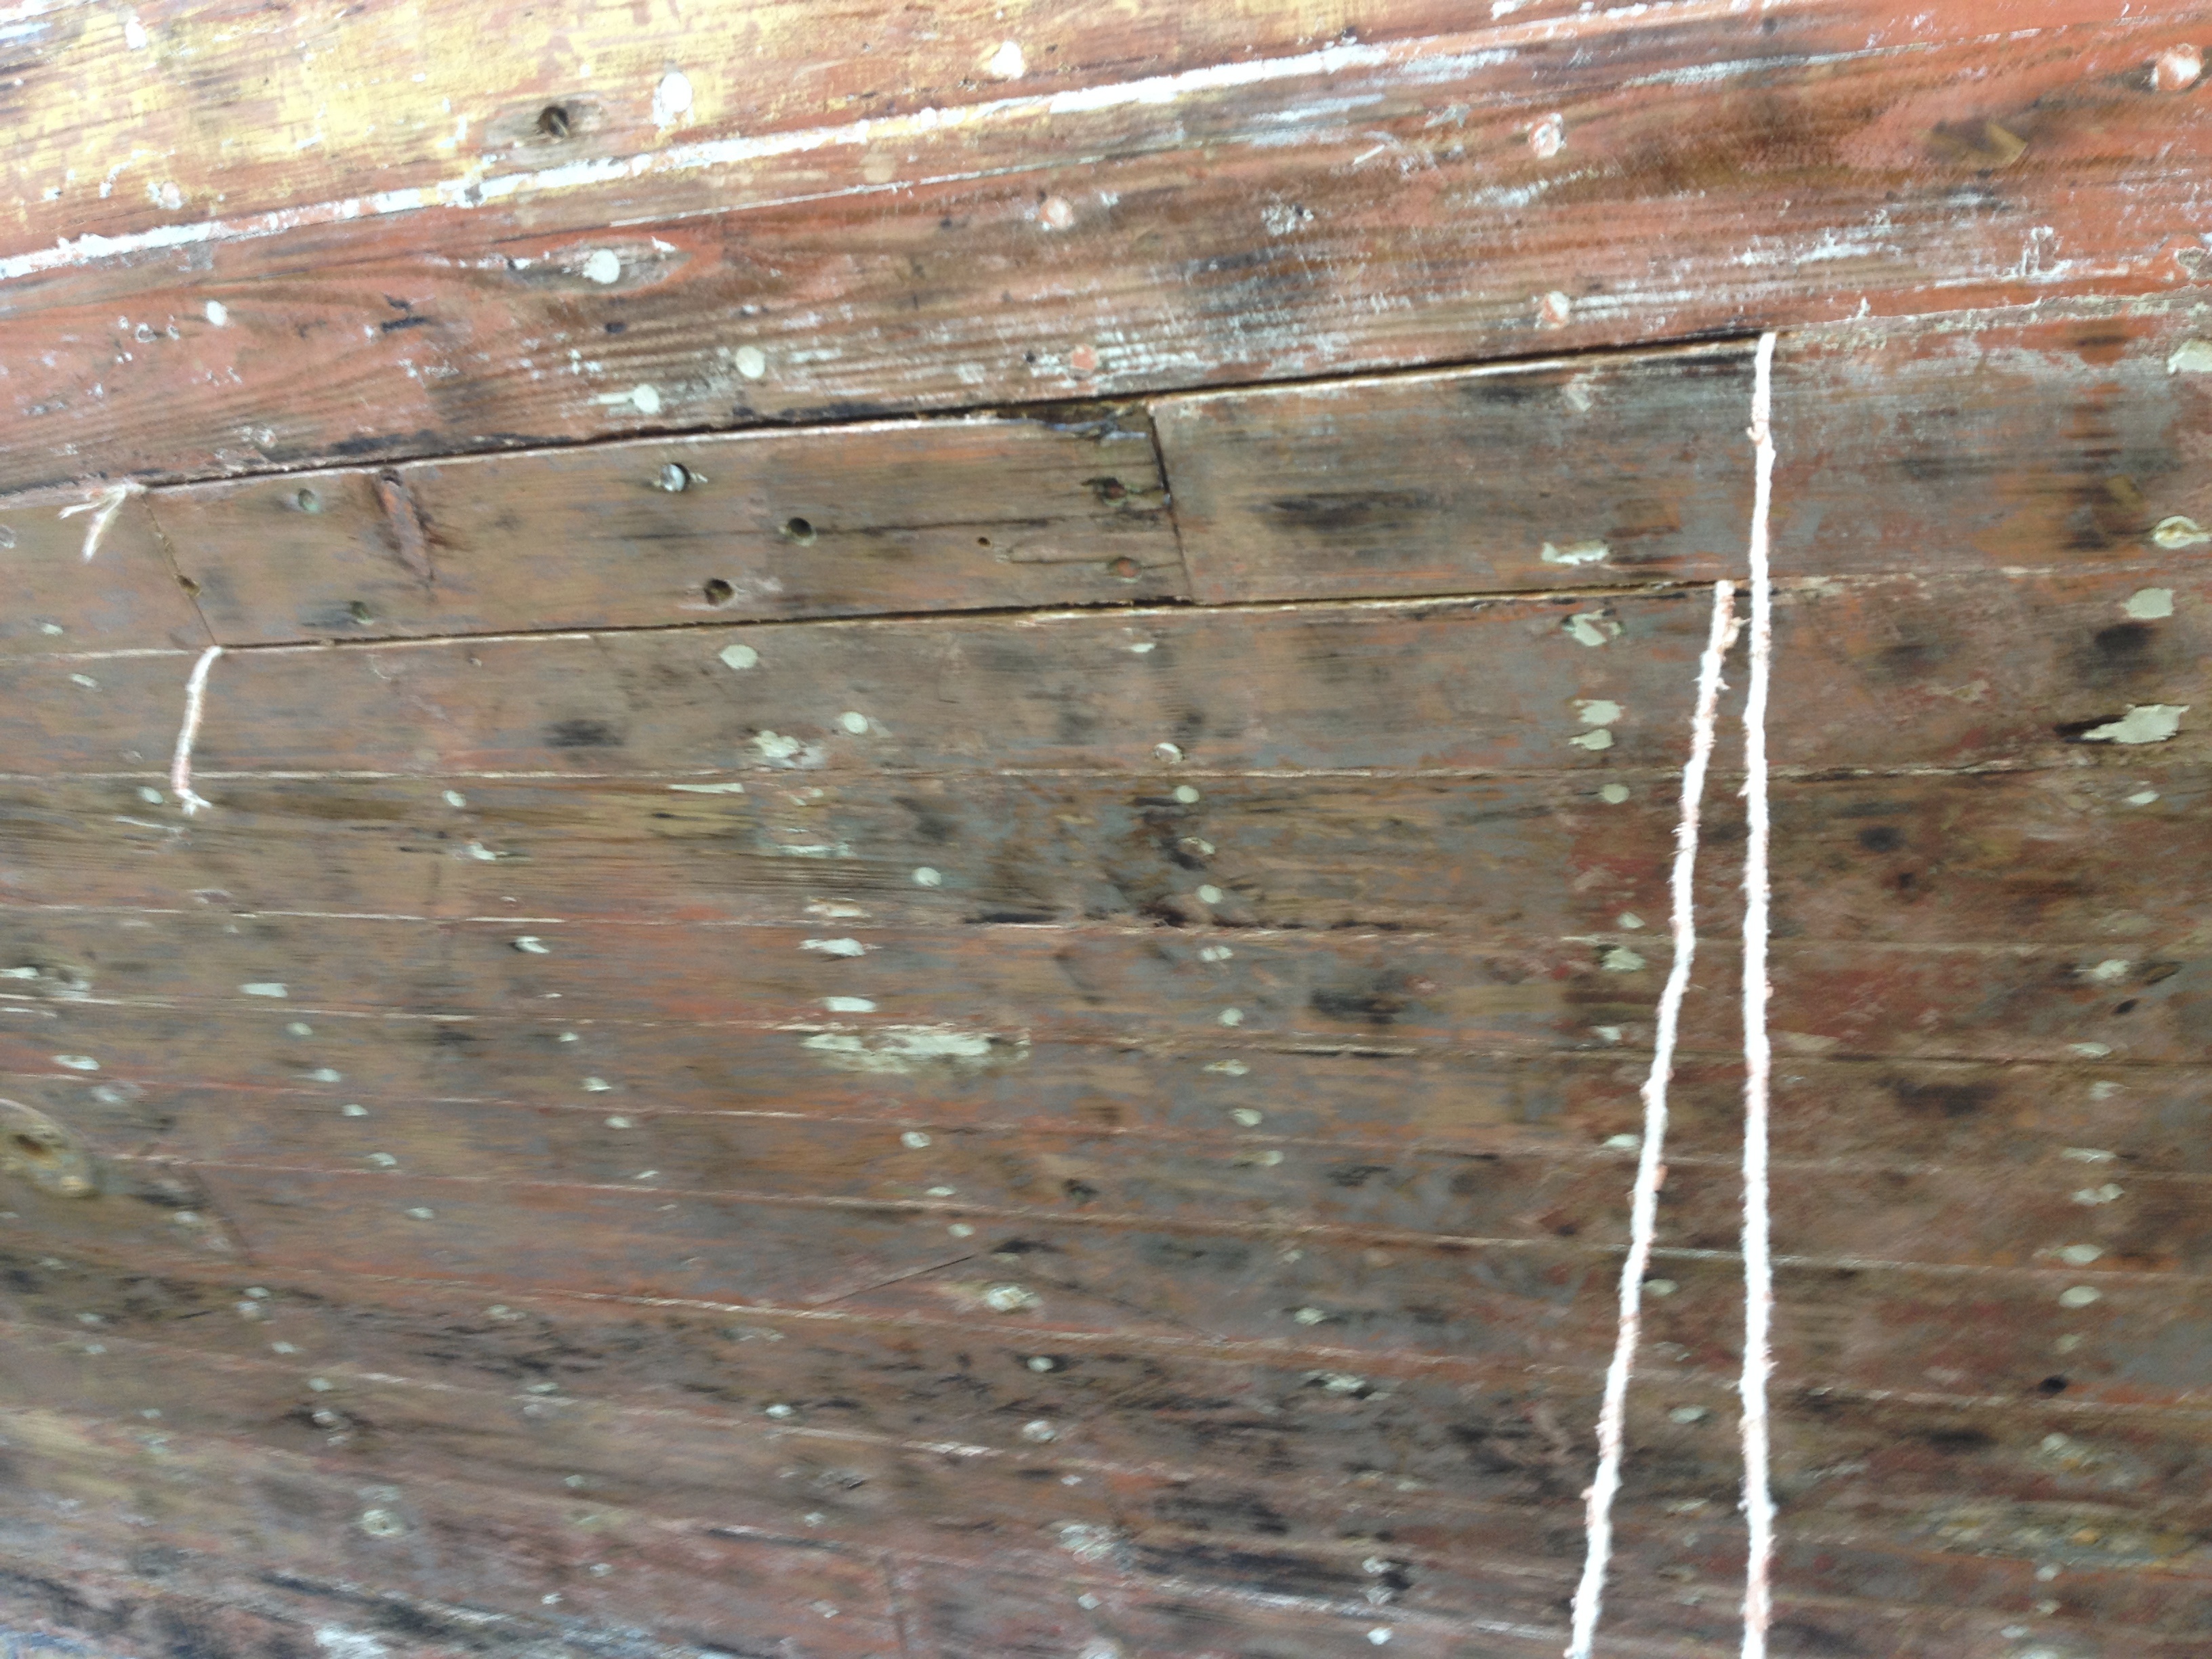
Removal came with a lot of sweat and swearing and at one point I considered just leaving it. Once removed though I was glad I persevered, given the rot that was revealed in the frame and the level of corrosion of the steel. The base of the mast is such a high stress area I’ll be much happier with a new step, and repaired frames.

This frame has a large spongy area of rot where the floor bolts through.

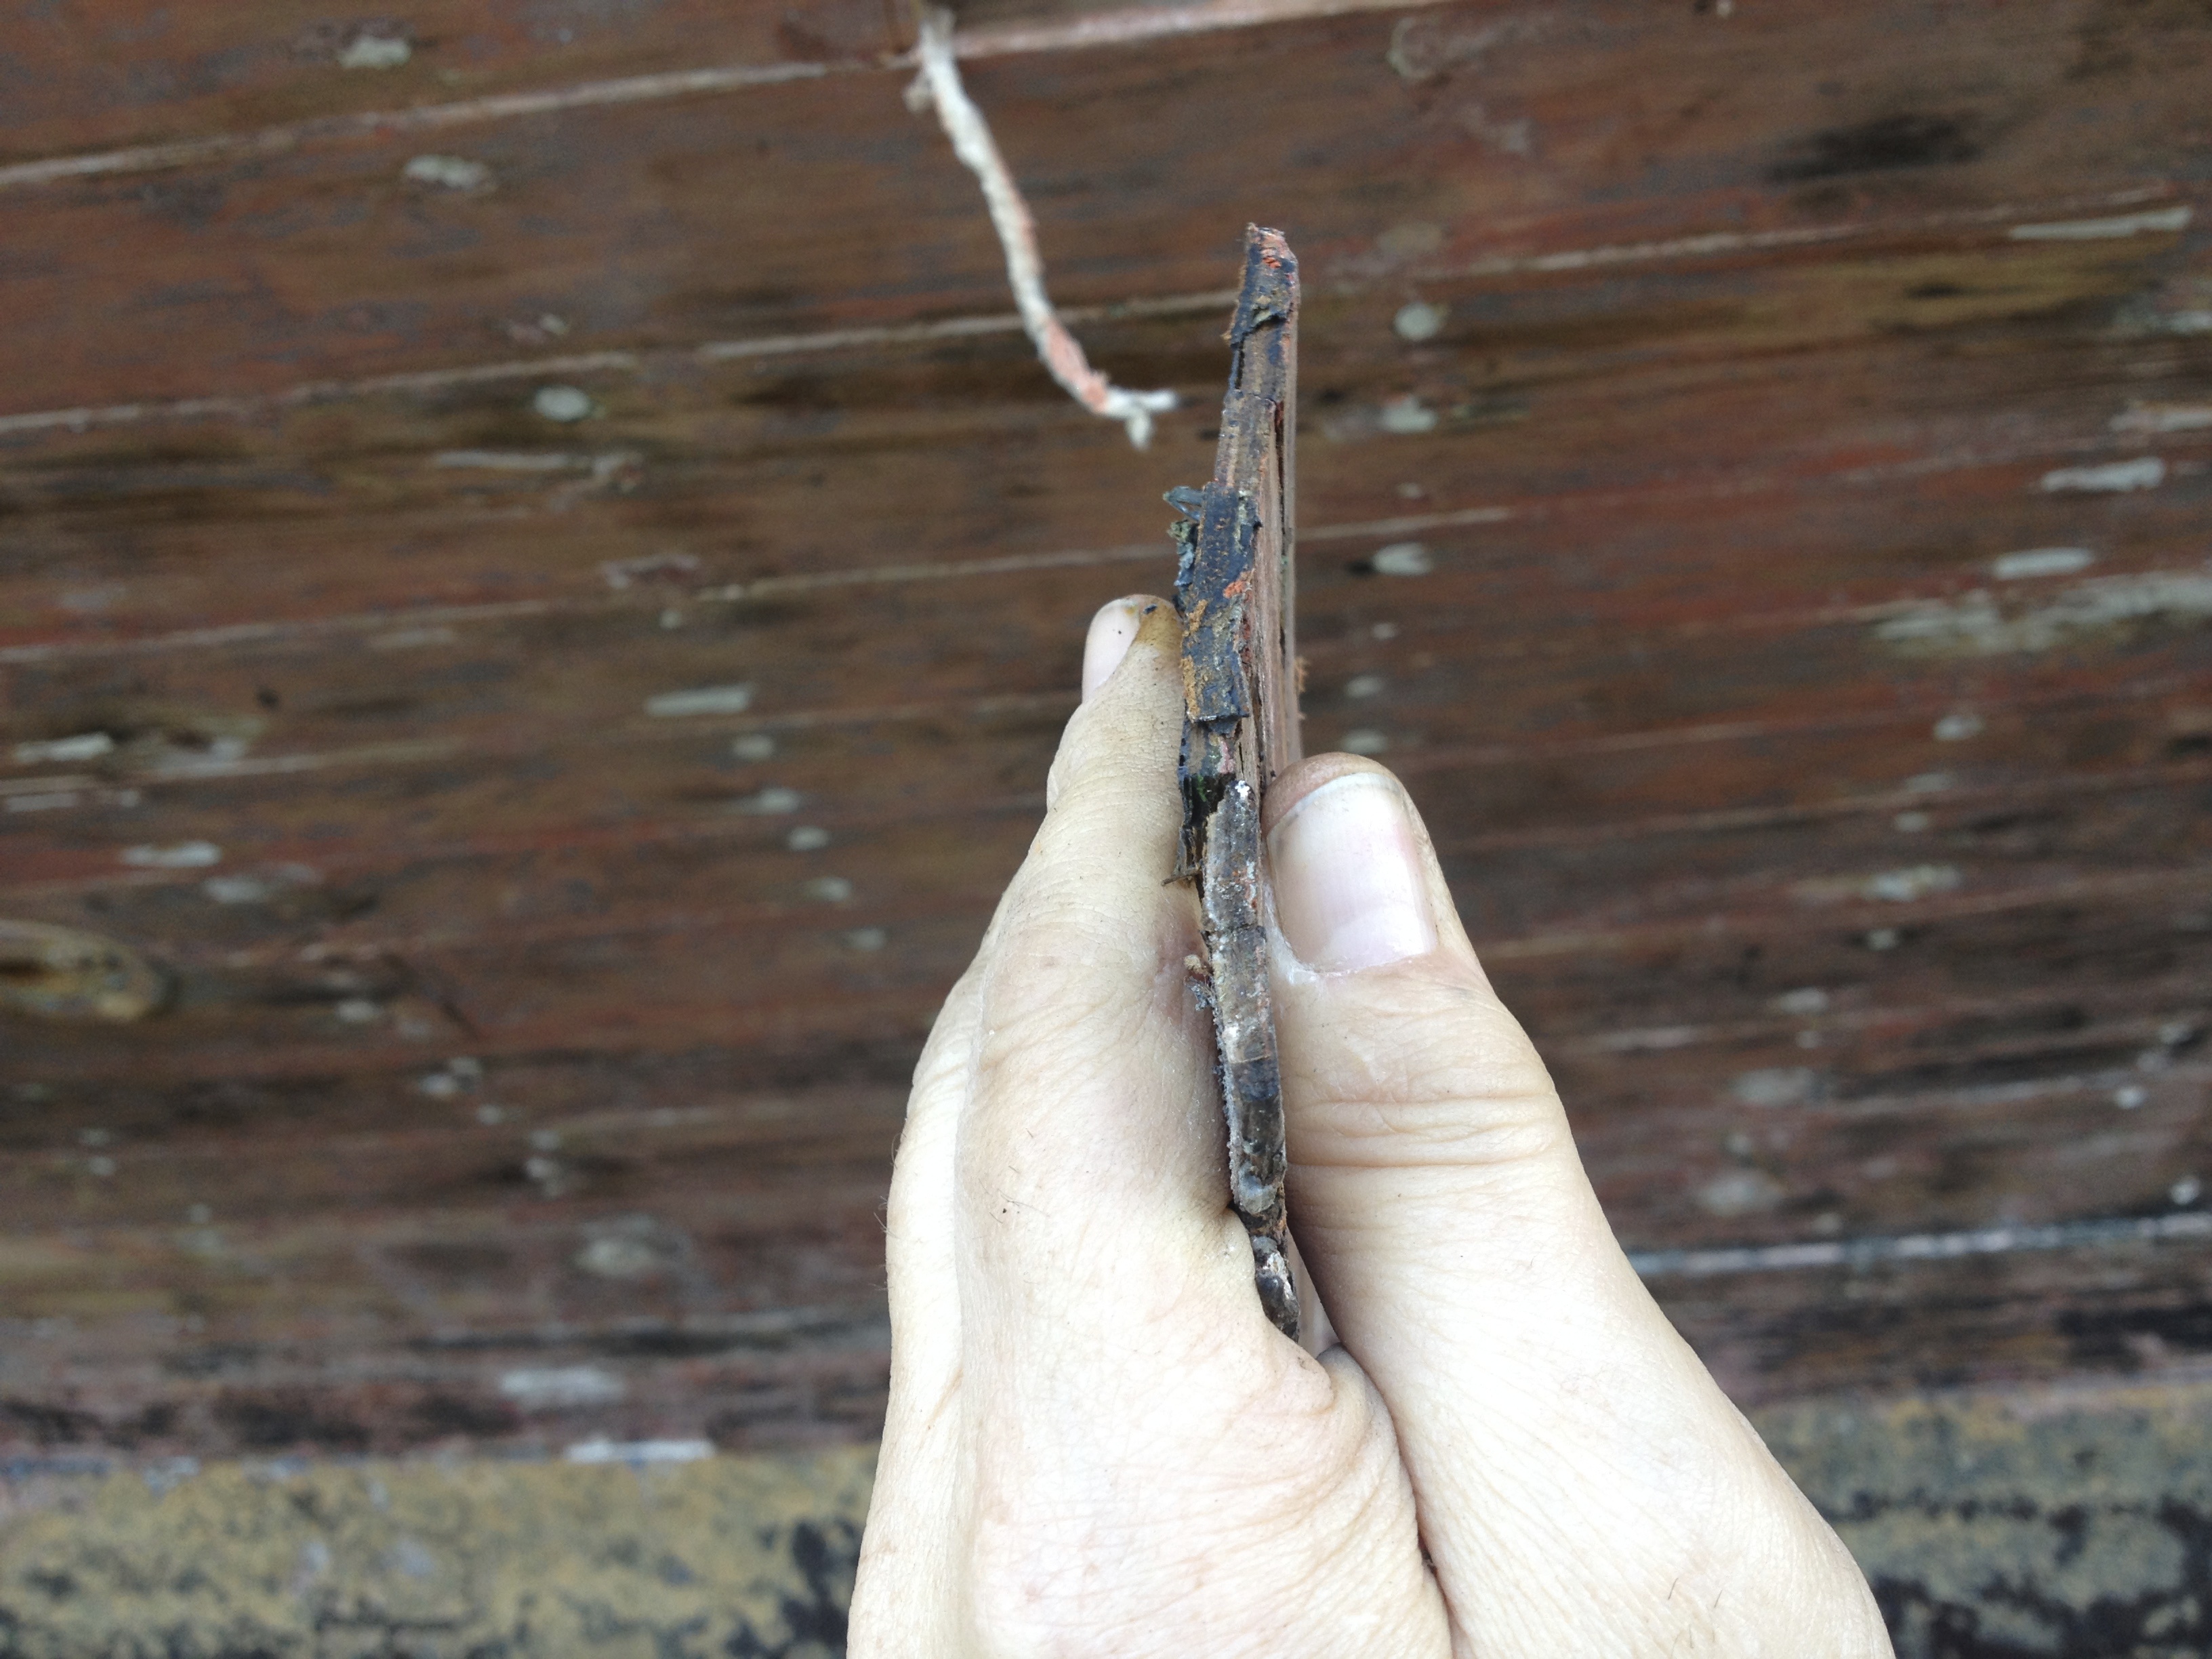
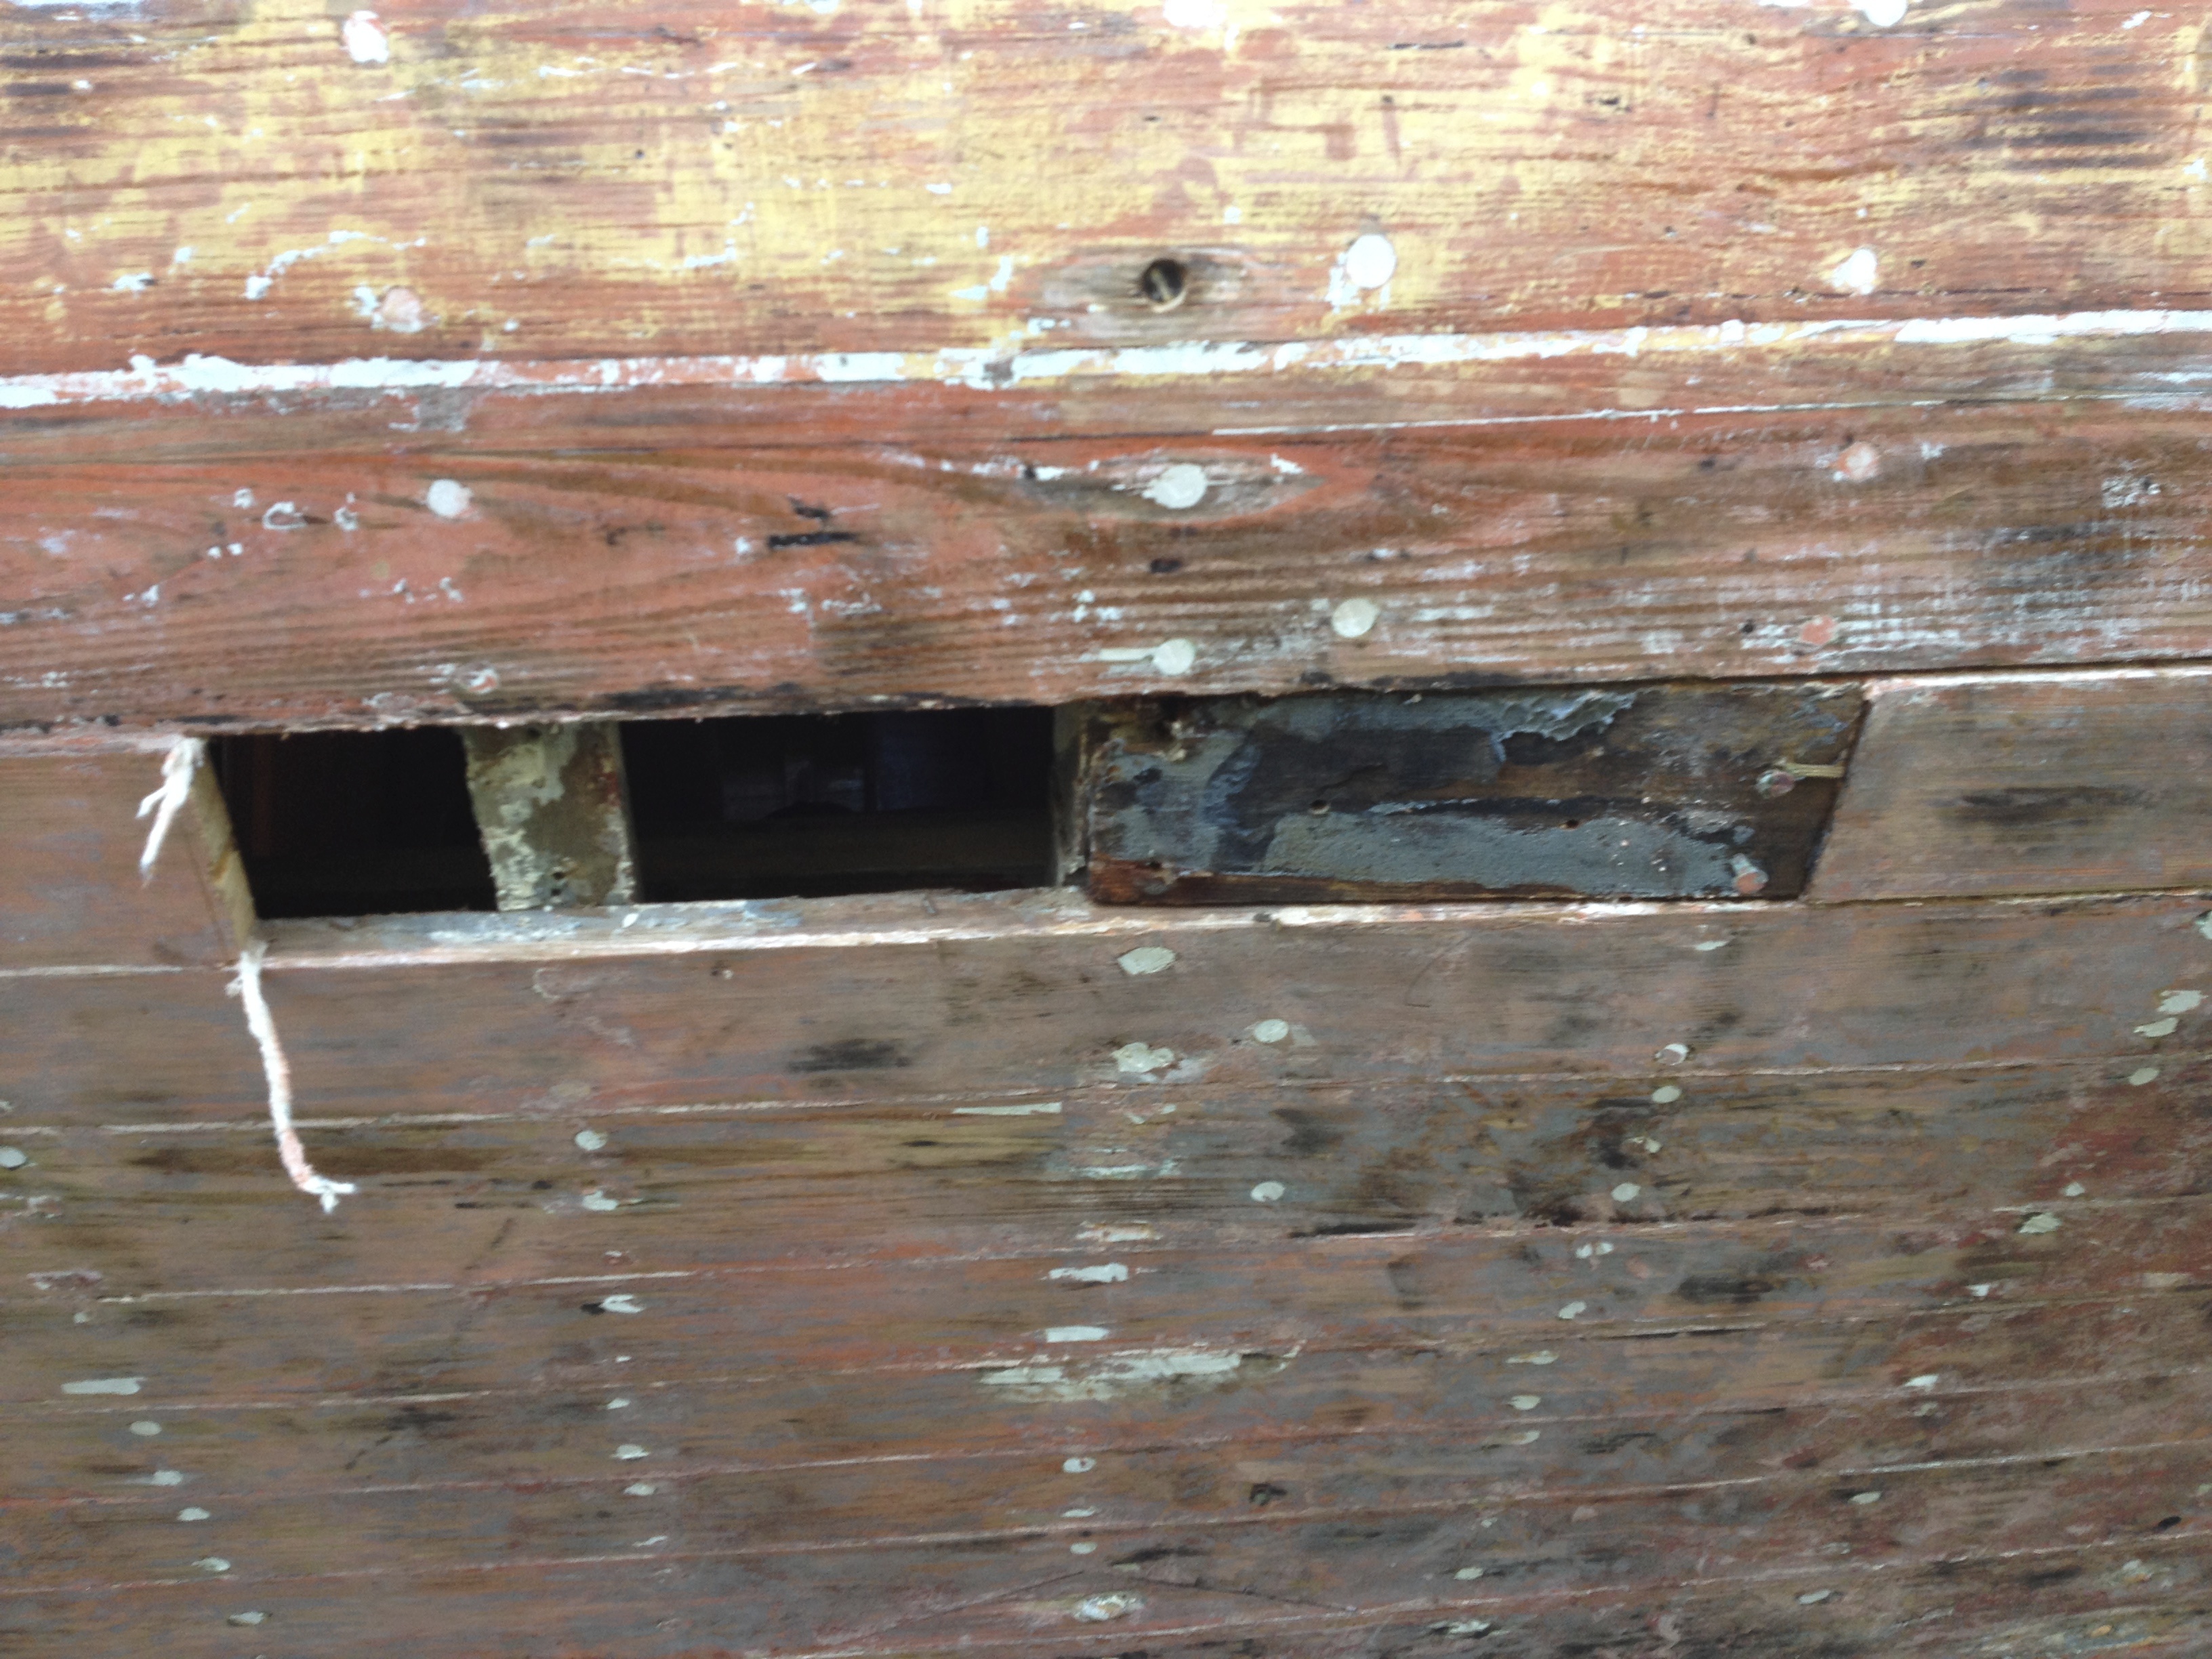
The picture doesn’t really do justice to the extent of the rot, but when one of the bronze bolts just fell out and my probing screwdriver sank an inch into the soft pulp, I realised something was amiss.

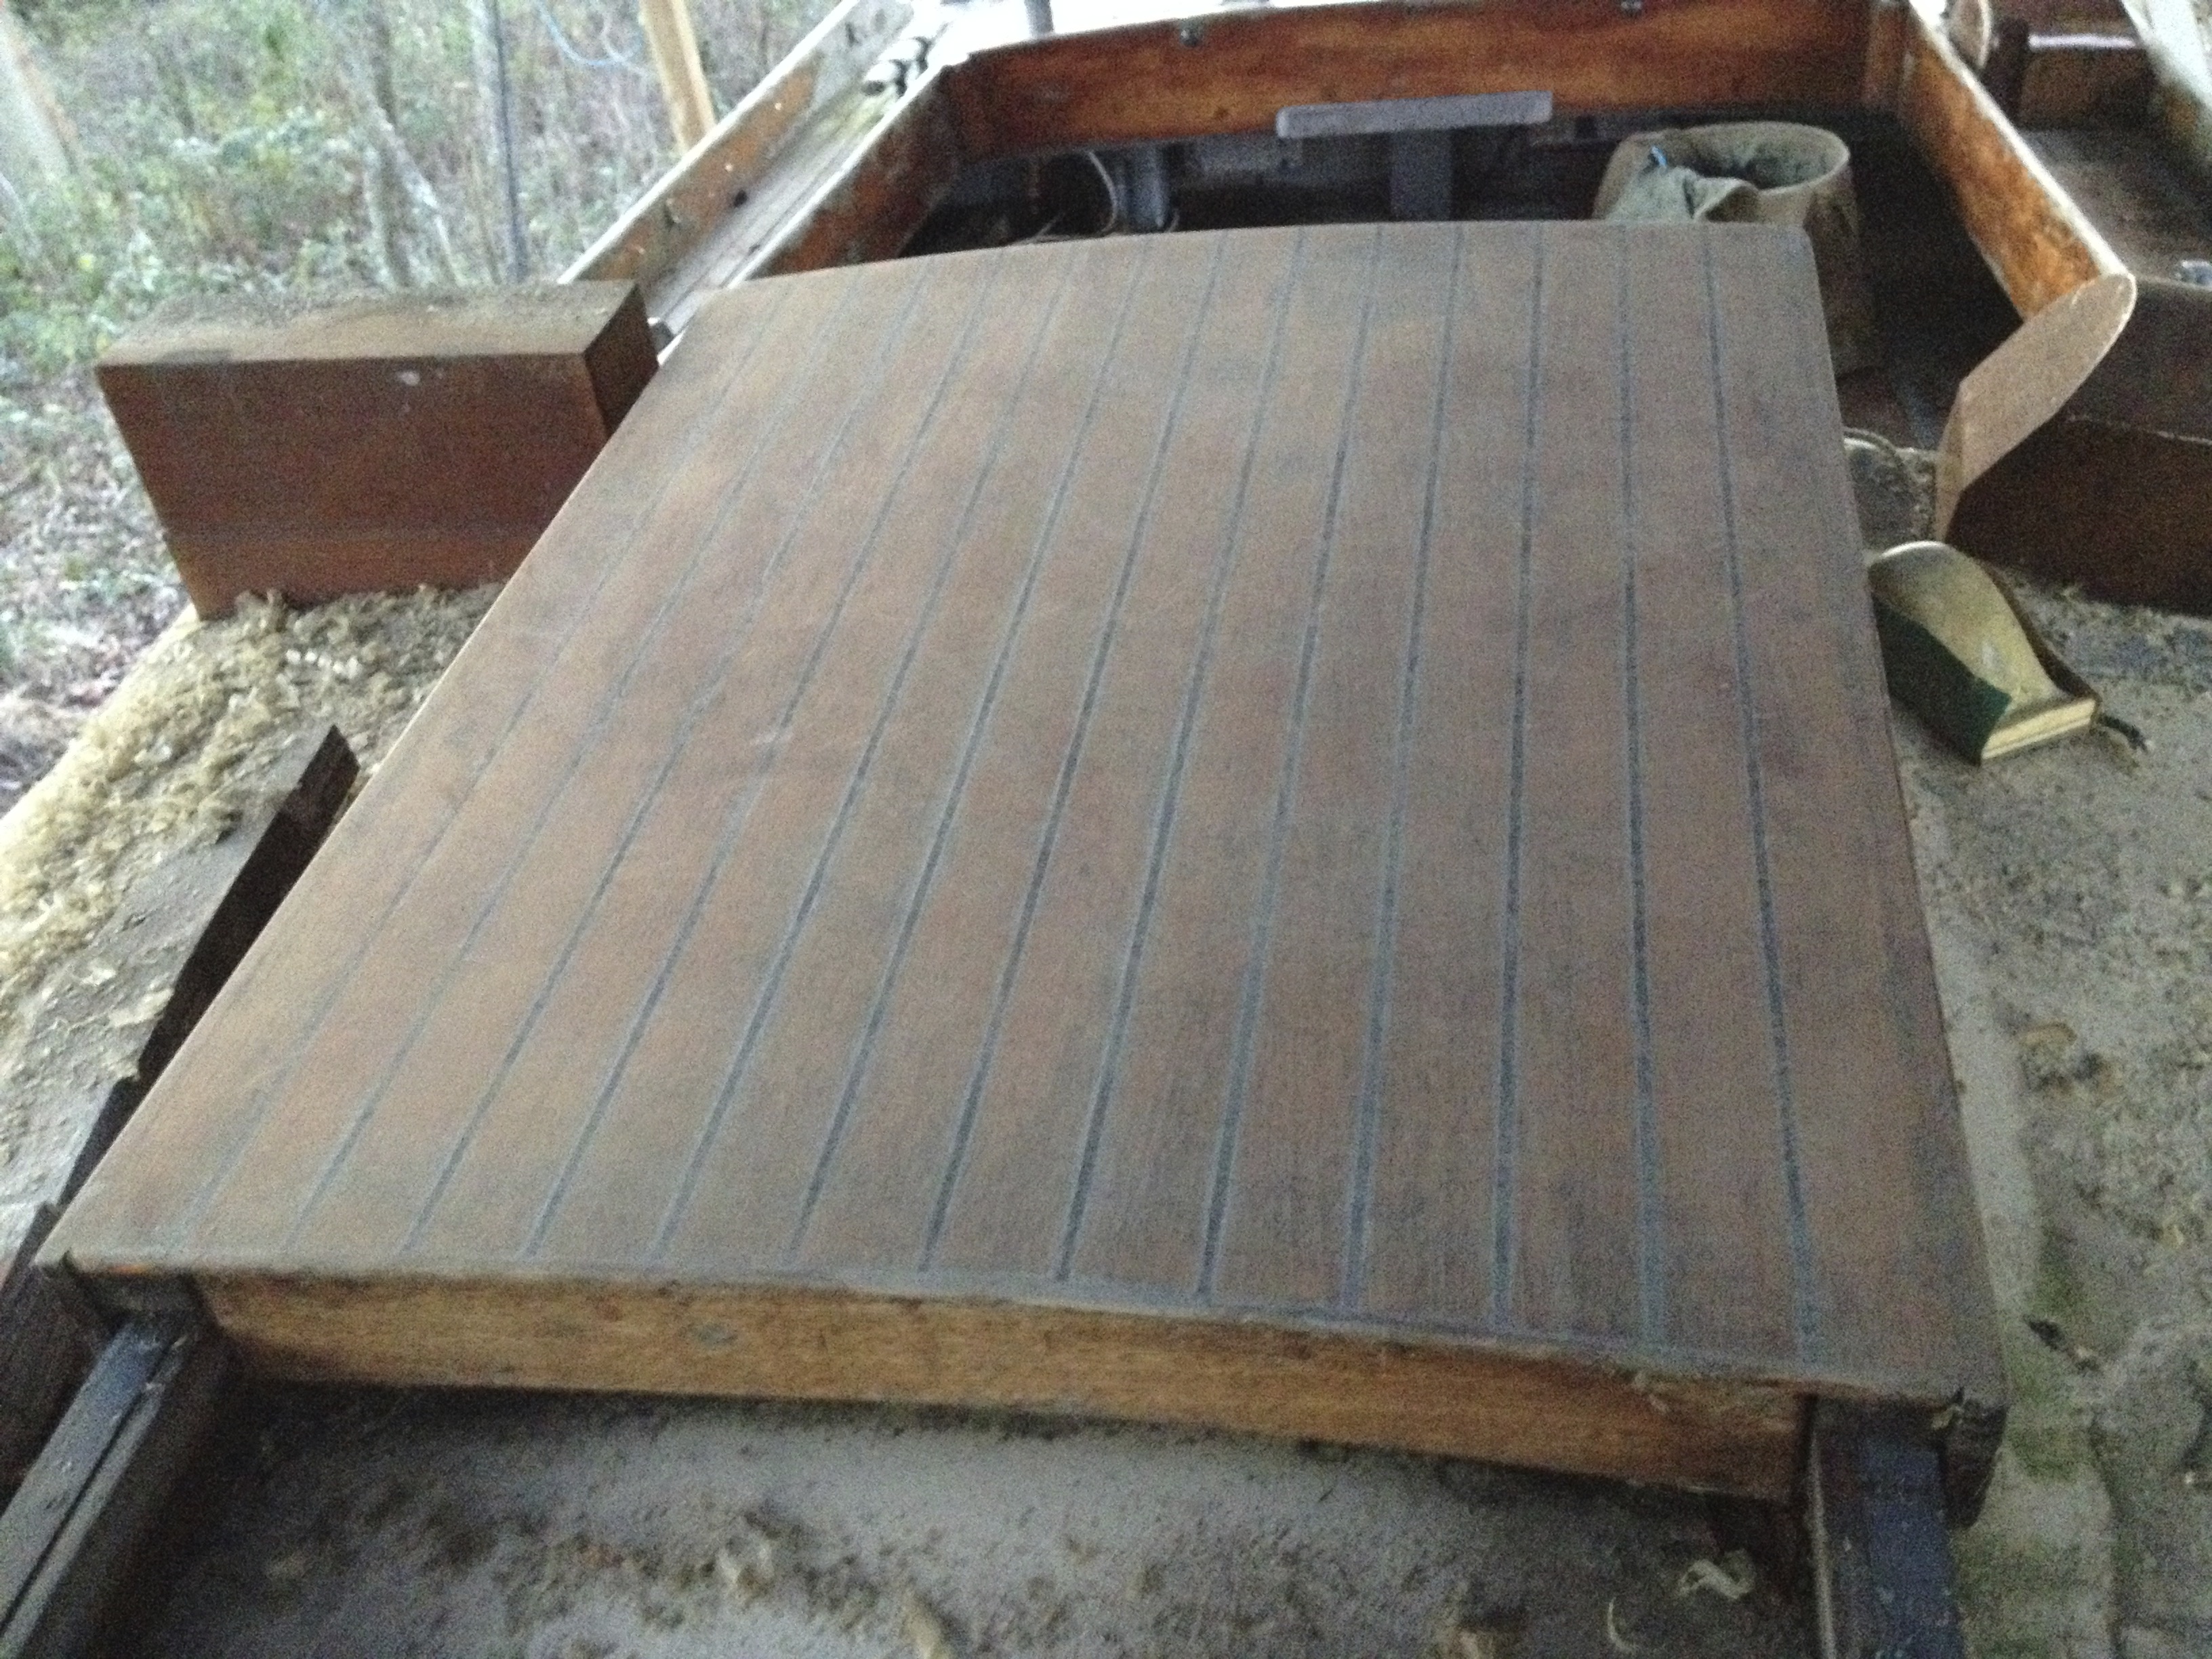
The heads are looking a little public but I think clearing out all the furniture and bulkheads, though time consuming, will be worth it just to get a really good look at all the frames and sort out any sistering or repairs that need doing…

Public Toilet!
Public Toilet!

I am wondering whether to keep the Baby Blake at all or whether a modern cassette type toilet might be better, less holes through the hull, less mechanics to go wrong.

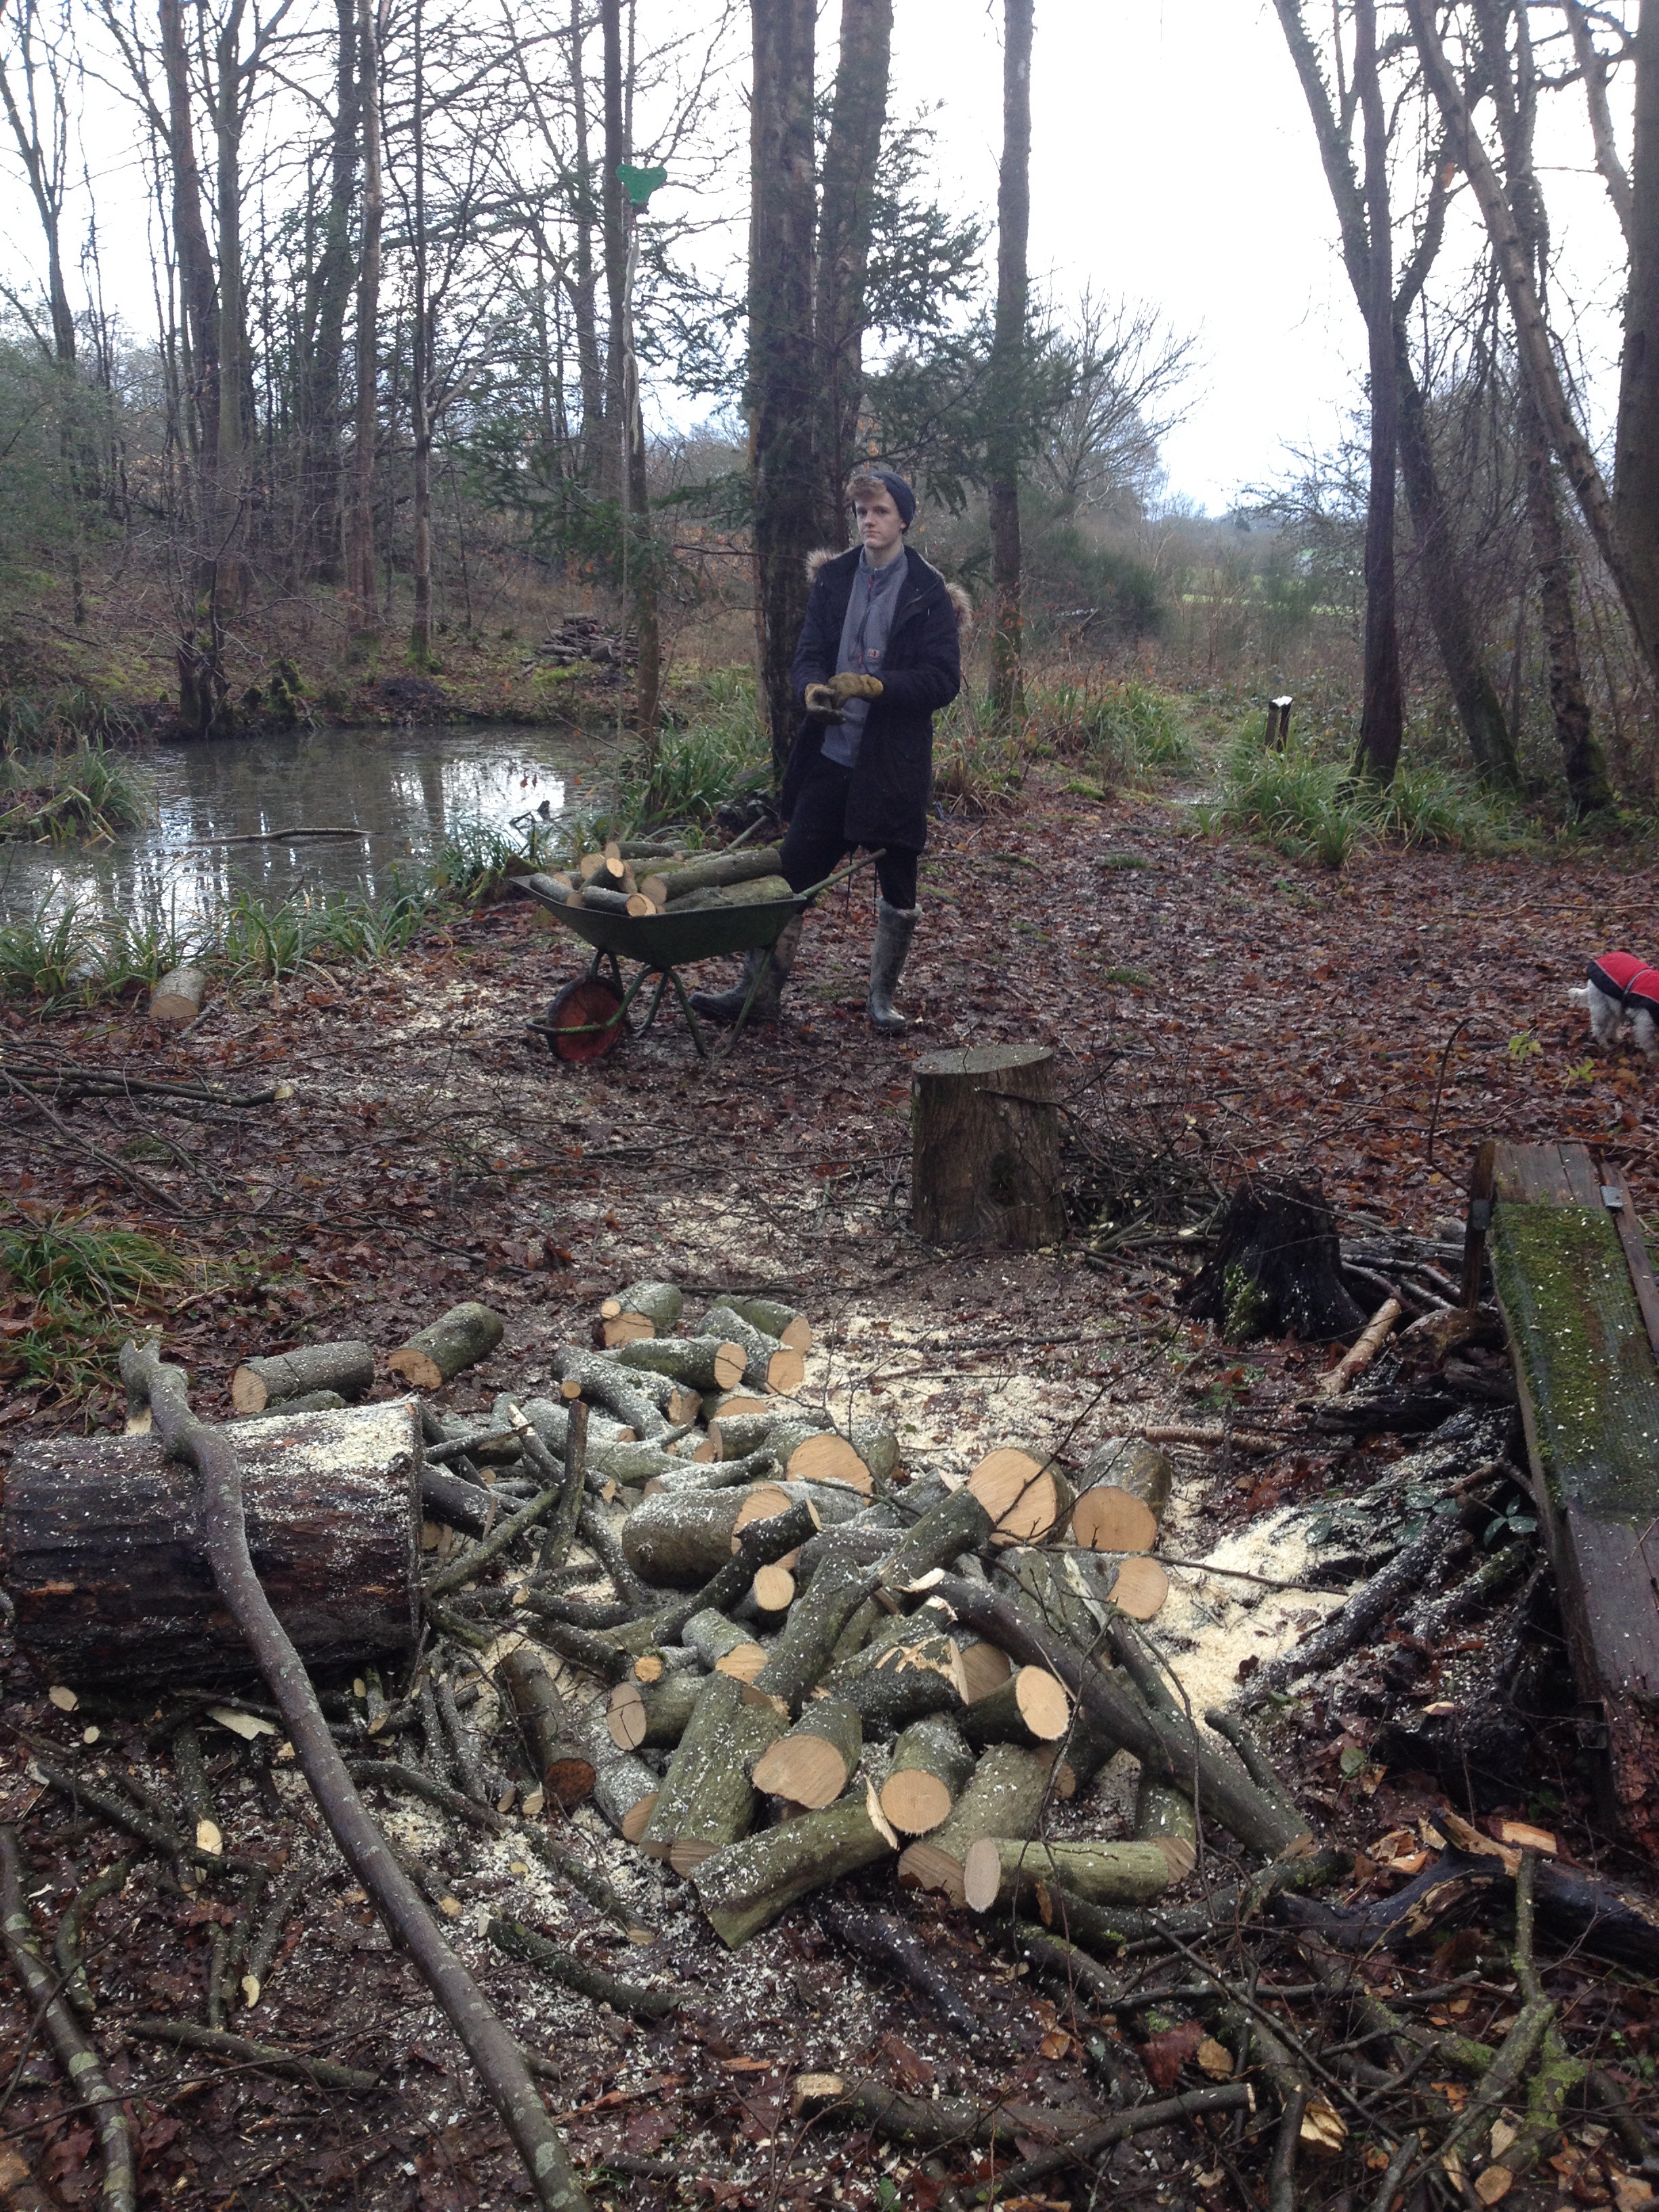
The weekend wasn’t all about Flamingo (Tracy may beg to differ) There was apple pruning, whittling, and archery too!

Luke testing one of the longbows.... turns out its not as easy as Legolas makes it look
Luke testing one of the longbows…. turns out its not as easy as Legolas makes it look

Apparently, come the apocalypse, we will be hunting for our food. After half an hour of practice Luke commented that perhaps broccoli might be easier to catch…

Tracy getting to grips with the winter pruning, and Tilly Whittling marshmallow toasting sticks

And finally. The Old Man has hung up his ditty bag…. or at least passed it down to me. Its a treasure trove of well used, much loved sailing paraphernalia, whipping thread, fids, shackles and needles and more, all in a canvas bag he has had since sailing Dulcimer, a 1973 Bowman 46.

Dulcimer's Ditty Bag and a well used heaving line
Dulcimer’s Ditty Bag and a well used heaving line

The heaving line with Monkey’s Fist is the same vintage and similarly well used over the years.

thats_all_folks_

Limber Holes and Limbo Dancing

This weekend’s entertainment saw me limbo dancing at bizarre angles in the depths of the hull trying to get to the bolts holding the steel frames. At one point balanced precariously on my midriff, head down in the belly of the engine bay I felt myself toppling forward and briefly wondered, if my outstretched legs had not countered the motion and, pendulum like, swung me back, how long it would have taken my wife to find me wedged upside down in there and effect a rescue. Later that evening over a glass of wine I was unsurprised to learn… quite a long time!

a very narrow space to find yourself wedged in!


Taking a forum buddy’s advice I set about drilling a hole in the stringer to access the trapped nut. (see last post) A hidden nail means I now need to spend some time sharpening my 1″ bit. 😦

Grinding the rust and accumulated build up of paint and dirt off the steel floors was very satisfying, if a little alarming when the amount of corrosion was revealed. If they hadn’t been galvanised I dread to think how bad they would have been.

Some of the Frames removed and about to be cleaned
Pattern of corrosion. Note the limber hole

Where this plate was in contact with the wood and sealed with putty the steel is relatively clean, but in the centre it is deeply pitted from contact with the damp mulch that had accumulated there. The three steel plates have limber holes (holes designed to let water drain to the lowest point of the bilge where the pump is) none of the strap steel floors have this so there will always be a tendency for water to pool behind each one – a recipe for corrosion. The flat bottoms of the floors are so corroded I’m tempted to get new ones welded on and bolt them back through wooden blocks that incorporate limber holes….. I feel a little sketch coming on… something like this maybe?

Killing two birds with one stone. Adding limber holes and removing rusted frame bottoms.

I am definitely still on the egg breaking stage of this nautical omlette, Flamingo is looking very sad and grubby inside. I might spend some time this weekend giving the inside a really thorough clean, it needs to be done and will help show up any other problems I’ve missed.

Both benches gone and evidence of water ingress.

I think she must have been left with water in her for some time, which would explain the poor state of the steel floors and the brown muck everywhere. Seriously thinking it may be sensible to remove the whole interior and start with a blank canvas….

of course there are always other jobs to do

Sometimes it helps to not work on the boat. Time doing other jobs is good thinking time, time to imagine the gleaming interior, new floors glistening, paint work bright and woodwork glowing… 🙂

The thin end of the wedge!

Happy New Year!

I’ve taken the plunge and removed a bit of planking! It was damaged at one end and had to go. It turned out to be the thin end of a scarf joint (hopefully not the thin end of the wedge!) which as you can see from the photo below, was very thin indeed! Not surprising it didn’t withstand the rigours of life below the waterline.

the thin end of the wedge?
The thin end of the wedge?

The plank came out fairly easily once I yanked out the caulking. I’m reassured that the cotton looks in good condition so hopefully if I can just rake out and replace the old putty from the obviously cracked areas I wont have to renew it.

Pulling out the cotton caulking.

Getting to the rivets inside was a pain and I ended up removing the bench seat… It came out relatively painlessly and I’m now considering pulling the other one out too, if only to make repairs and repainting that much quicker.

Removing the bench made access so much easier.

The next task will be finding some Pitch Pine and making a Scarf Joint routing jig.

Gulp!
Gulp!

Meanwhile, and for the first time since the Marx Brother’s Tarp install, I managed to persuade one of the boys to lend a hand. The leperous surface of the sliding hatch was soon looking a lot better after Toby’s hot air and scraper had been to work on it. More sanding needed but definitely starting to look more presentable.

Old varnish removed from the hatch.

Hopefully off to see a blacksmith in Goudhurst about the gudgeon (there’s that word again) and pintle on Friday. The more I look at it the more inclined I am to think it is a repair rather than replace job.

Close up
Close up
Gudgeon and Pintle
Gudgeon and Pintle
Looking a bit worn
Looking a bit worn

more soon.