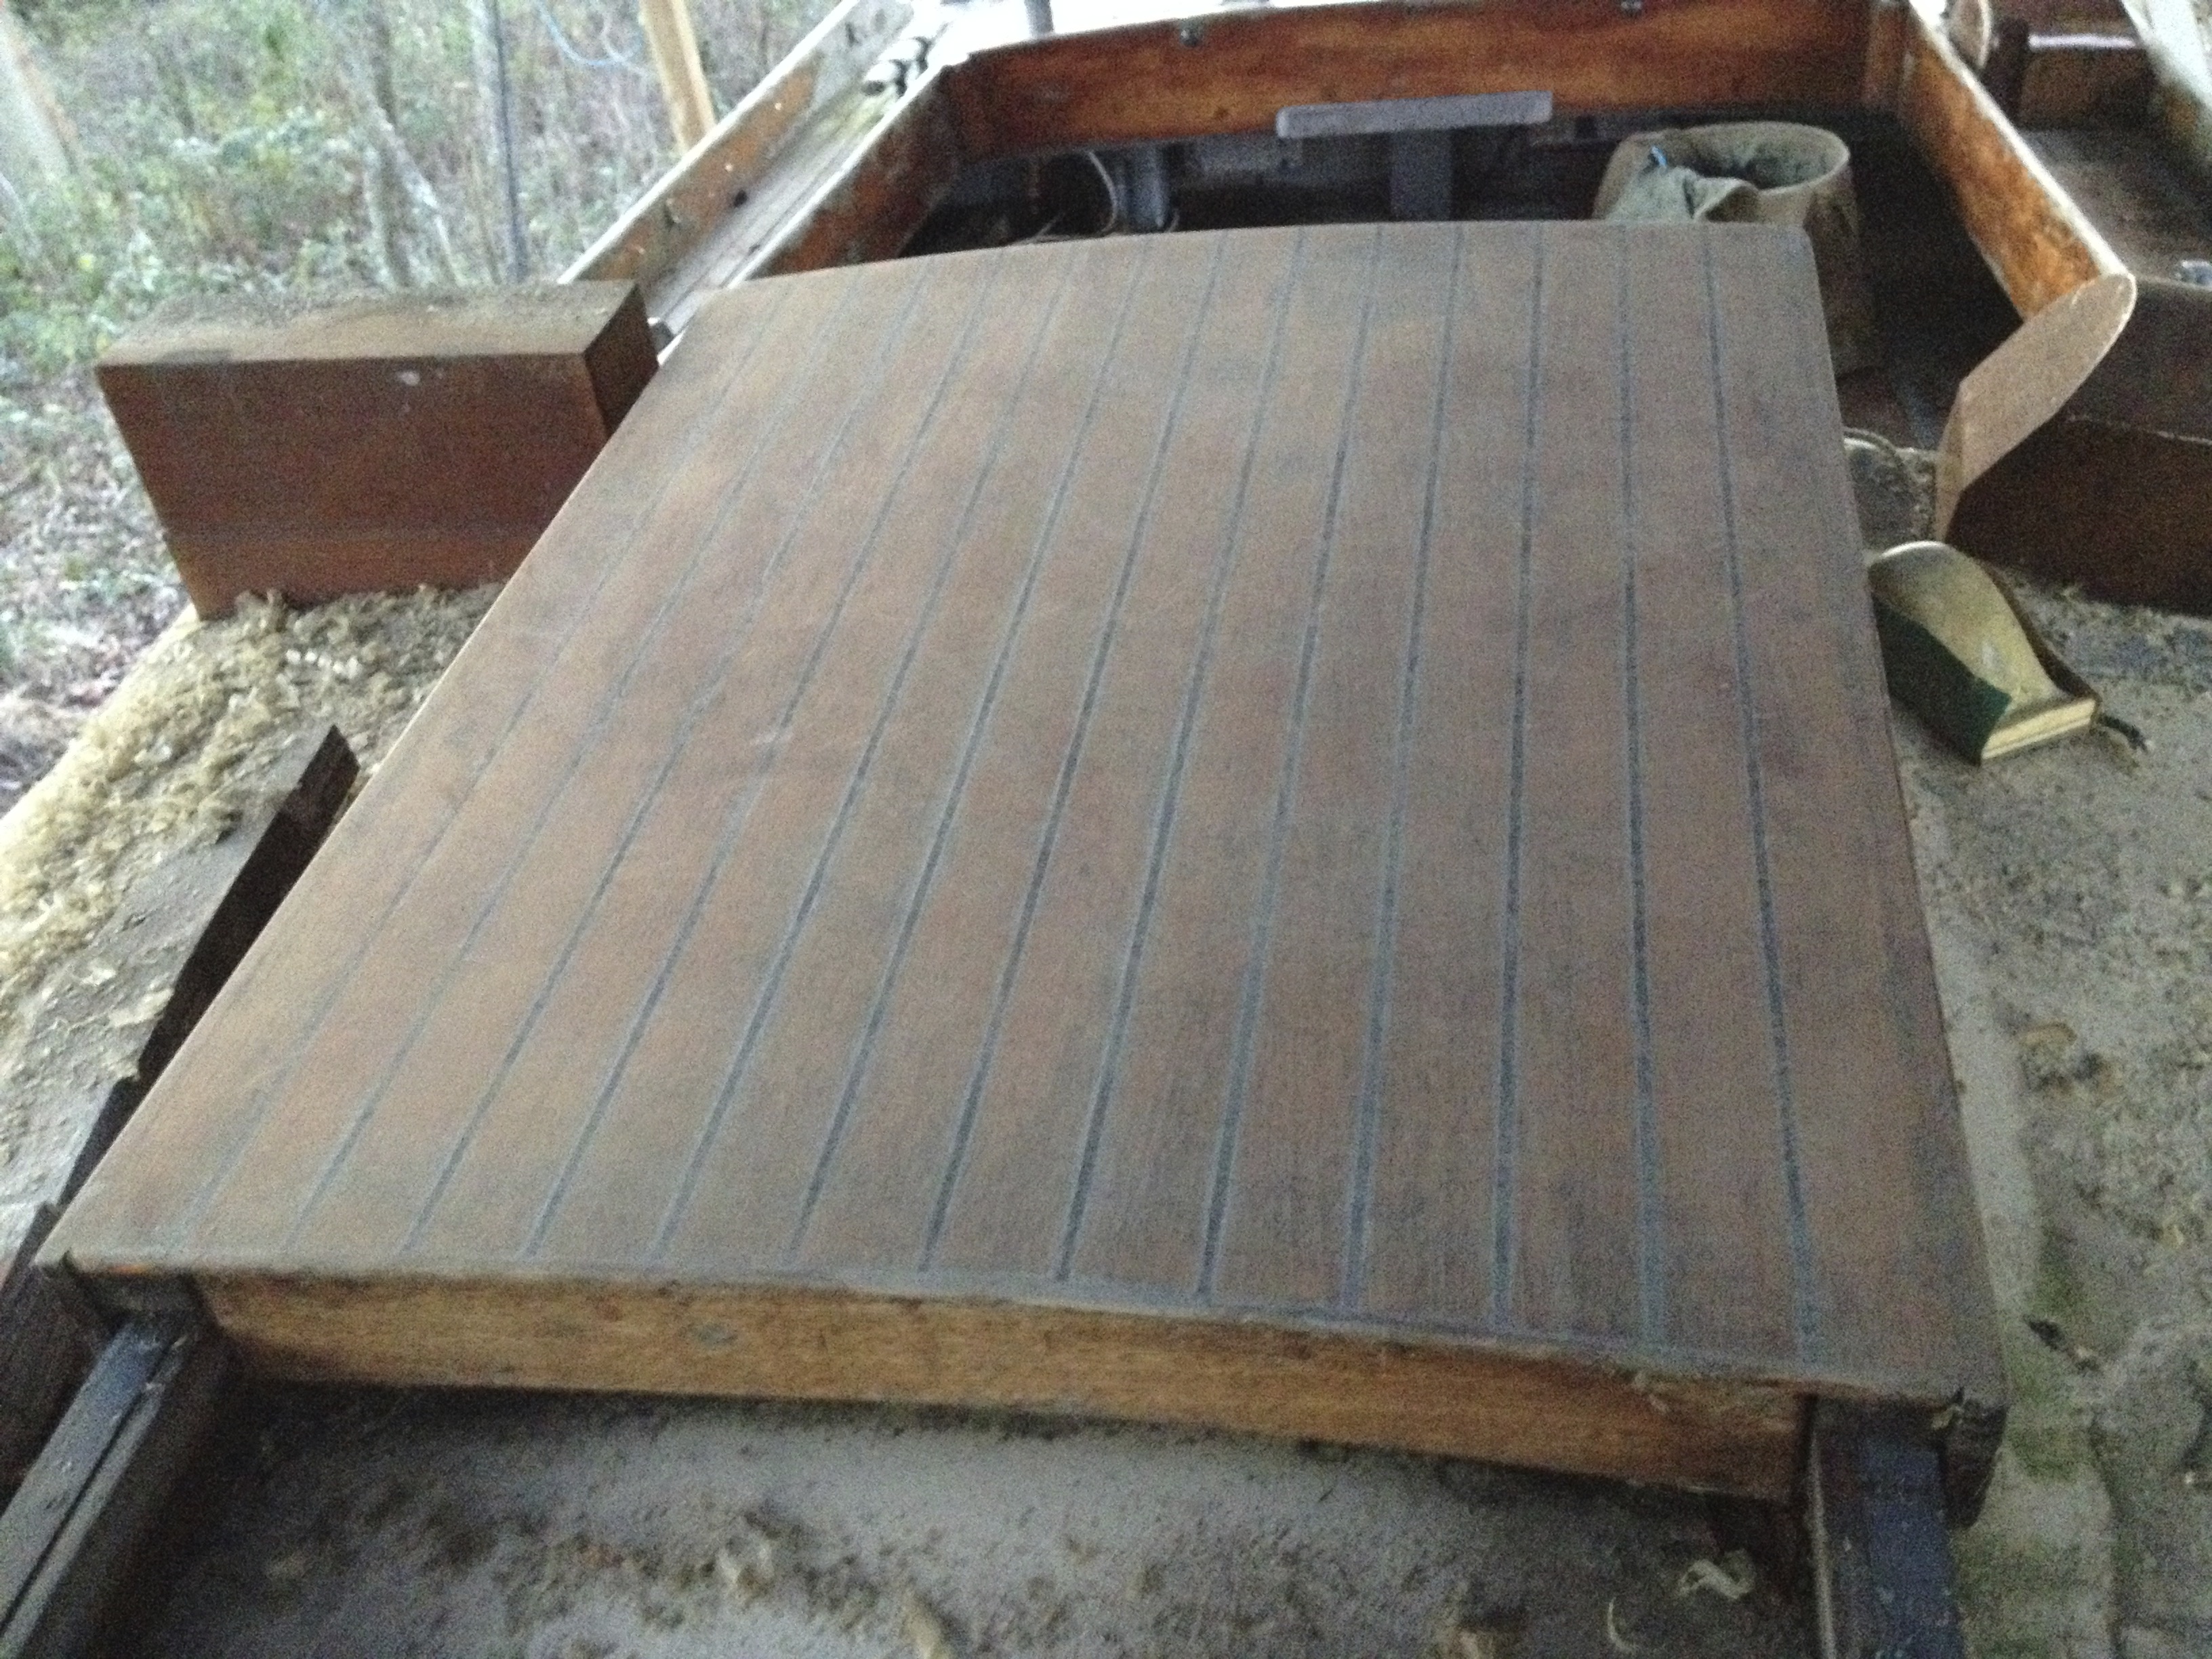
It scarcely seems possible that it’s been nearly two years since Flamingo last felt the tread of my work boots on her swept teak deck. A quick glance at previous posts sadly reveals this to be true and I’m slightly ashamed of her abandonment. She has waited patiently in the orchard, her tarp frayed at the edges, hull and deck gently greening as the weeks, months and years go by. Of course there are myriad excuses that I won’t bore you with but the chief drain on my time these days is our new home, a 1960’s gem of a house on the edge of the Ashdown Forest. It needs a lot of work, inside and out, hence the time drain.


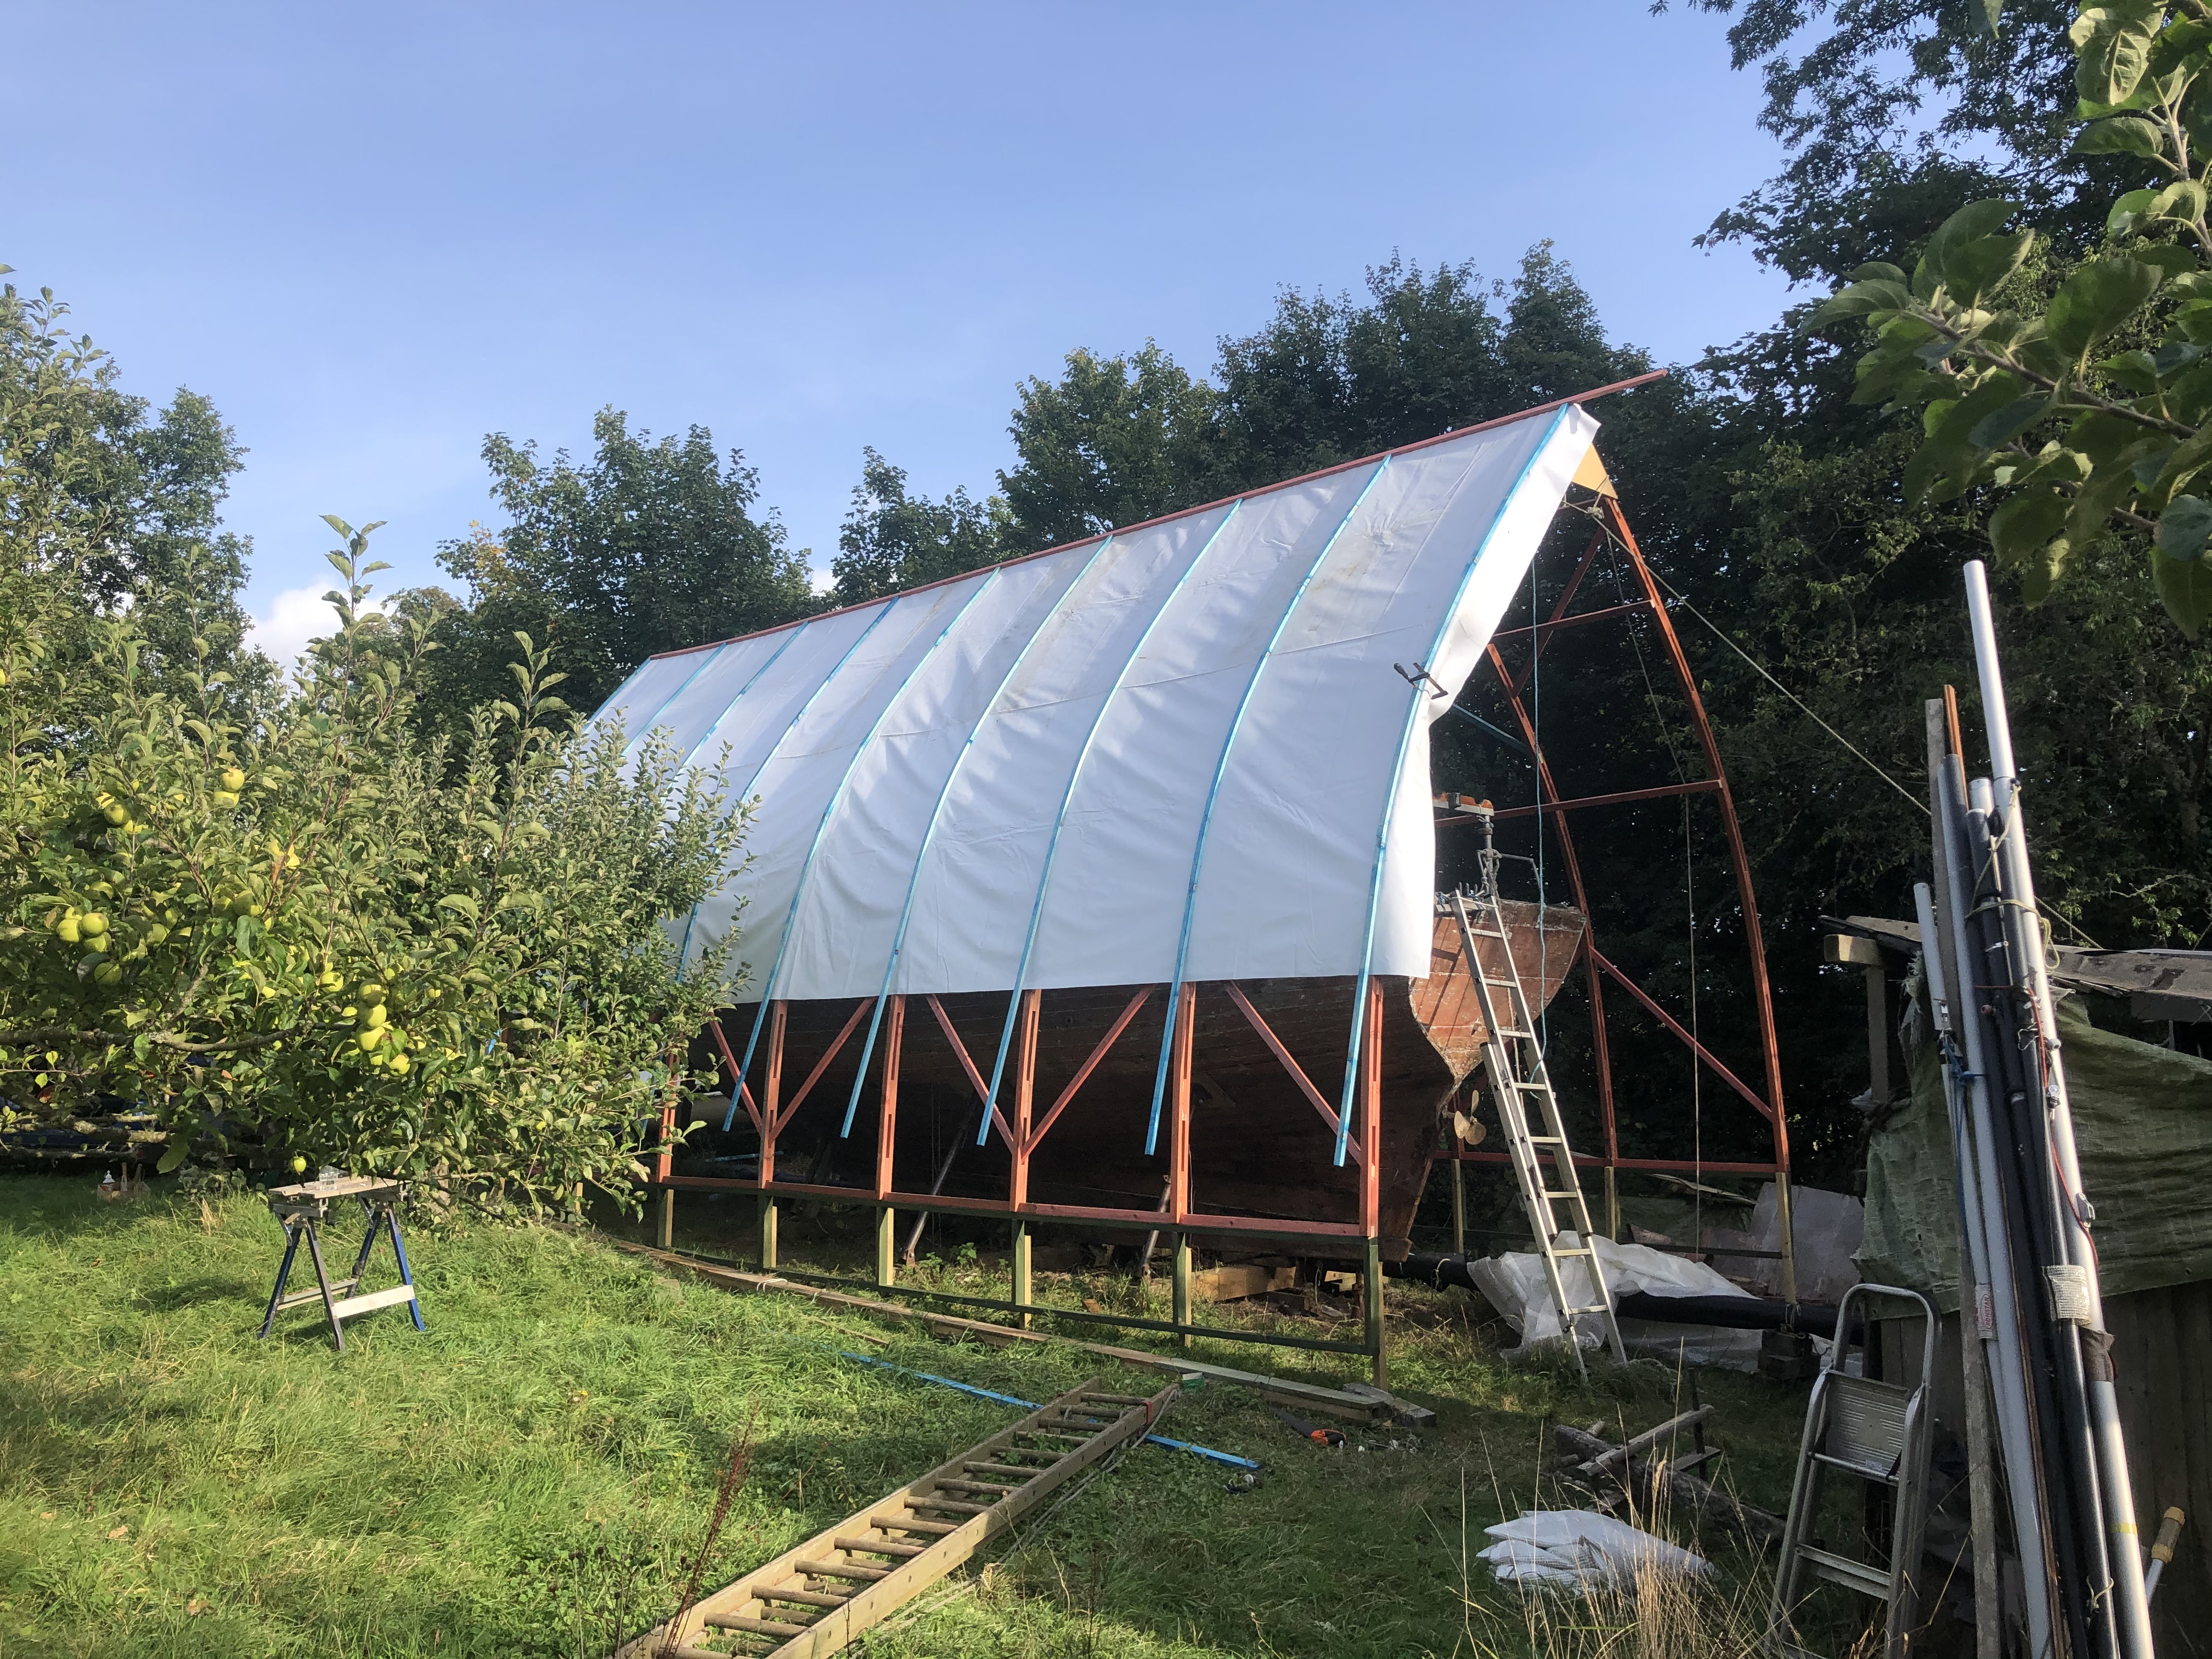
But now the old tarp is off and the new Bowshed shelter is well under way with help from Toby and Luke. We camped out for a weekend and, alongside lots of campfire chatting, cooking and star gazing we got quite a lot done.

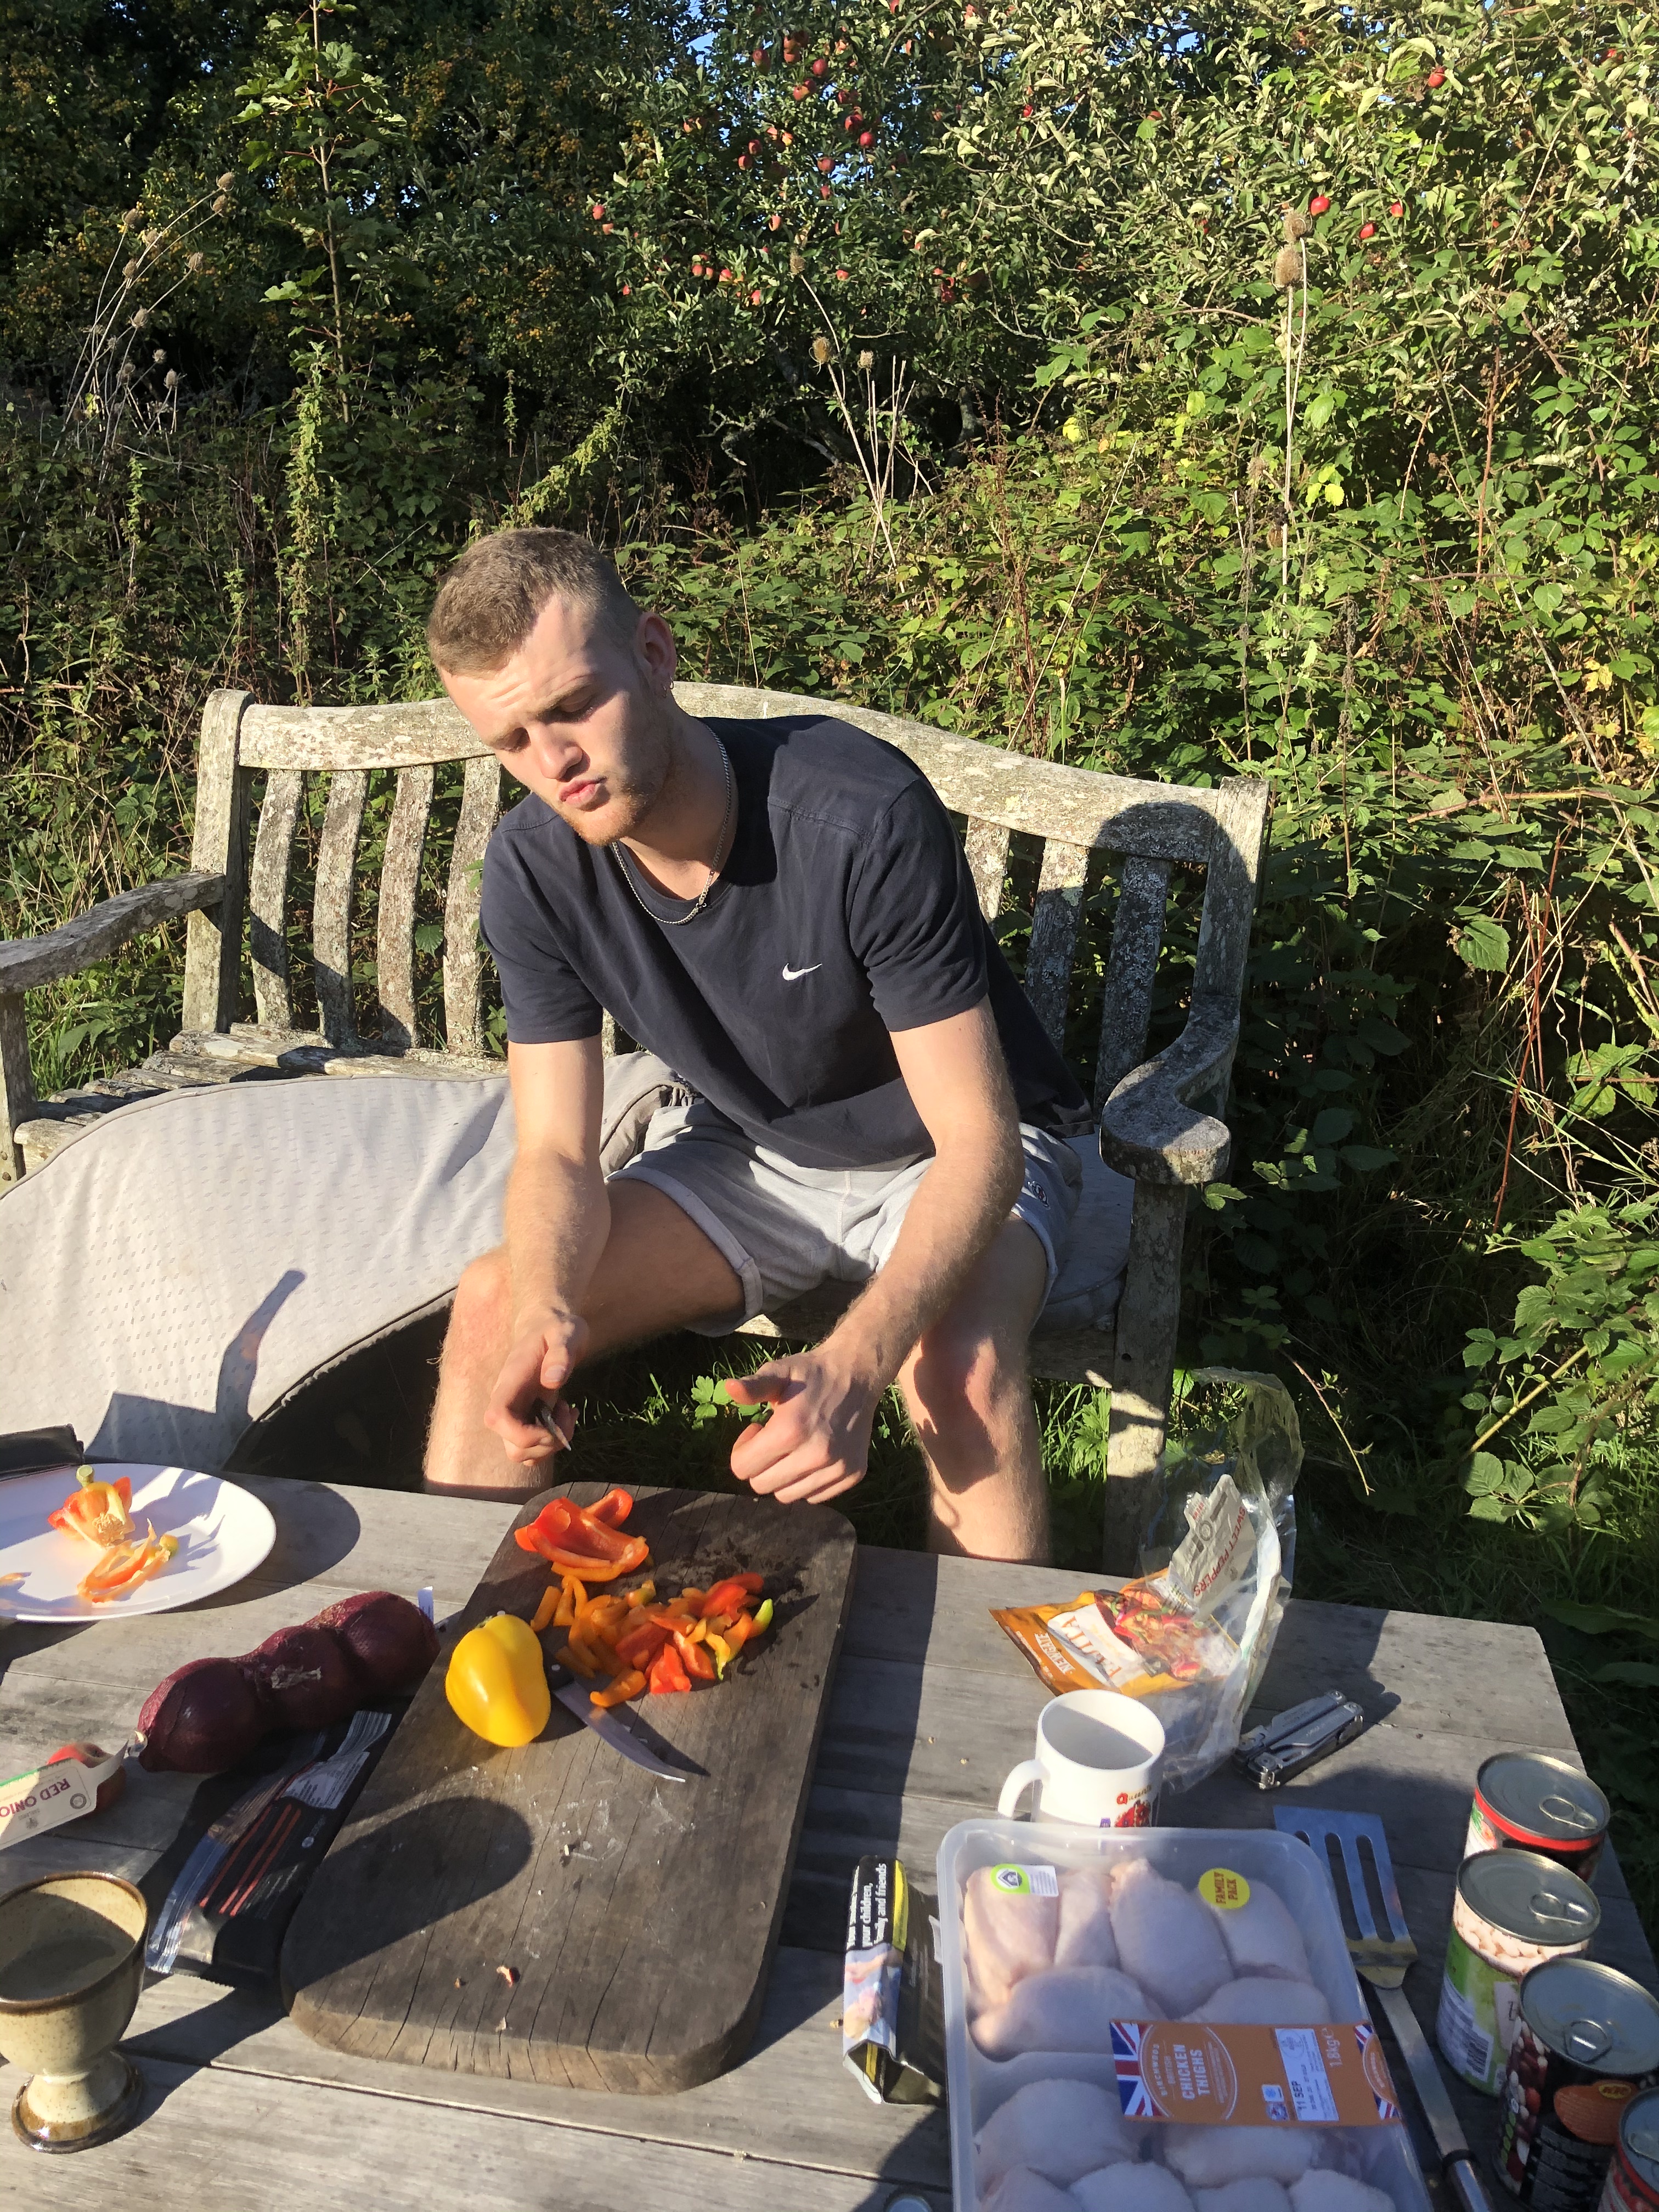
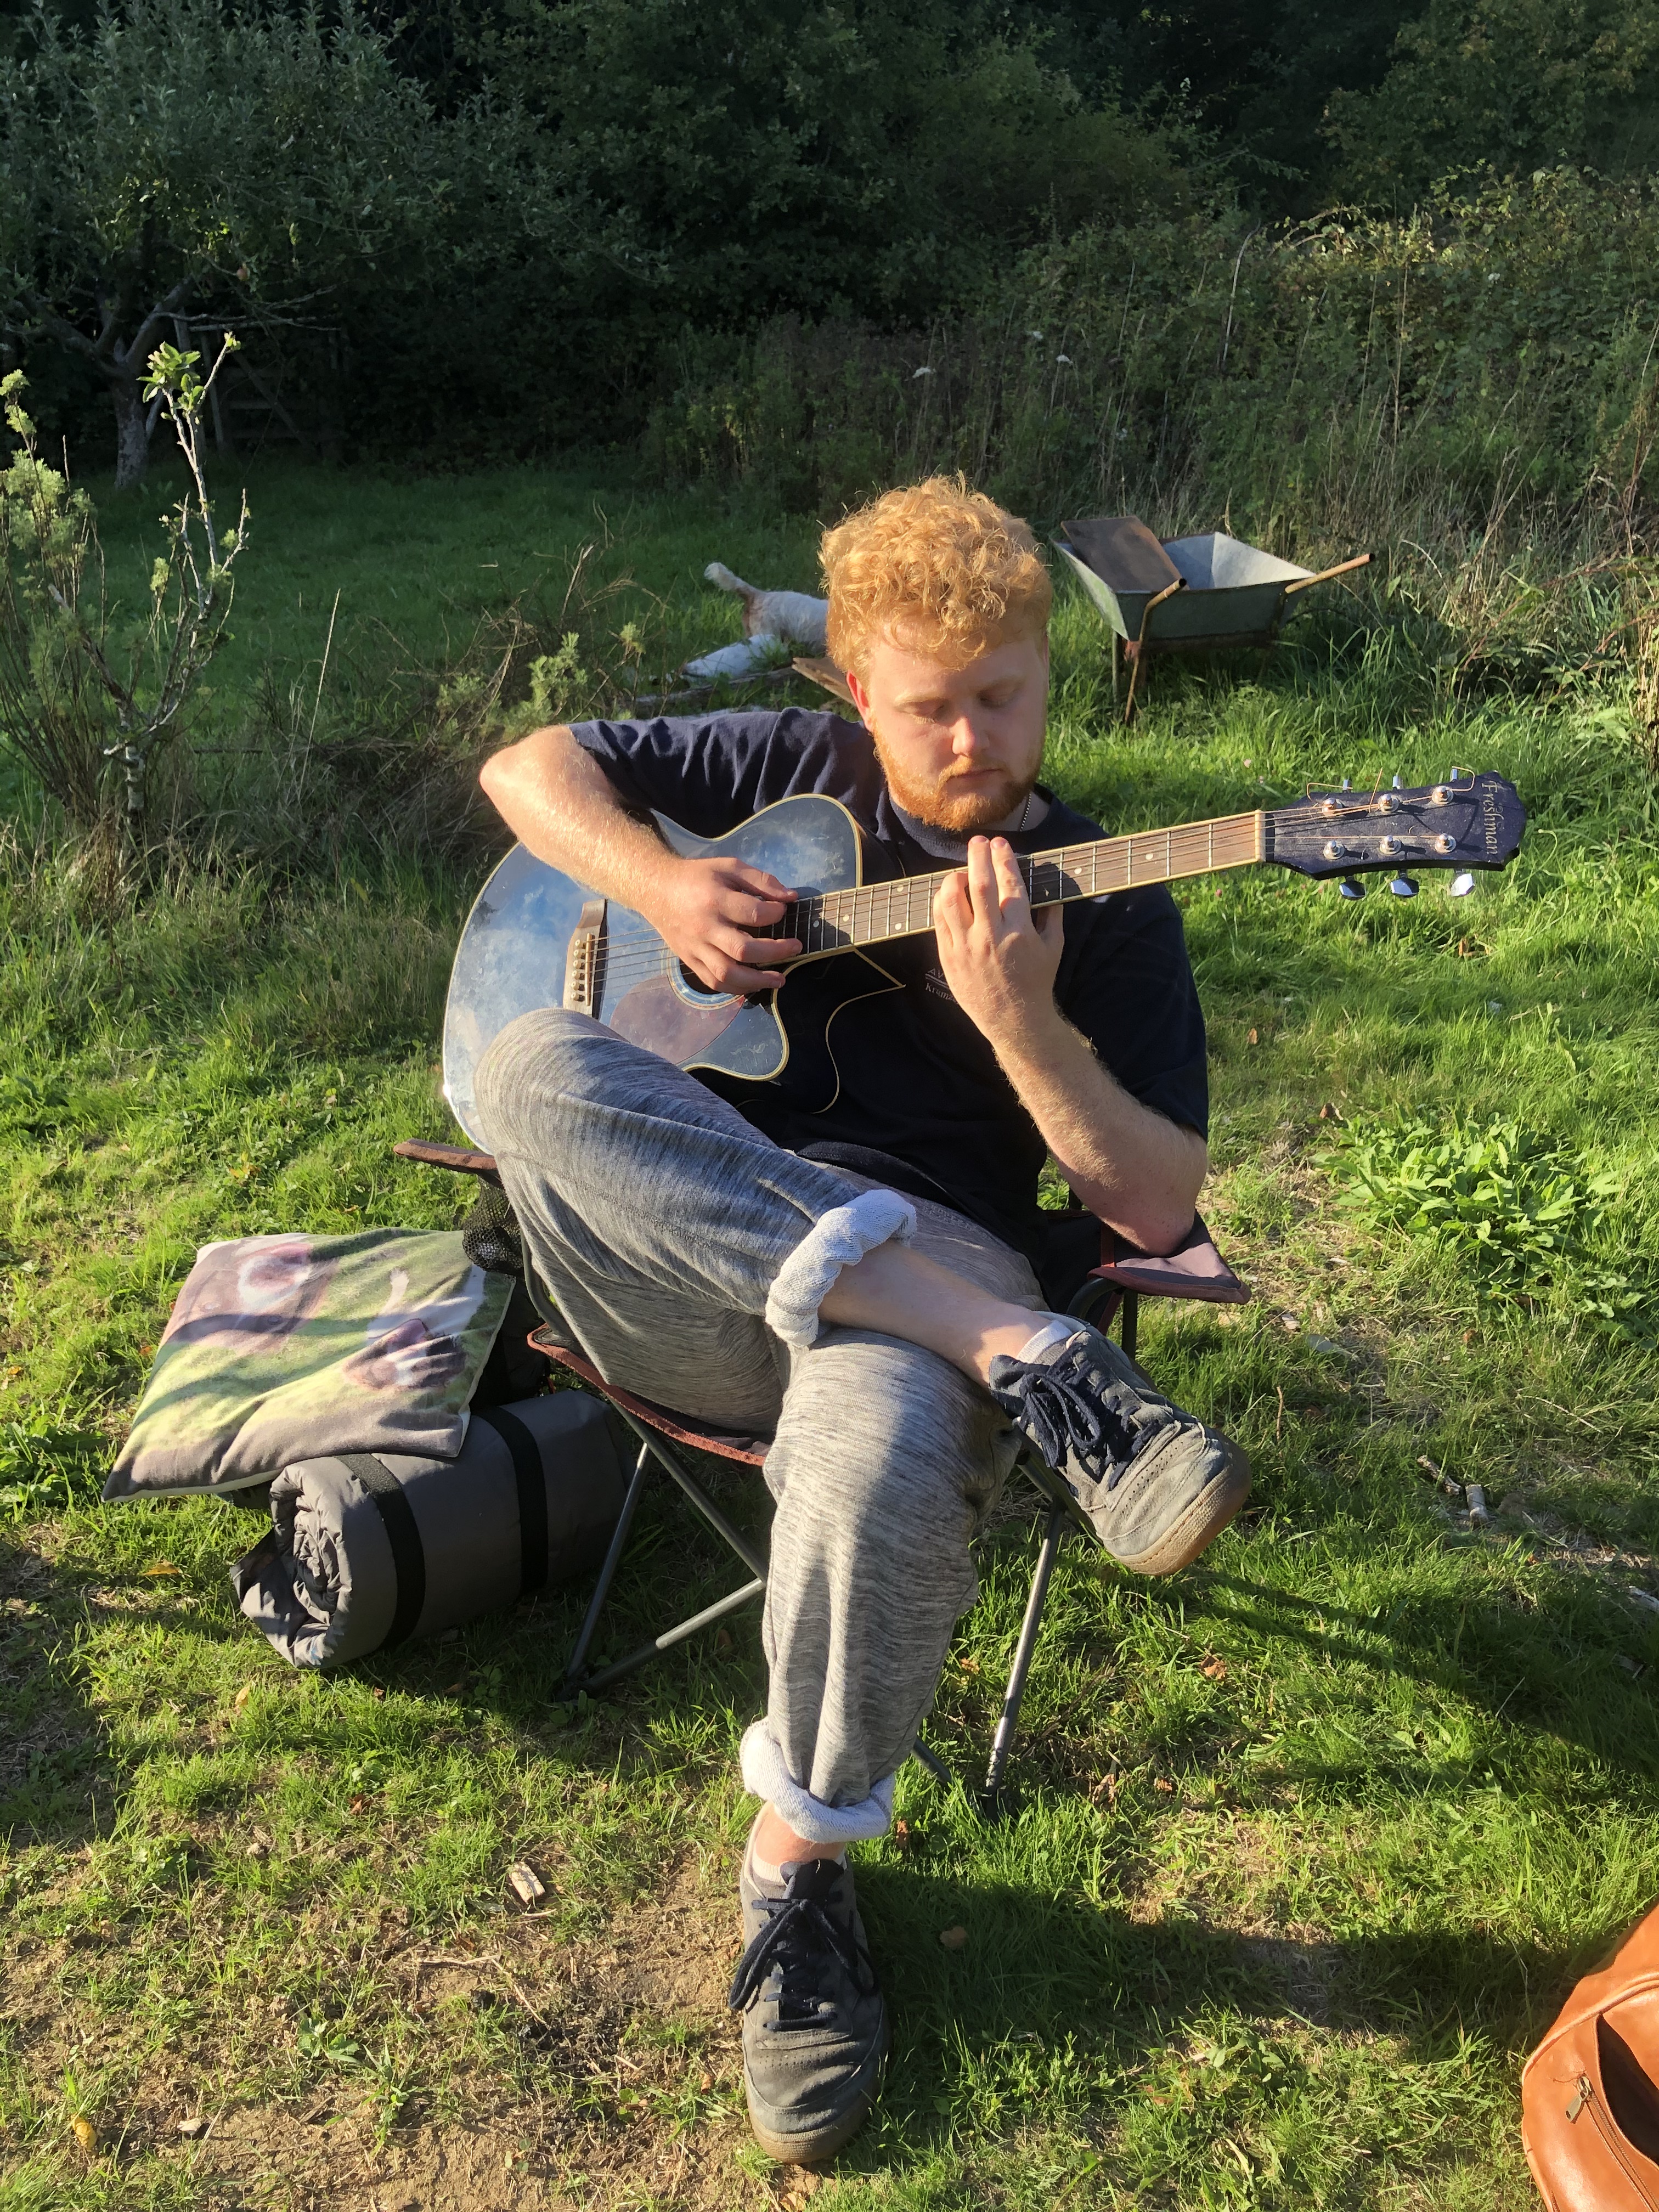

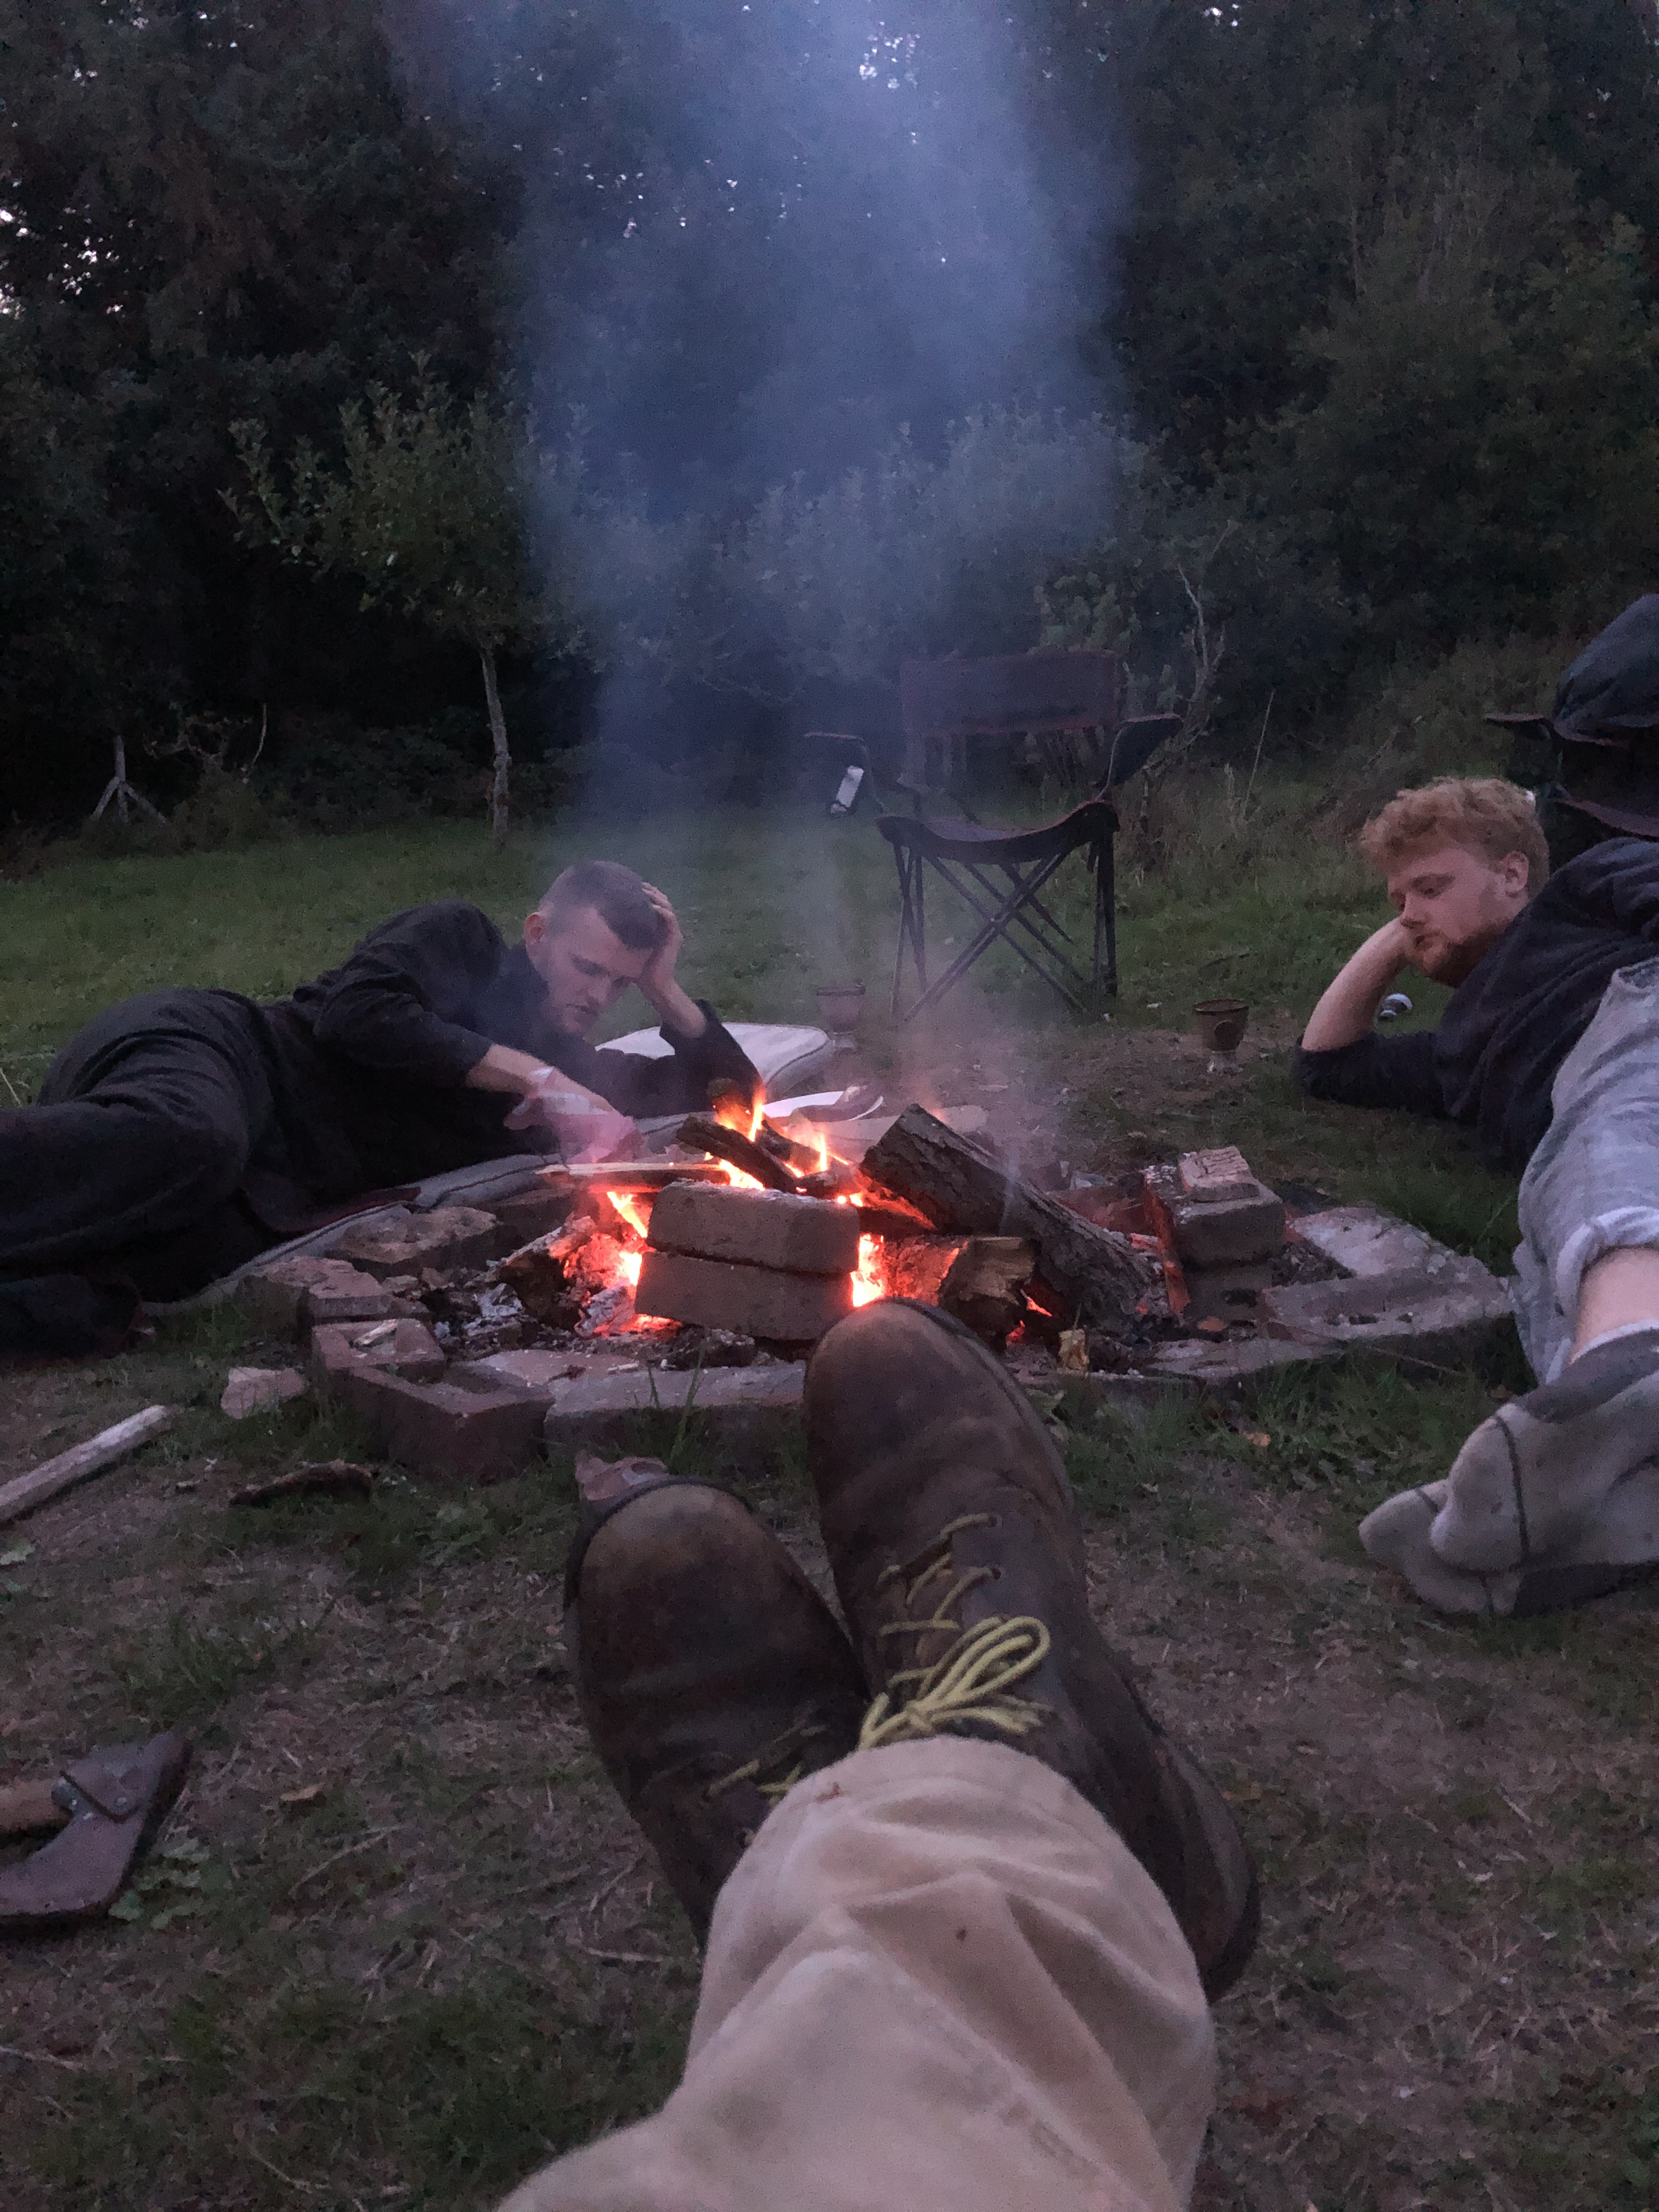
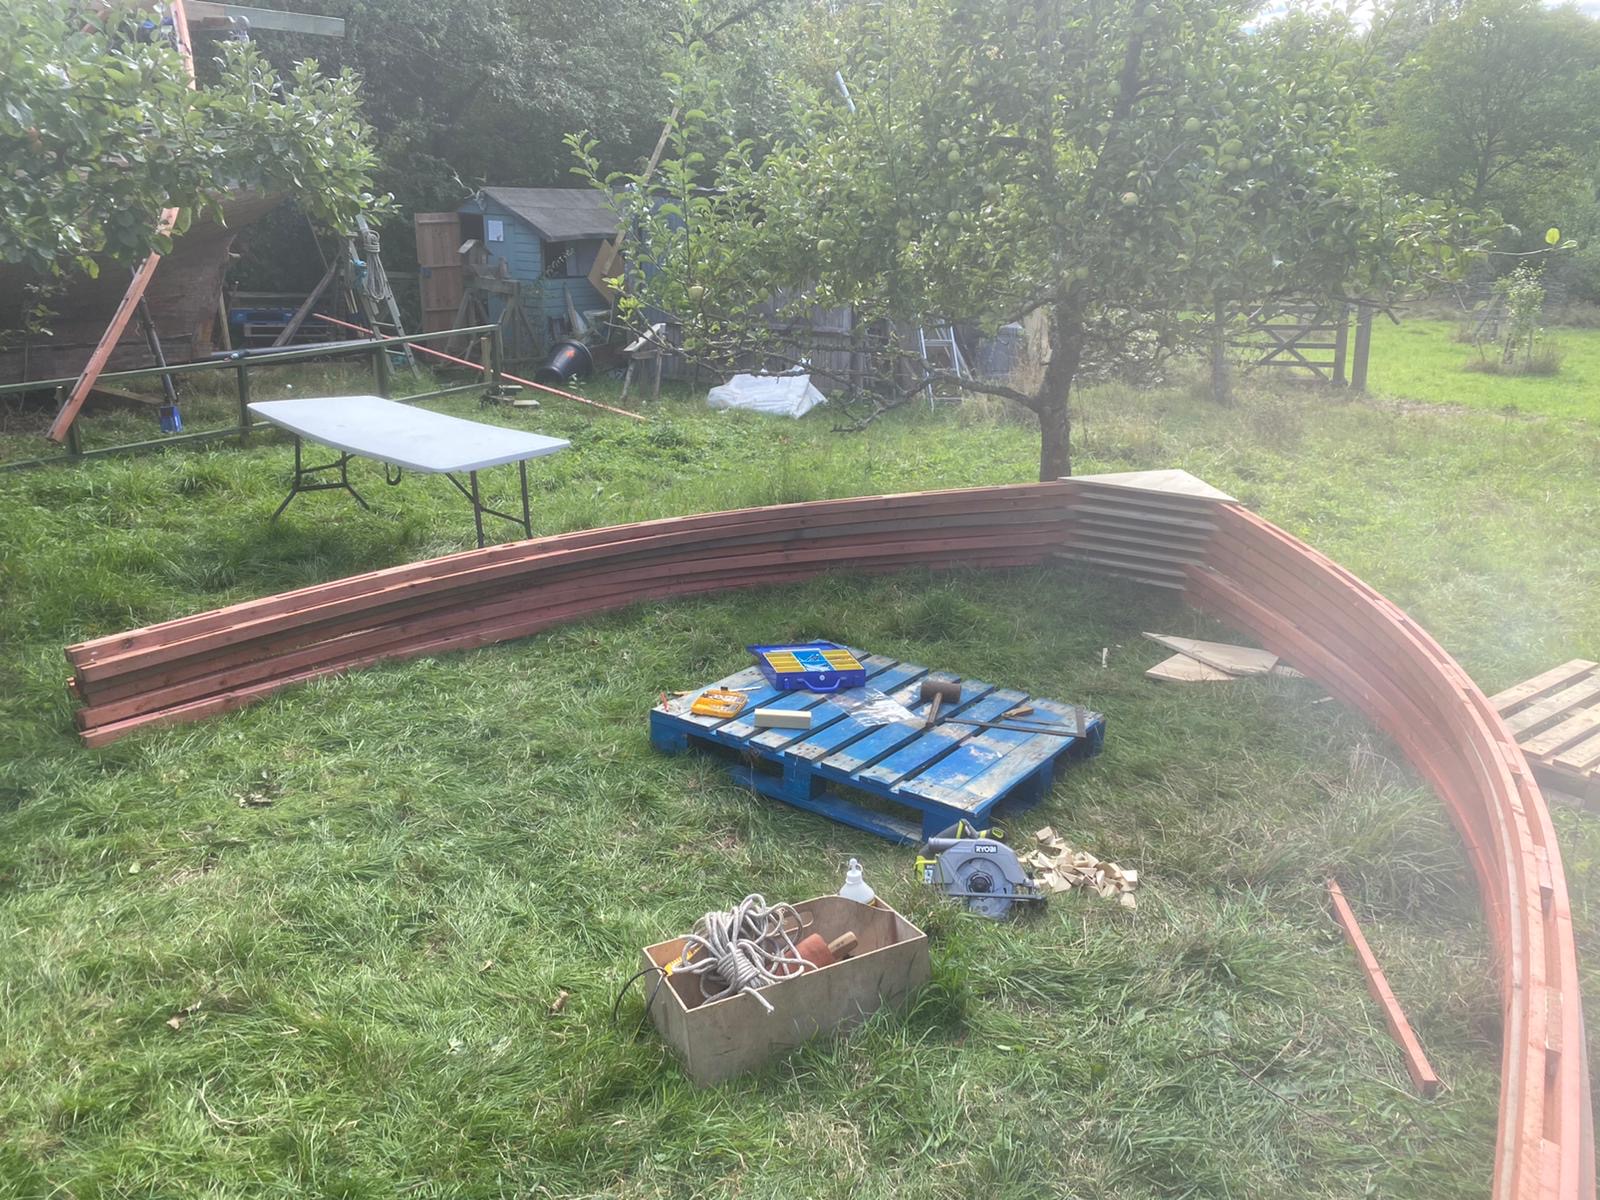
The following weekend saw another camp out, this time with an old college buddy too, slightly more fuel was needed in the form of pale ale, and the mornings hangover meant Sunday sloe picking (and boy was it slow picking) was about as strenuous an activity as we could deal with. Despite this slight handicap the three of us managed to get half the tarp cover on and battened down. I say tarp, in reality it’s a large graphic banner that was about to be thrown away from work. I have taken pity on my neighbours and put the vivid blue and green Ashes Cricket graphics on the inside. Recycling an old set made me wonder if it’s possible to link work and boat restoration….
Client: “So, tell me again why we’re using teak gratings as a background for the new Sports News Studio?”
Me: “Well………”
Client: “and lovely though they are, I’m wondering if the shiny bronze cleats and natural hemp rope are quite the thing for holding up our new Touch screen?”
Perhaps not… if only we still had the rights to The America’s Cup…. that would be a far easier sell!


Our lovely house came with a car port that has now been transformed into my first ever actual workshop! This necessitated the building of a workbench which was very satisfying, and prompted Rupert (aforementioned college buddy) to pass on a little lathe that he got for free but never used. With a shiny new Record chuck I tried my hand a wood turning for the first time in many years. Quite pleased with the result! A small Yew bowl and a knock down caulking mallet.


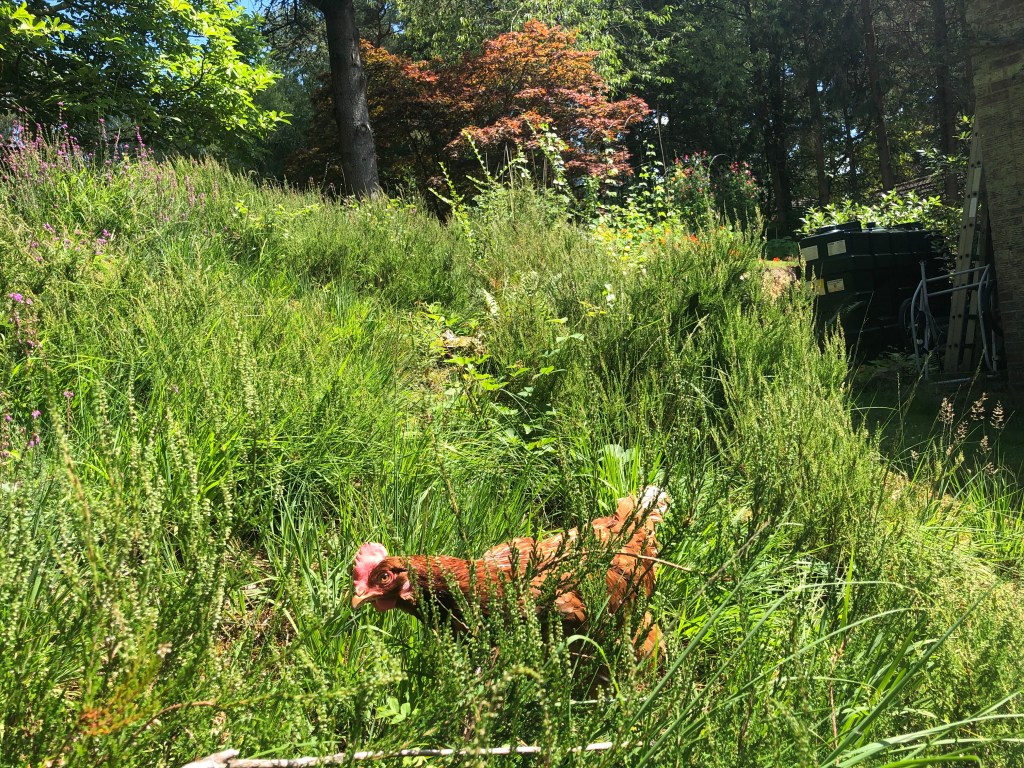
The drawback of boat building in an orchard is any piece of scrap wood left on the ground for more than a week seems to become a home for wildlife.

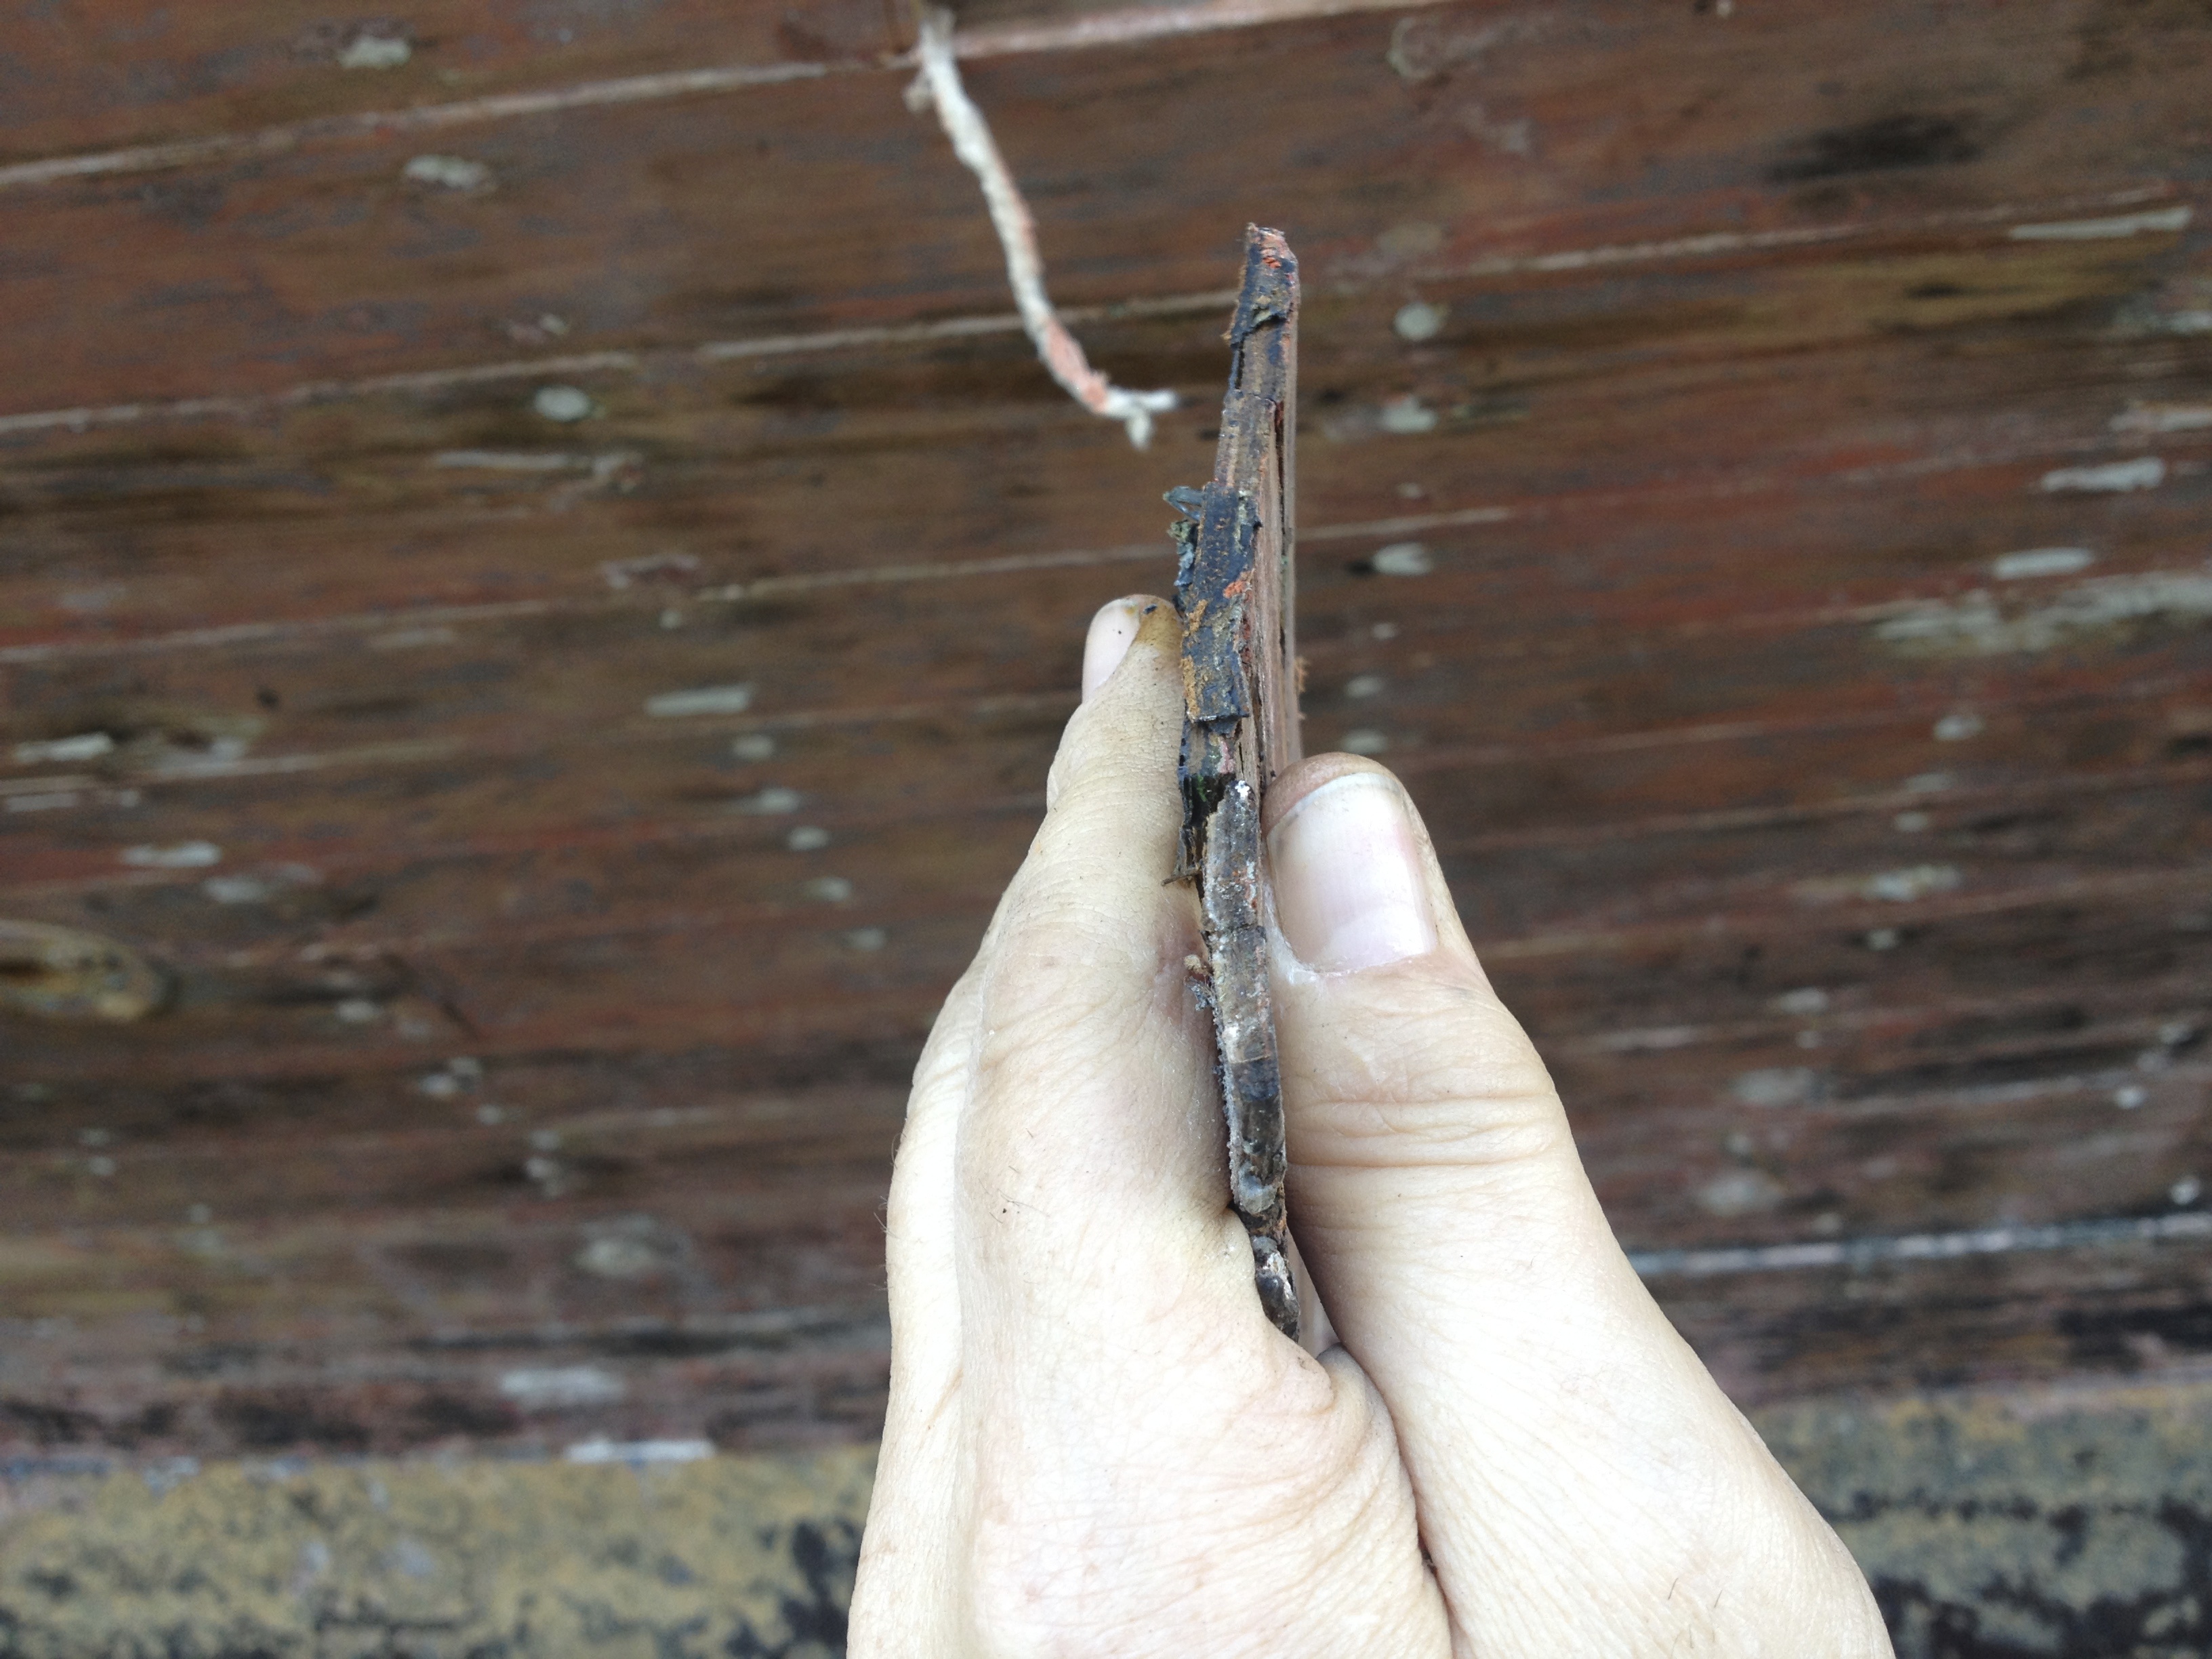
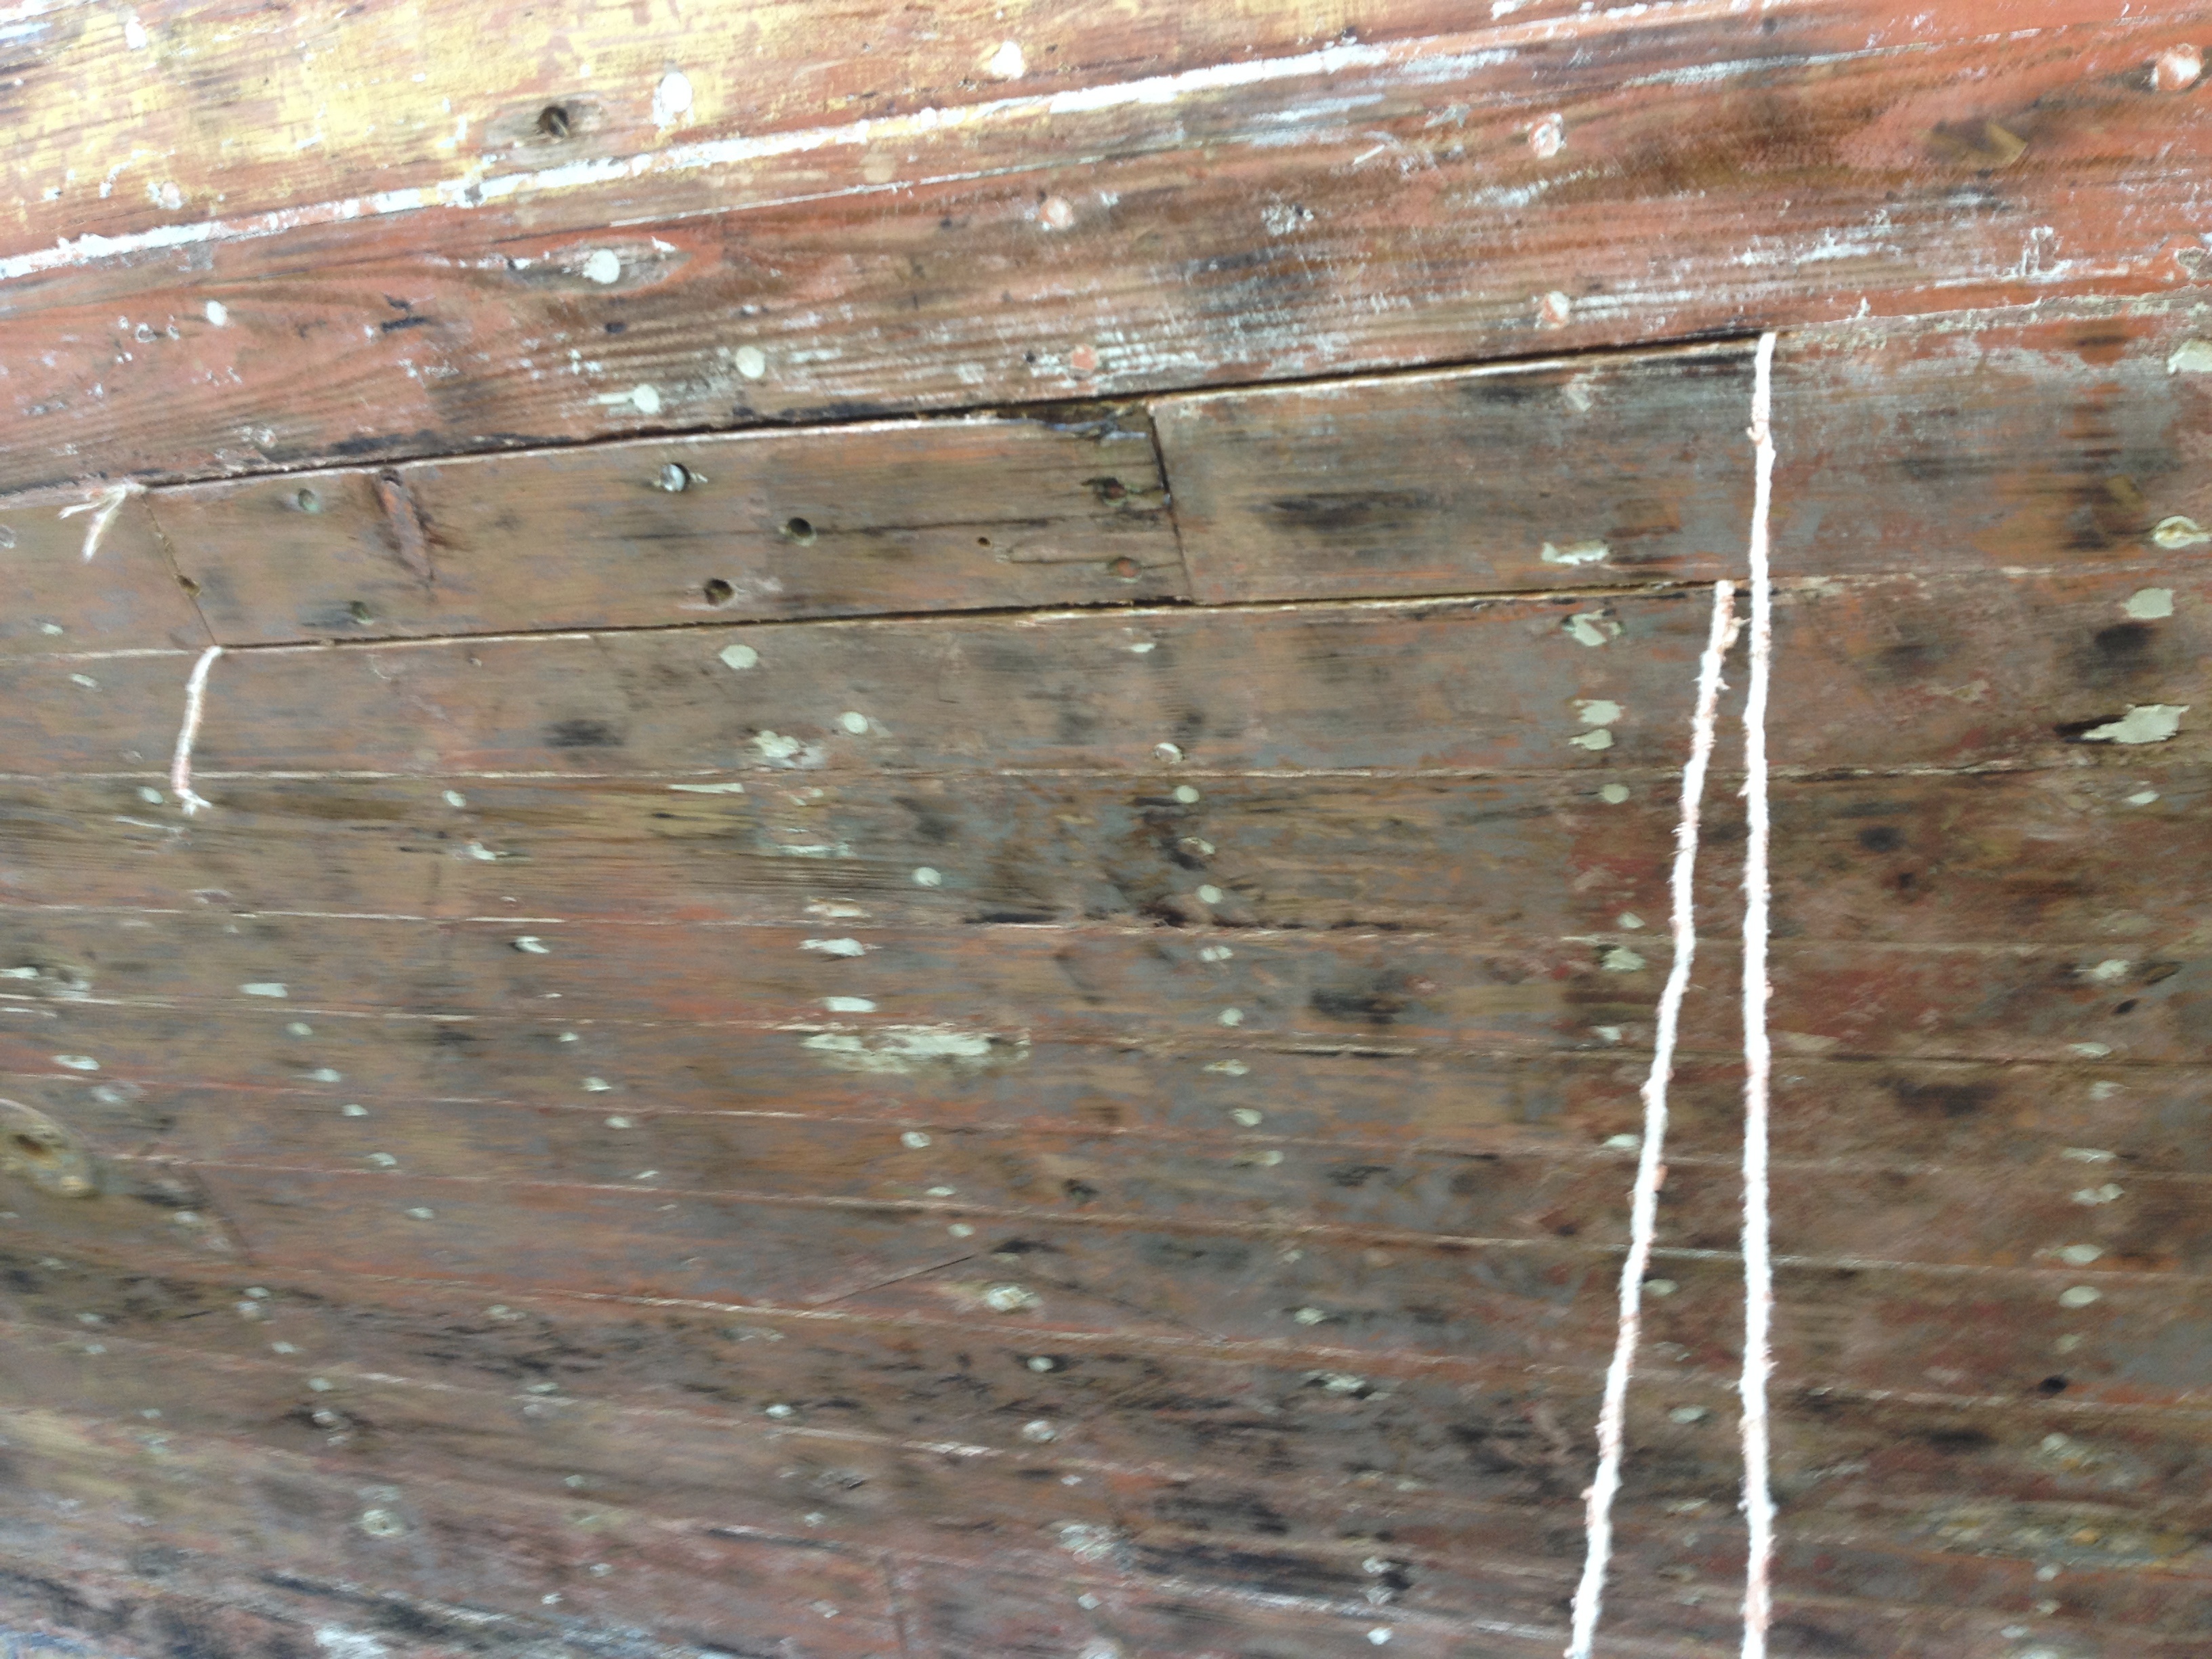
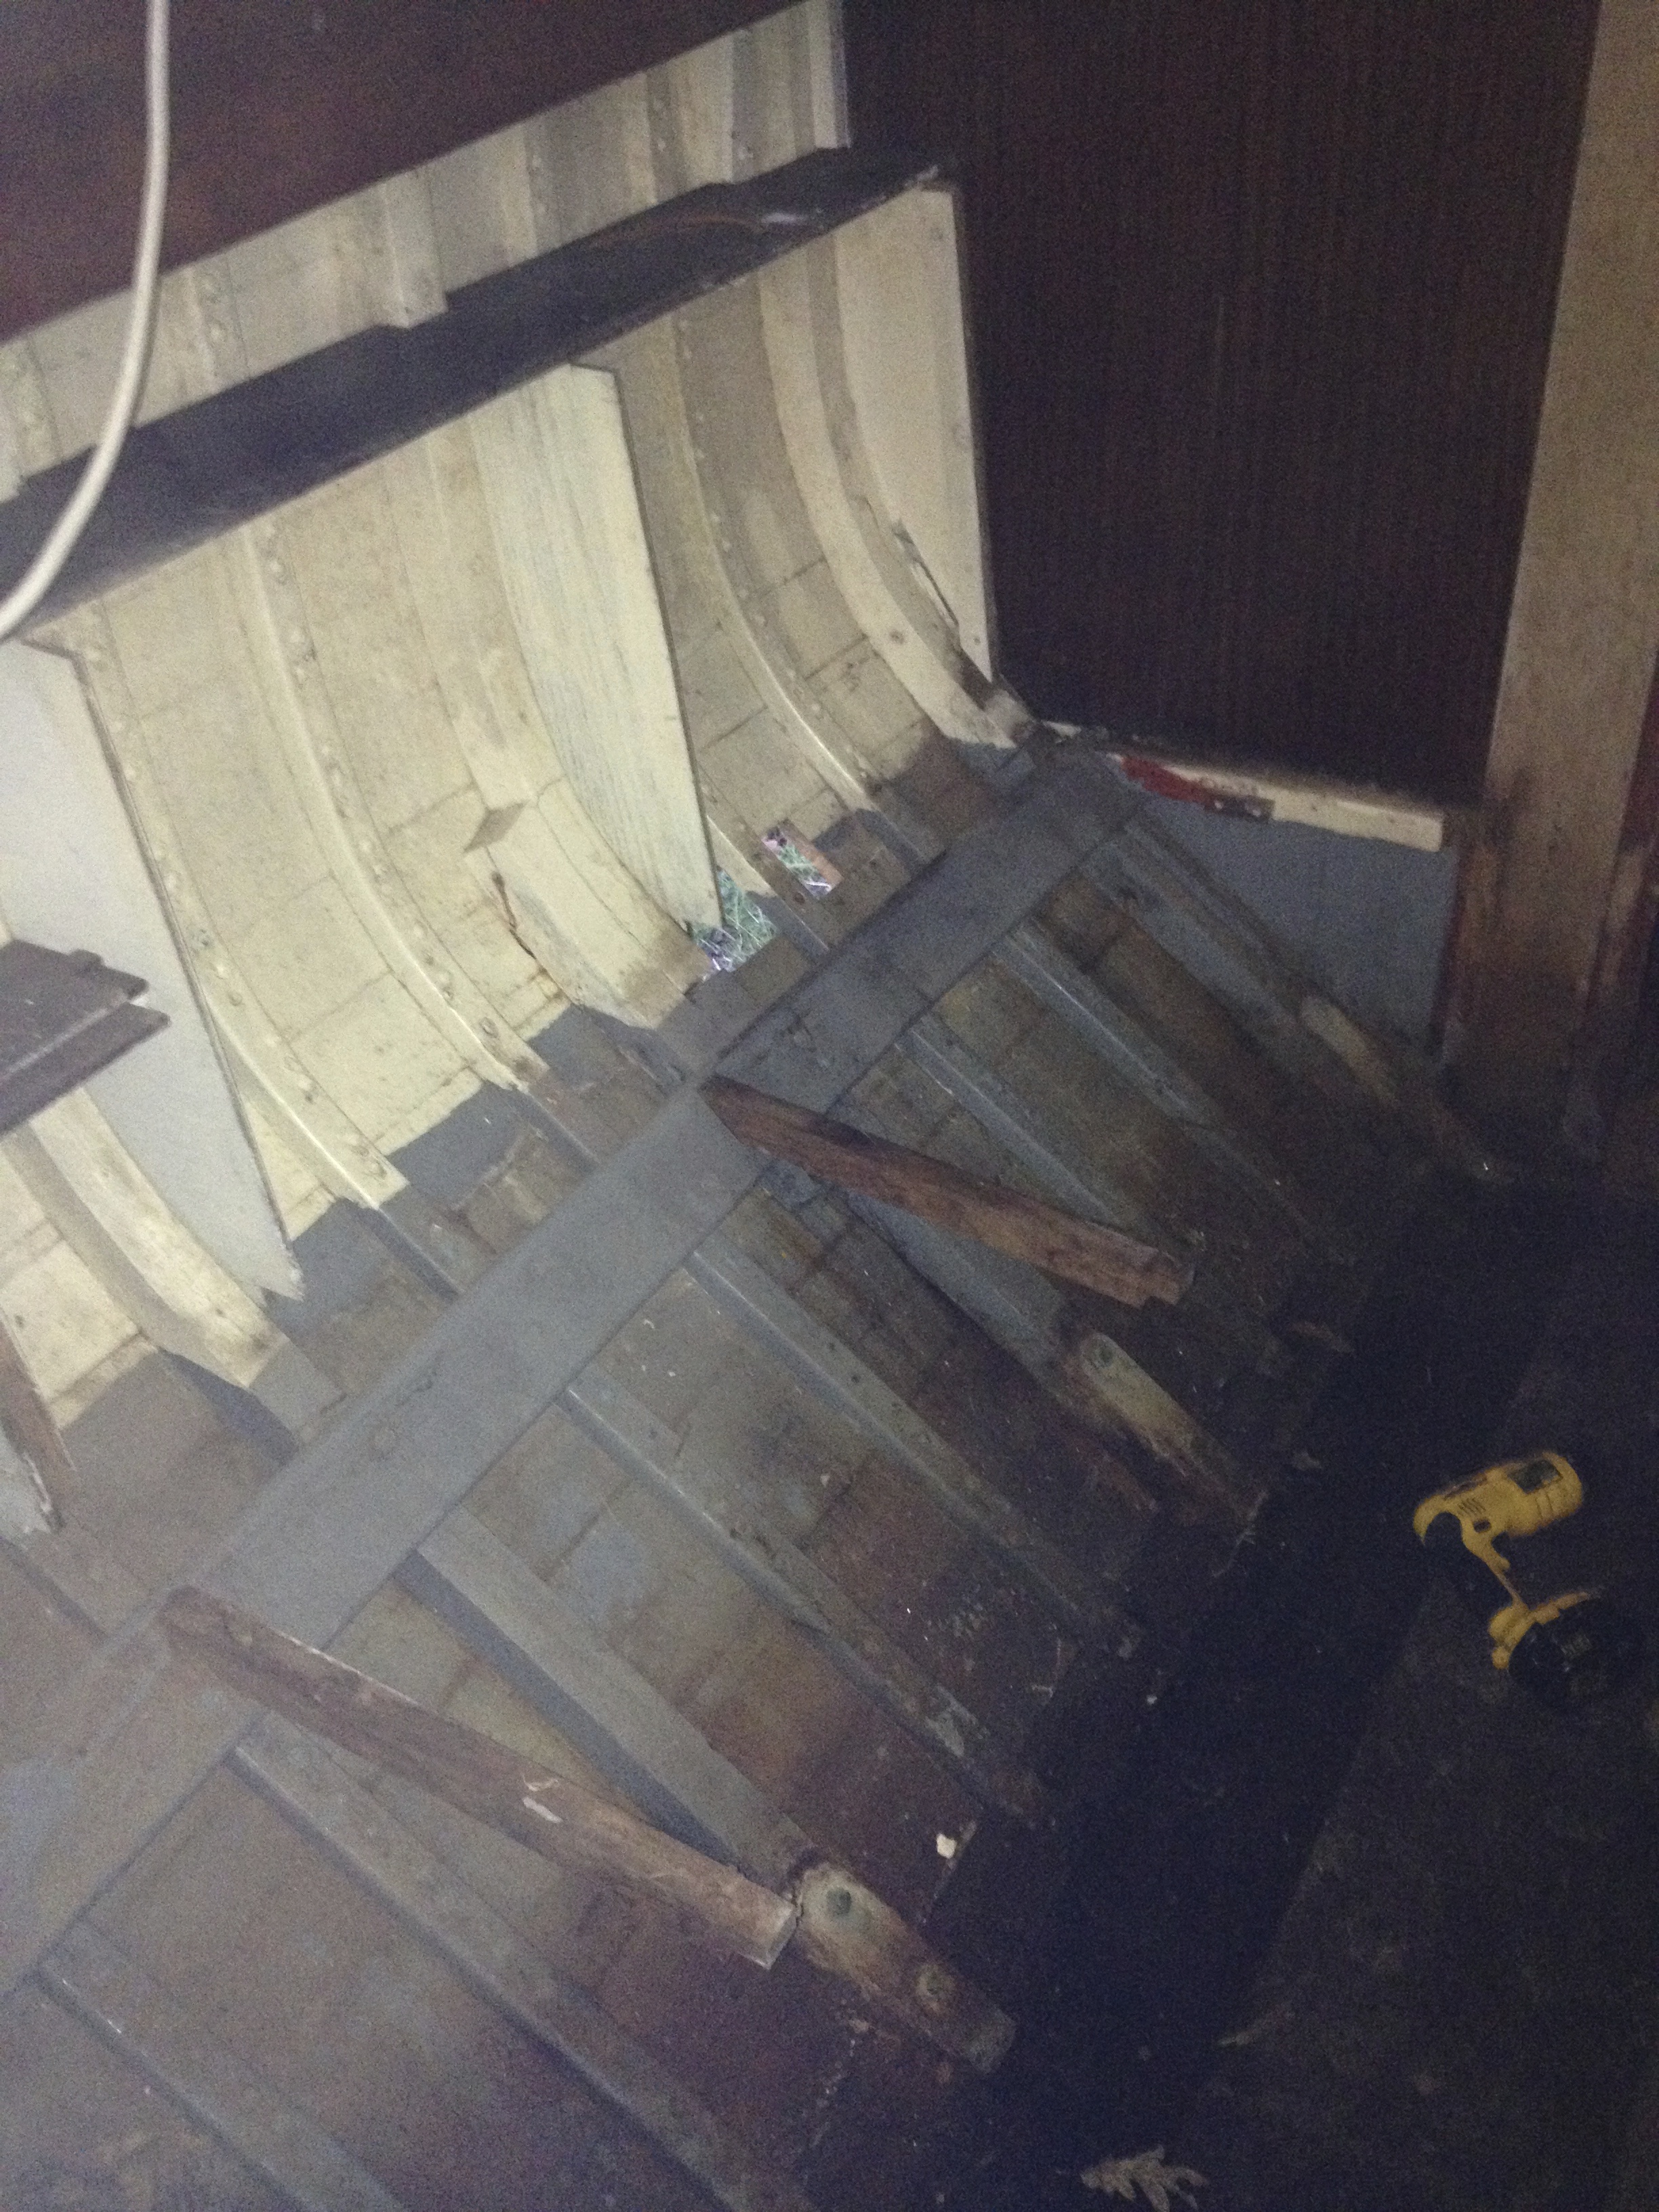
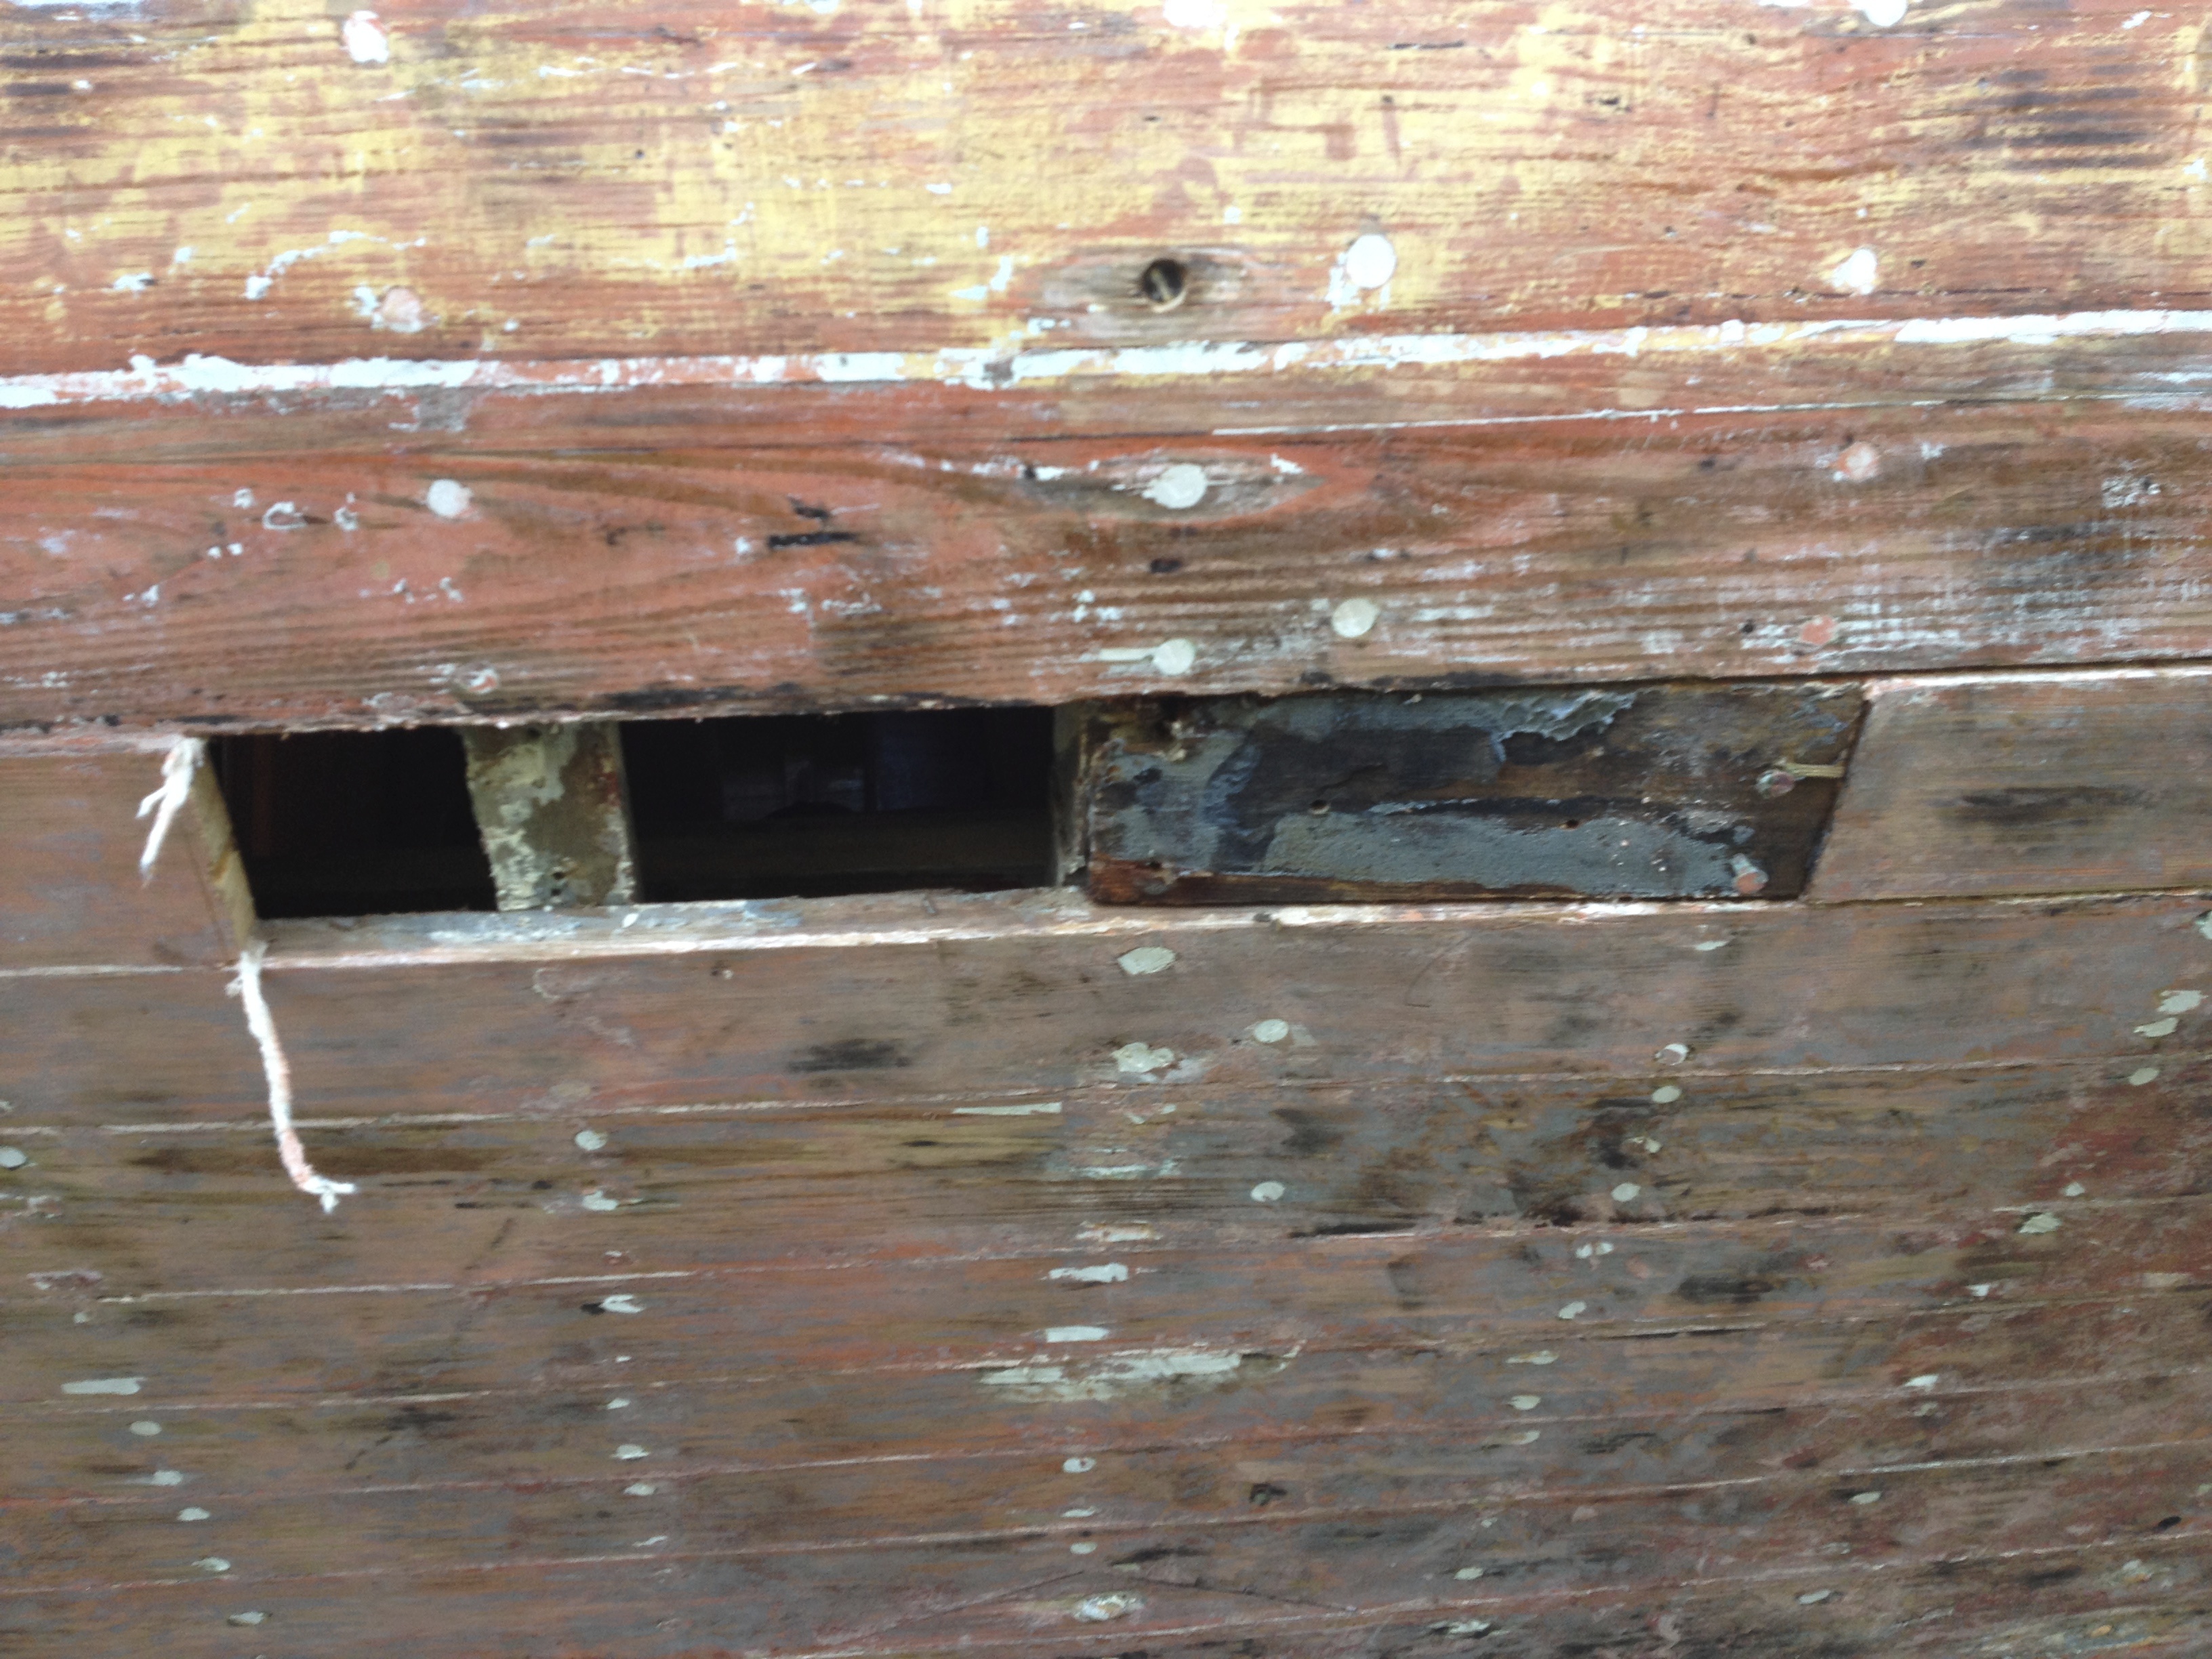
Stoic on her stands, starved of affection, attention and not to mention, a diet high in alpha and beta carotenoid pigments, including canthaxanthin, (huh?) Flamingo has sadly suffered from the neglect of the last couple of years. I was shocked last weekend, to see a new patch of rot on her rubbing strake, nothing that can’t be remedied but it did make me realise how important this new shelter is. So, before the winter sets in and in between apple pressing, meadow mowing, and landscape gardening (oh and holding down a job) I need to carve out some more time to get on with some actual boat renovation and make this the Year of the Flamingo!