Getting a handle on it

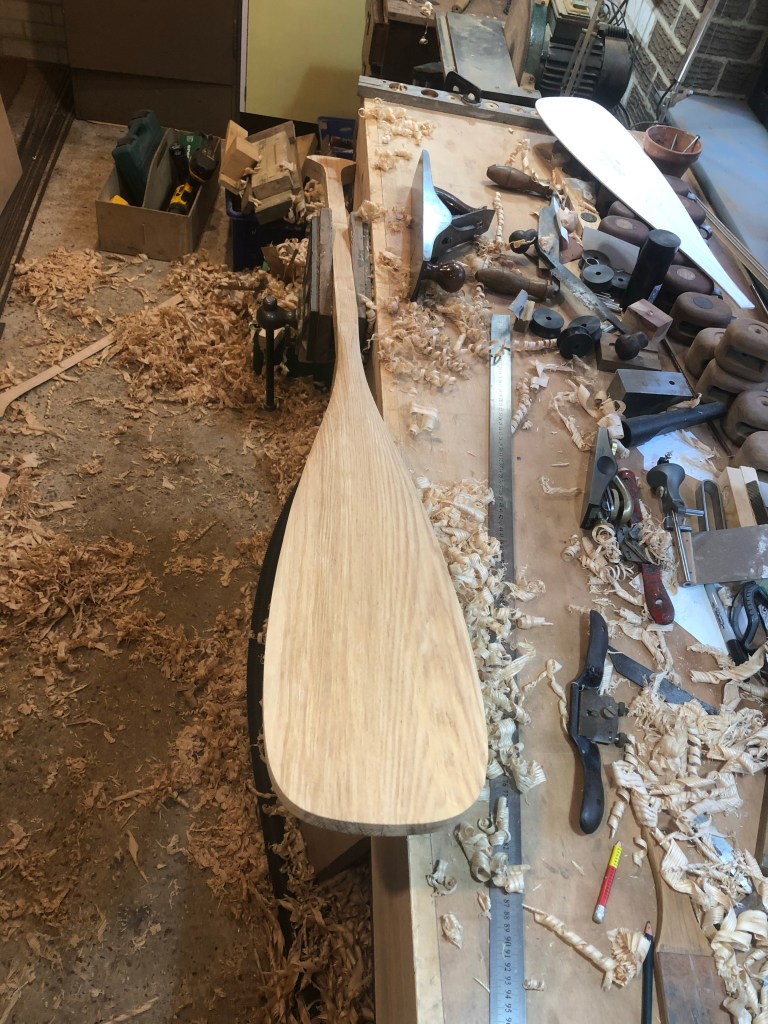
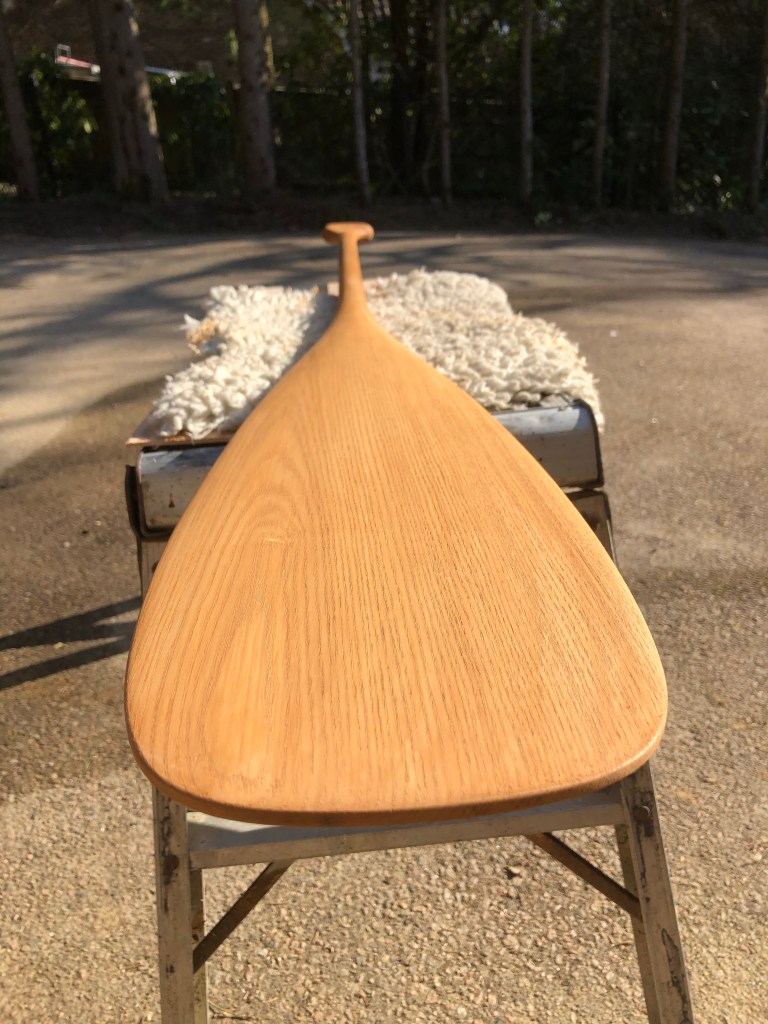
With some offcuts of Ash from the paddle project I thought I’d tackle making handle pads for the Laurent Giles levers. The old ones were long past saving and it seemed like a nice project for a rainy Sunday.

Flamingo has running backstays rather than fixed. The backstays are the galvanised steel cables that provide tension in the rig and some support for the mast. This means that each time you tack or gybe you need to slacken off one side (leeward or down wind) and tension up the other side (windward or up wind) to counter the force of the wind and keep the jib or foresail under the correct tension.

You can see in the photo below, the galvanised steel cable with the eye hooked on to the lever, with the lever handle pointing forward (to the right in the photo) and flat on the deck it will be slack but if you swing it through 180° to the left it tightens up.

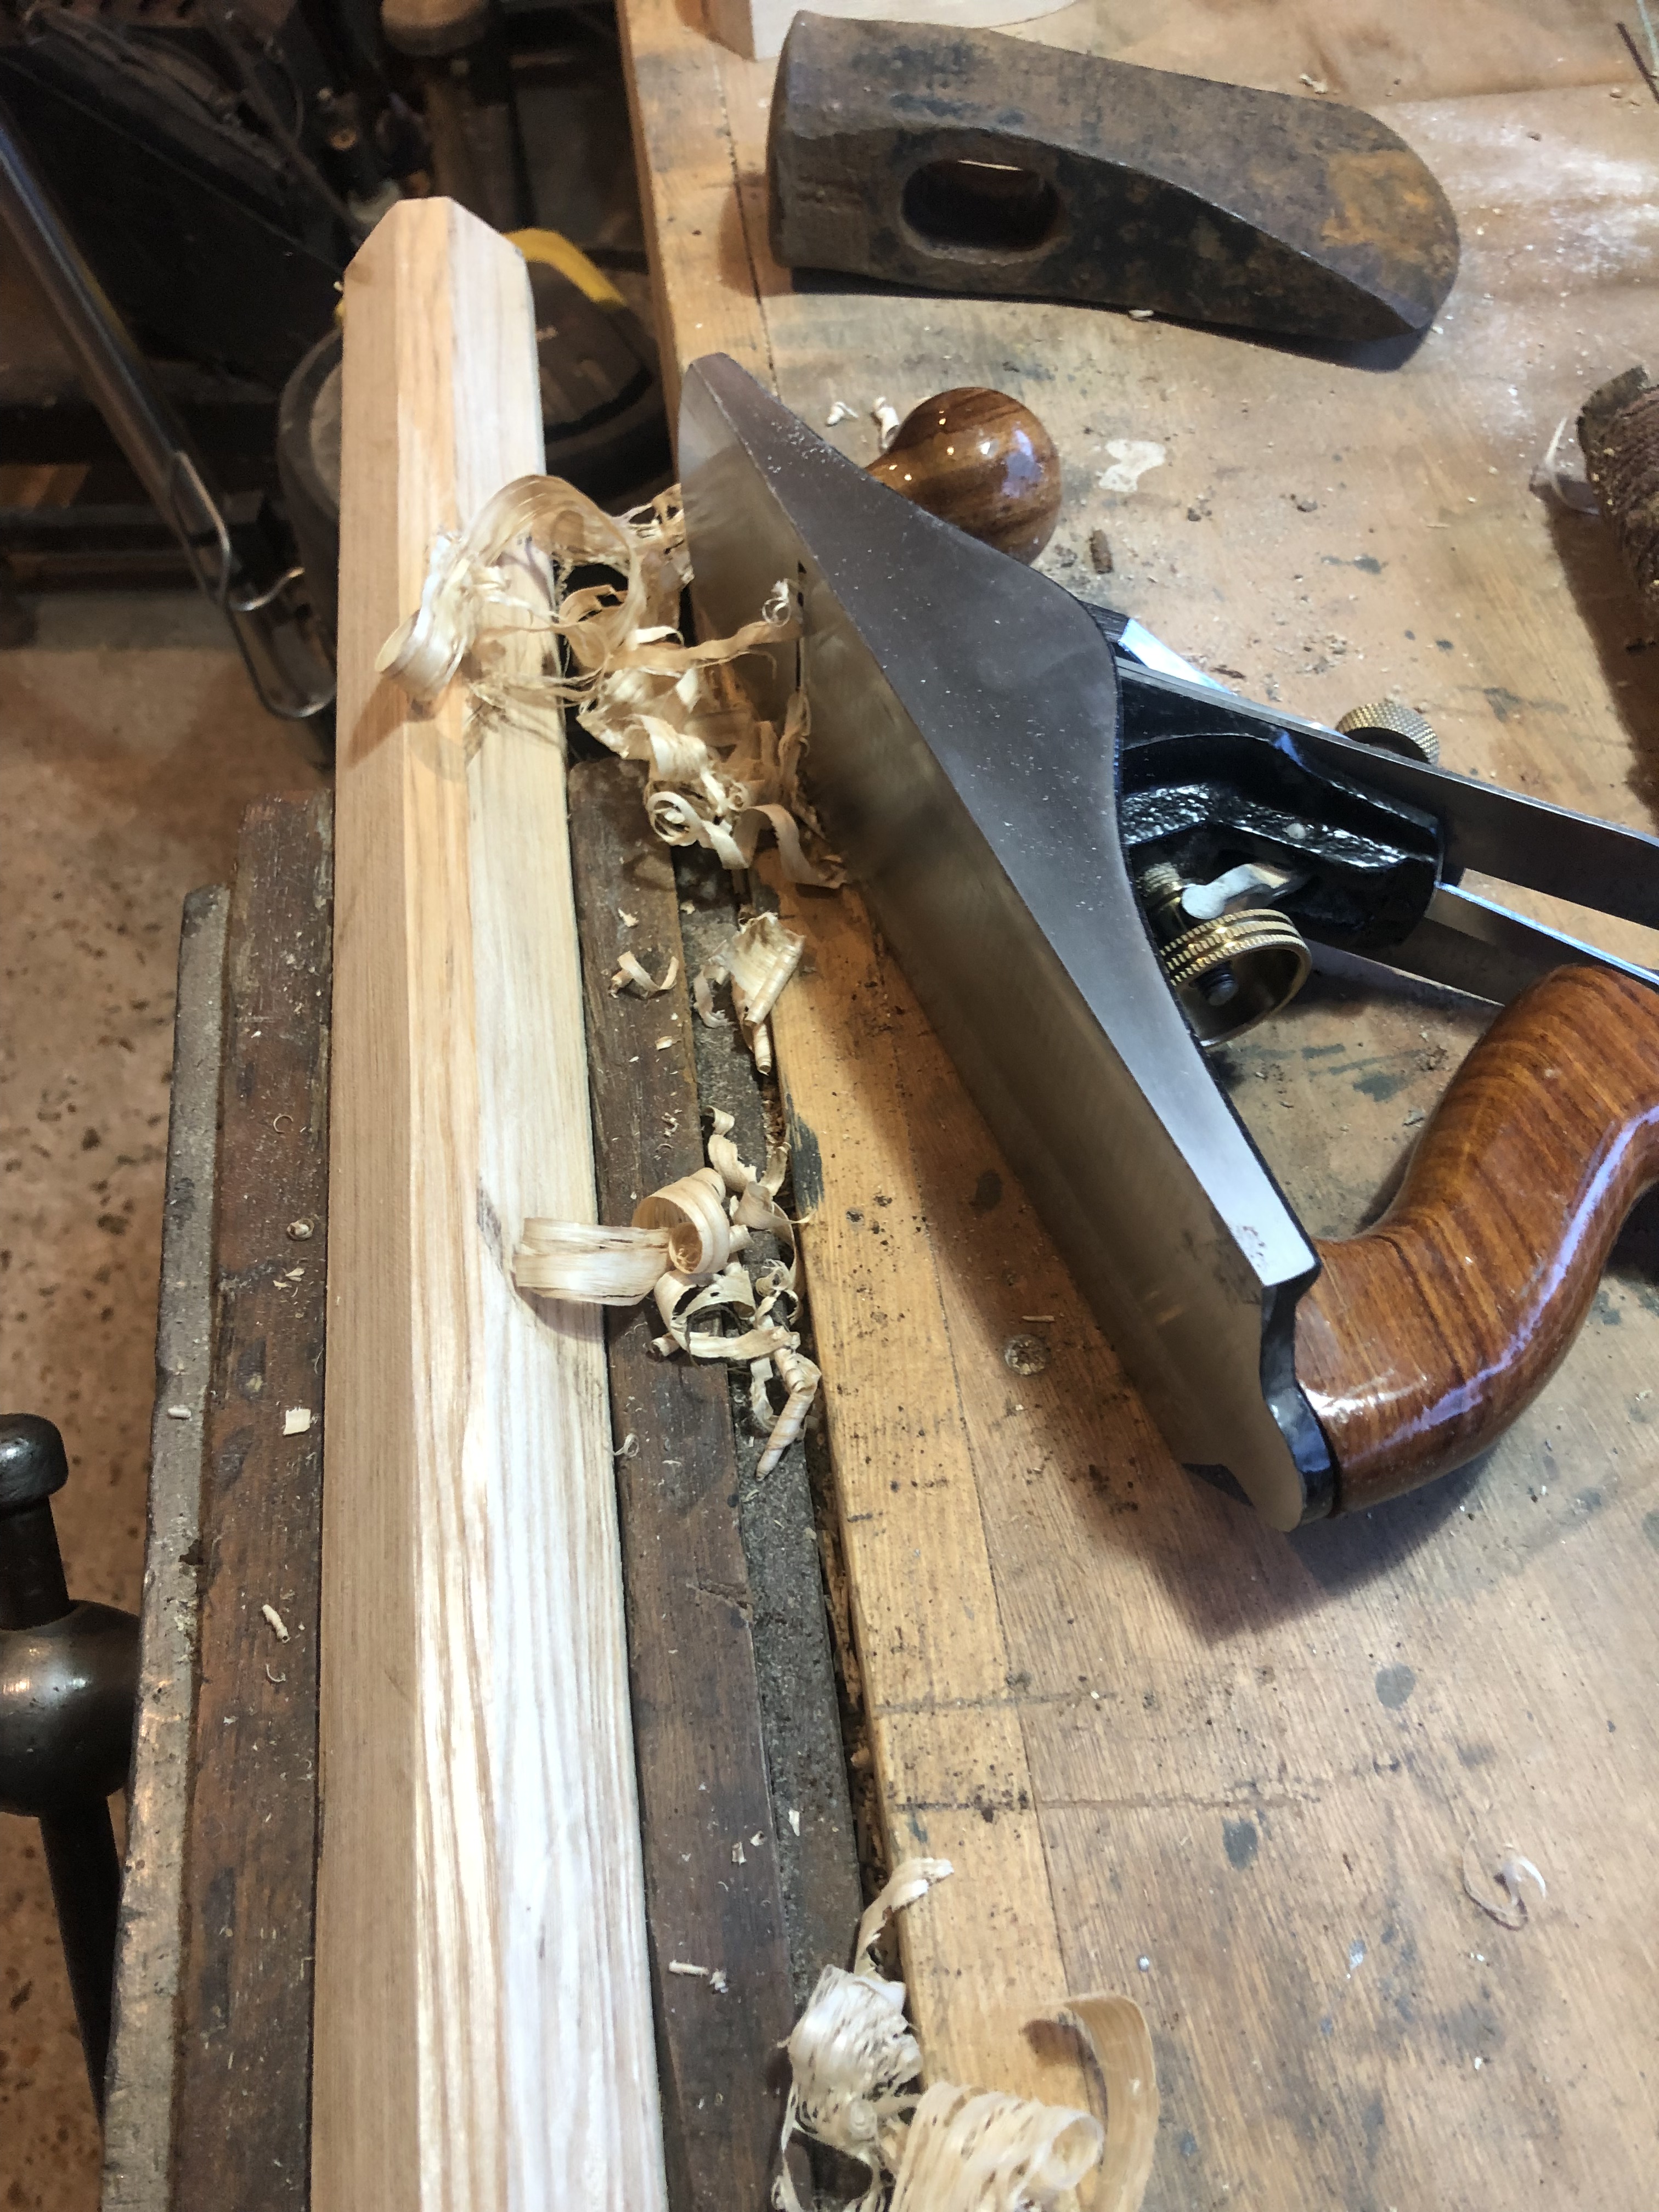
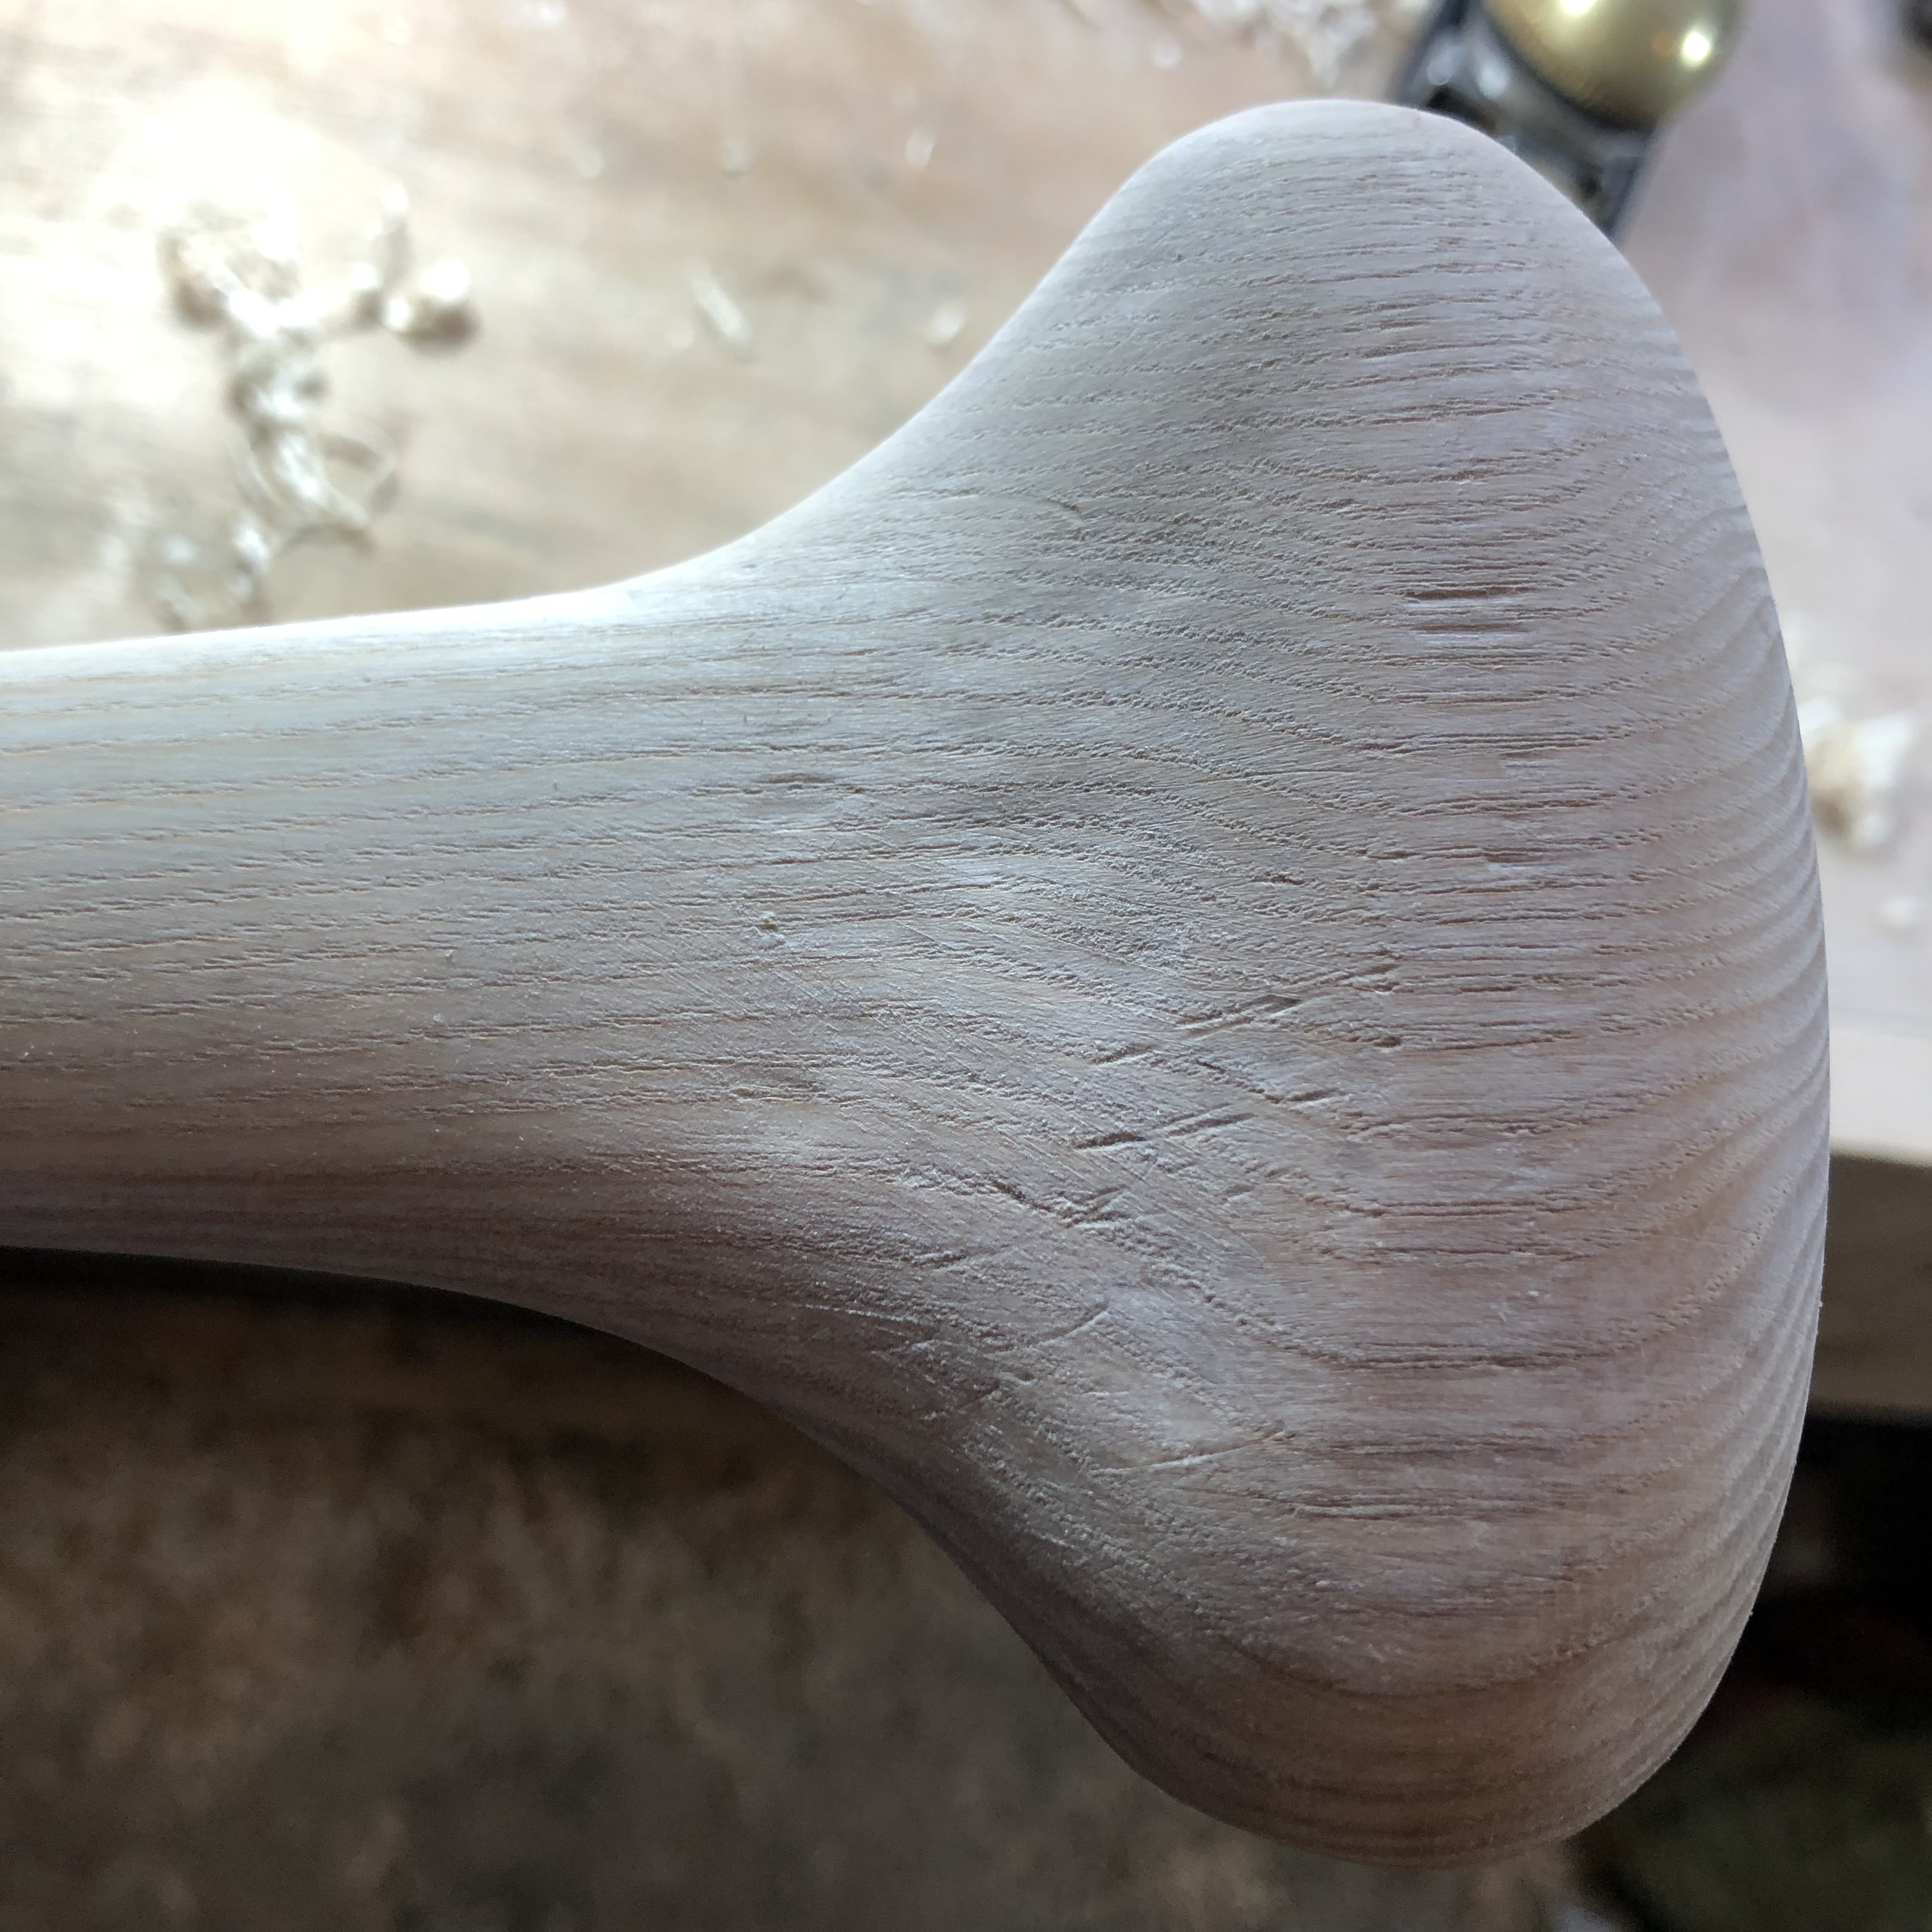
First I cut out the rough shape with a jigsaw then sanded with drum and disc sander til I was happy with the fit. Then I ripped the block in half on the circular saw to create the two cheeks or pads. Sticking them together with double sided tape I then marked out for the first stage of shaping. Keeping crisp easily visible lines at this stage really helps get the form nice and even later on so with a drum sander in the lathe I put a chamfer all round.

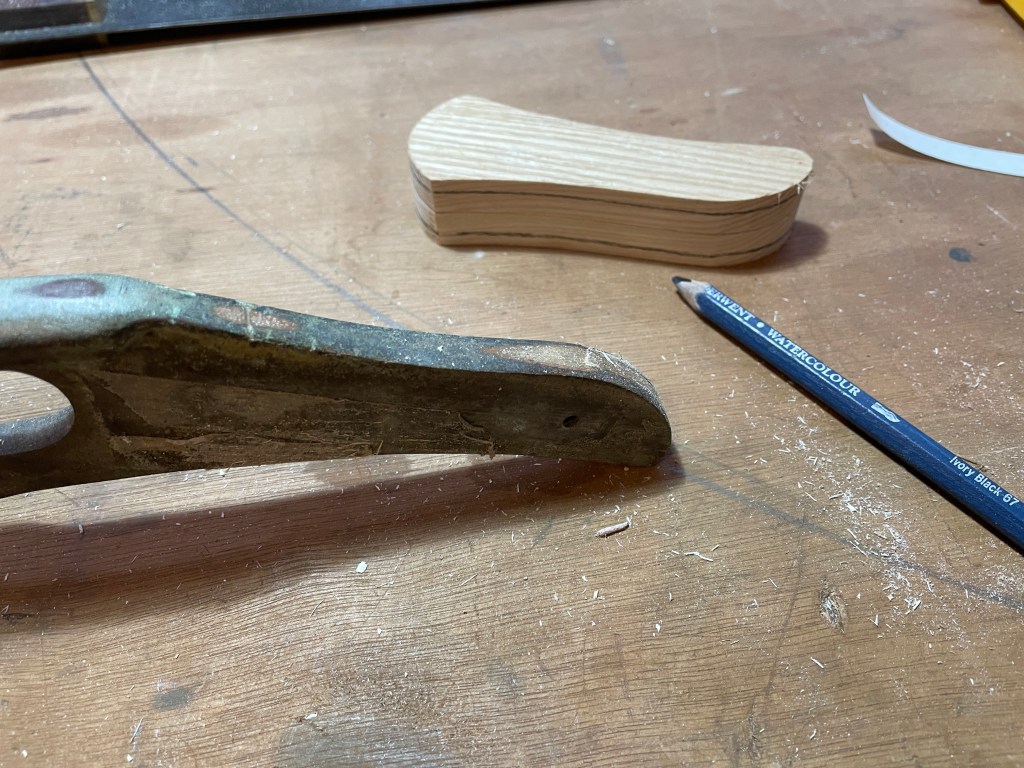
After chamfering its freehand sculpting on the drum sander to get a nice soft form, with smooth transition between the flats where the rivets will go and the profile of the bronze handle.

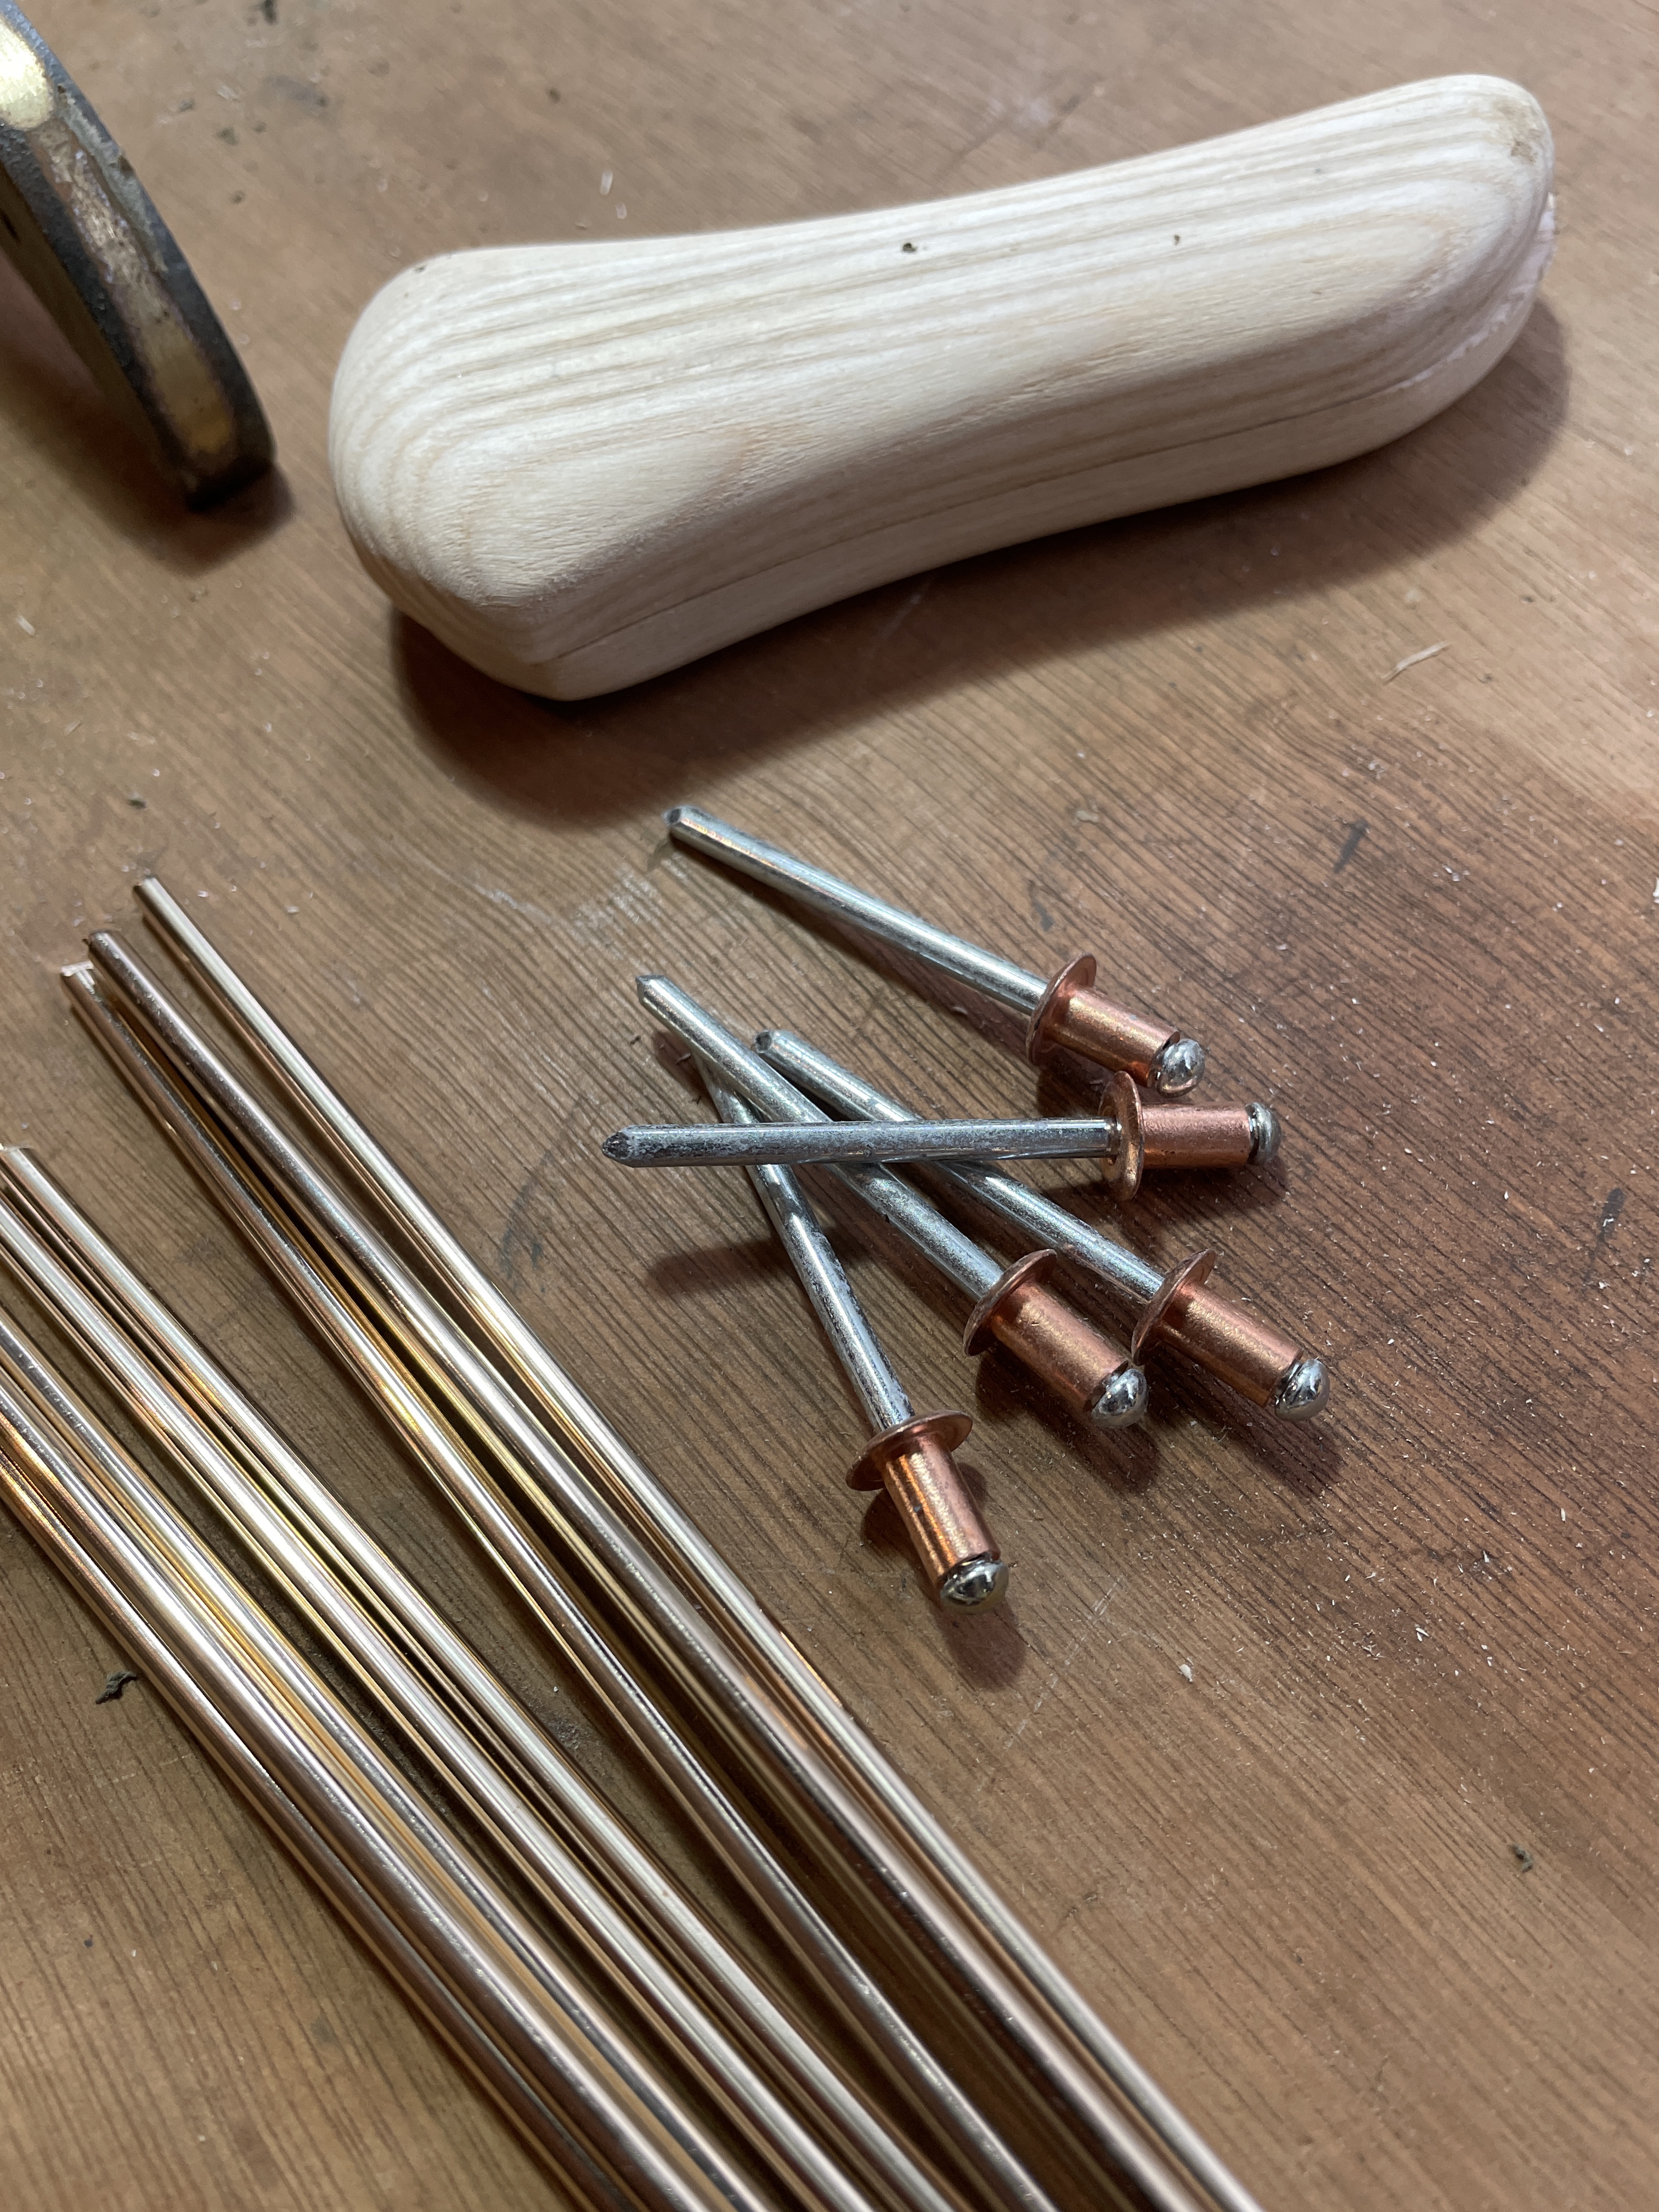
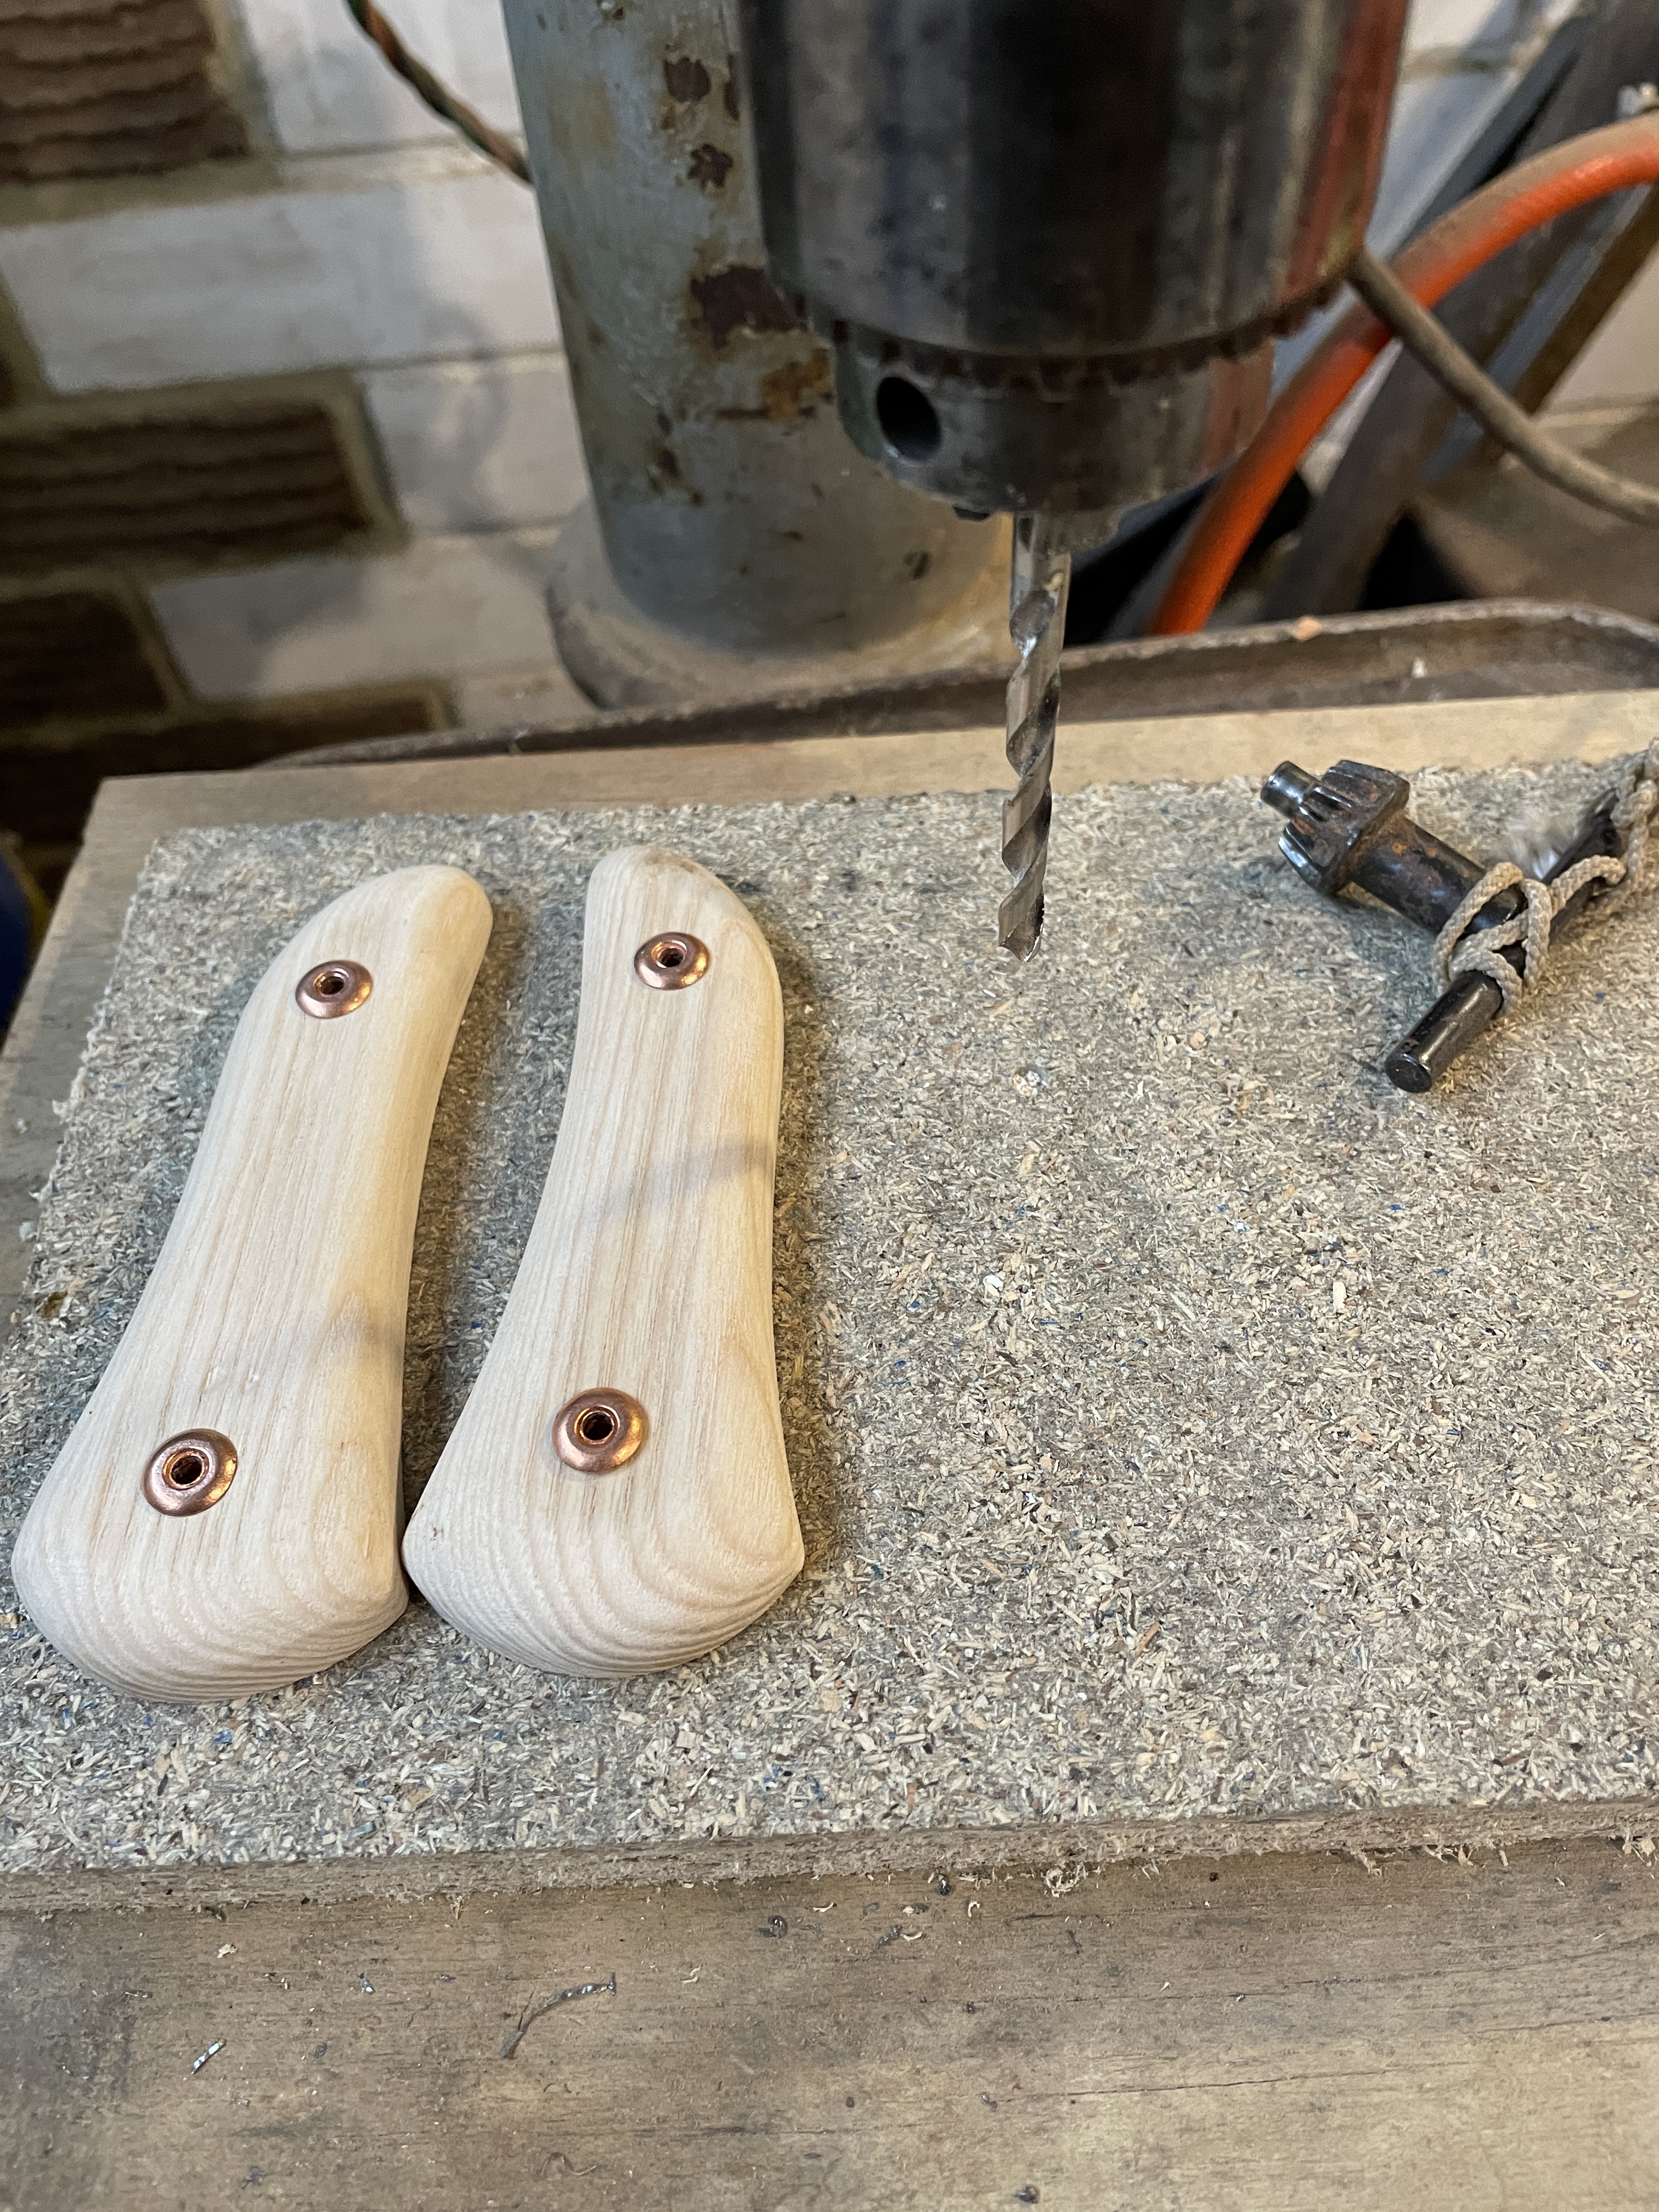
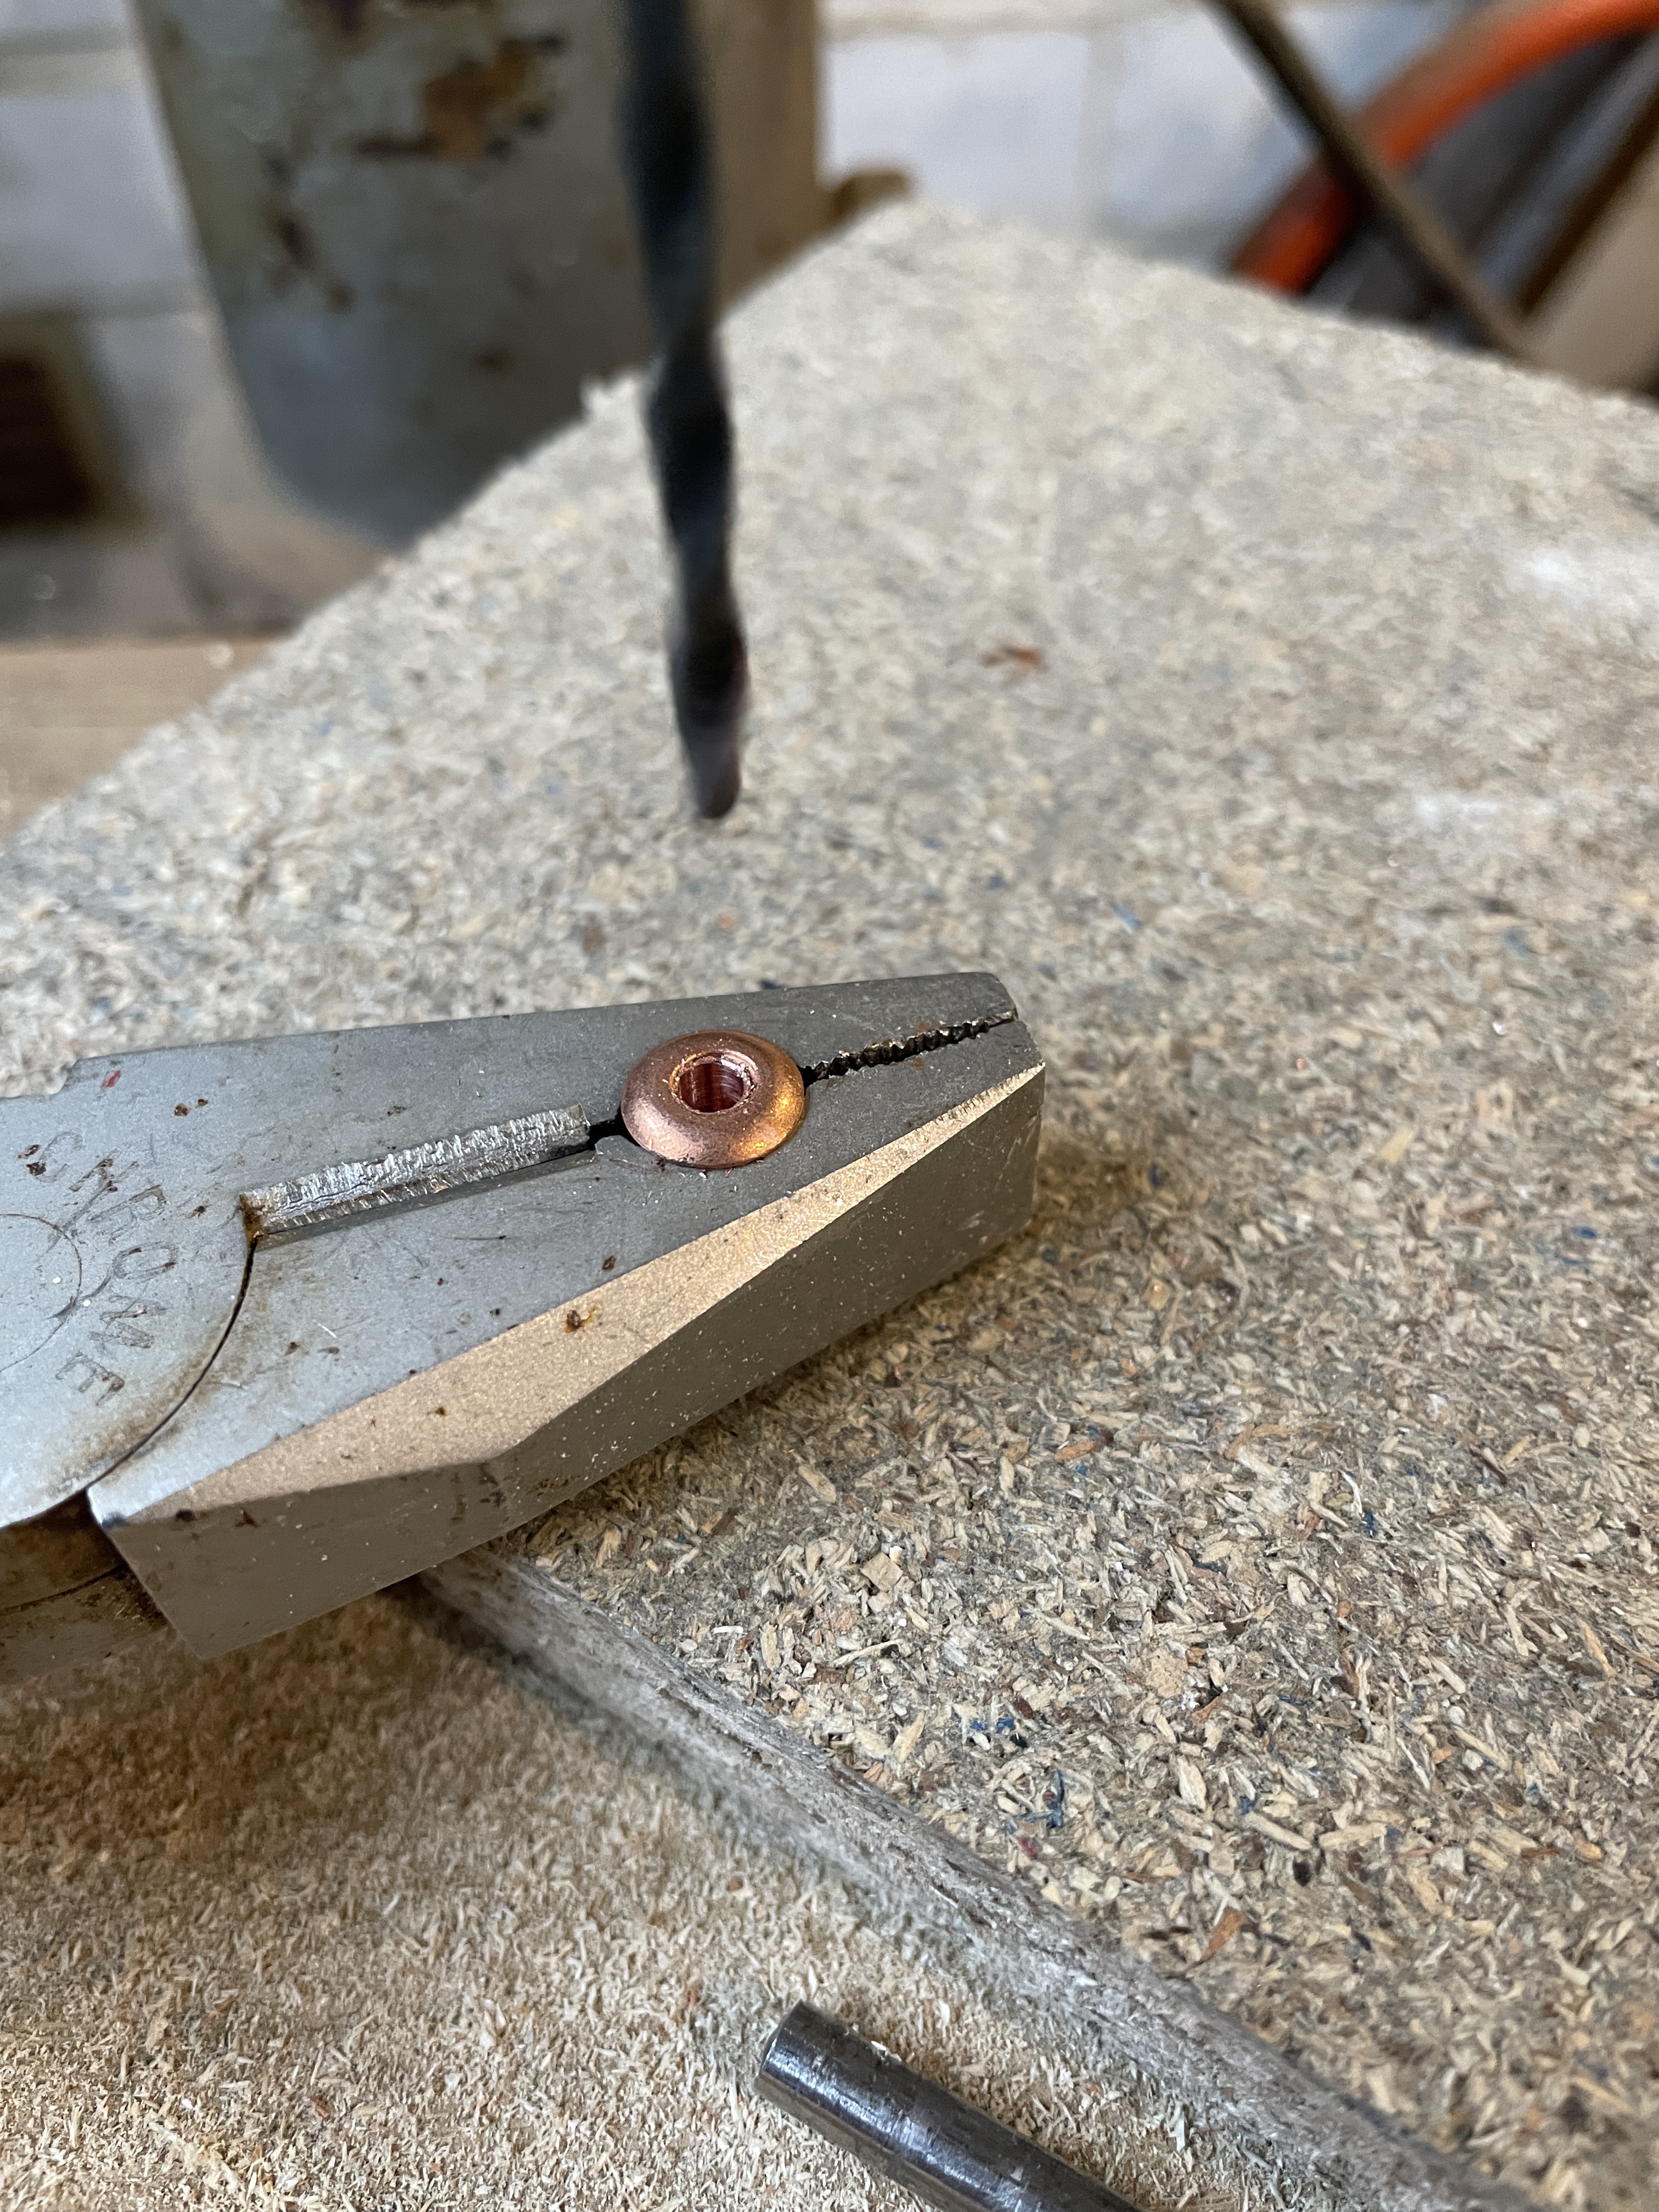
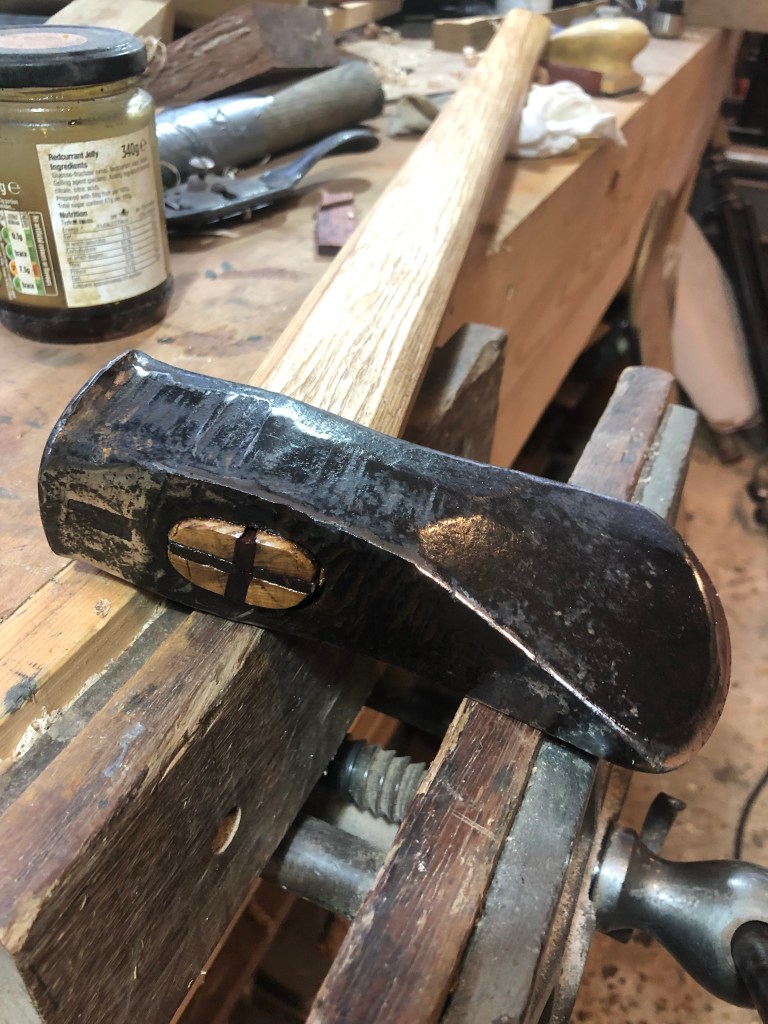
I used some copper pop rivets to make sleeves and bronze rod to connect them. Needless to say the rods and the rivets didn’t quite match in size so a little dexterity with pliers and pillar drill was needed to drill out the copper. Once that was done it was simply a case of assembling everything on the handle and then peening over the ends of the bronze rod to clench the copper rivets tightly.

Bronze rod inserted and peened over to finish

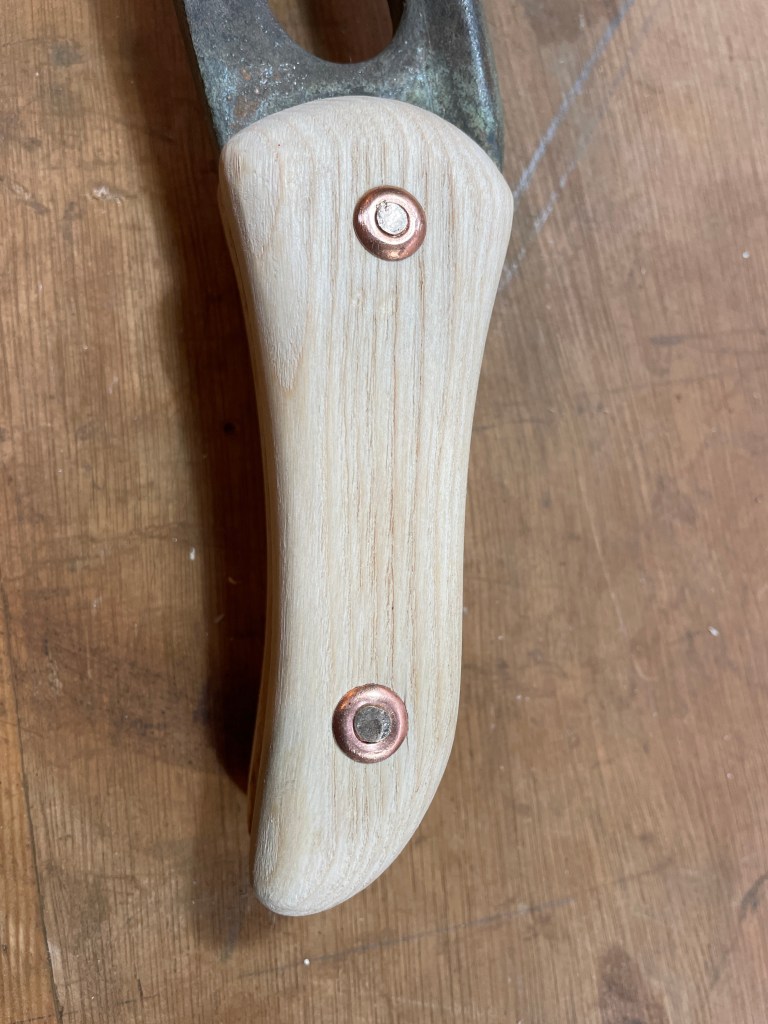
I’m quite please with the result, it needs a good soak in linseed oil and turps to protect it but the pair of levers look much better now.

Bronze backstay levers with nice new handles!

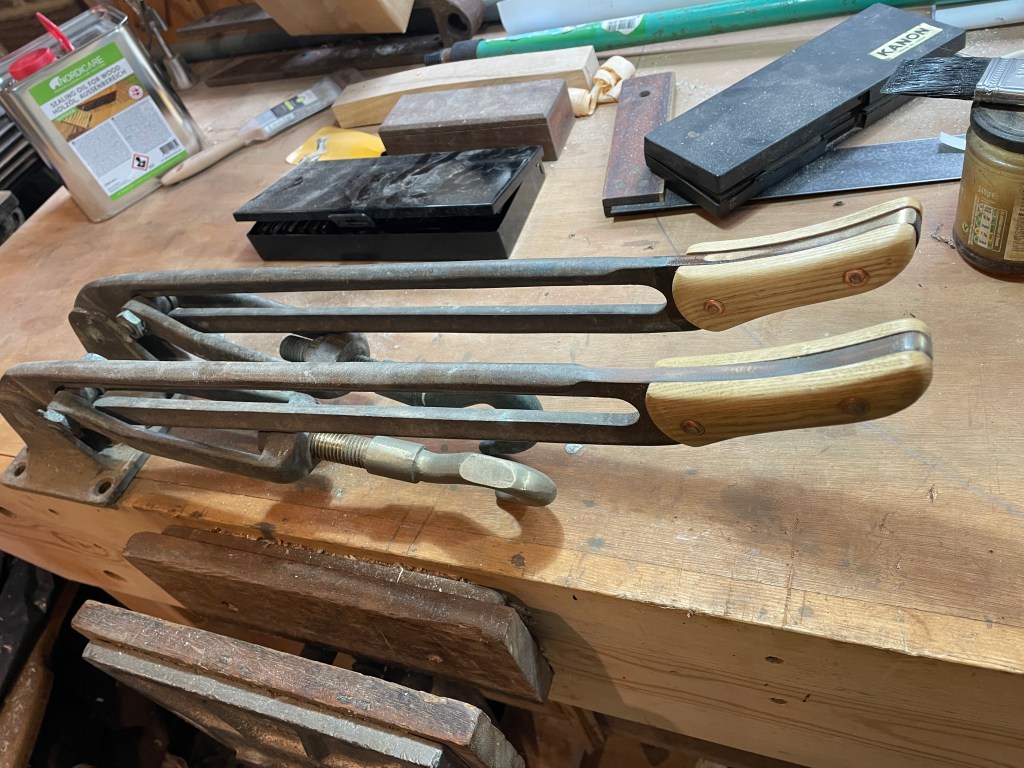
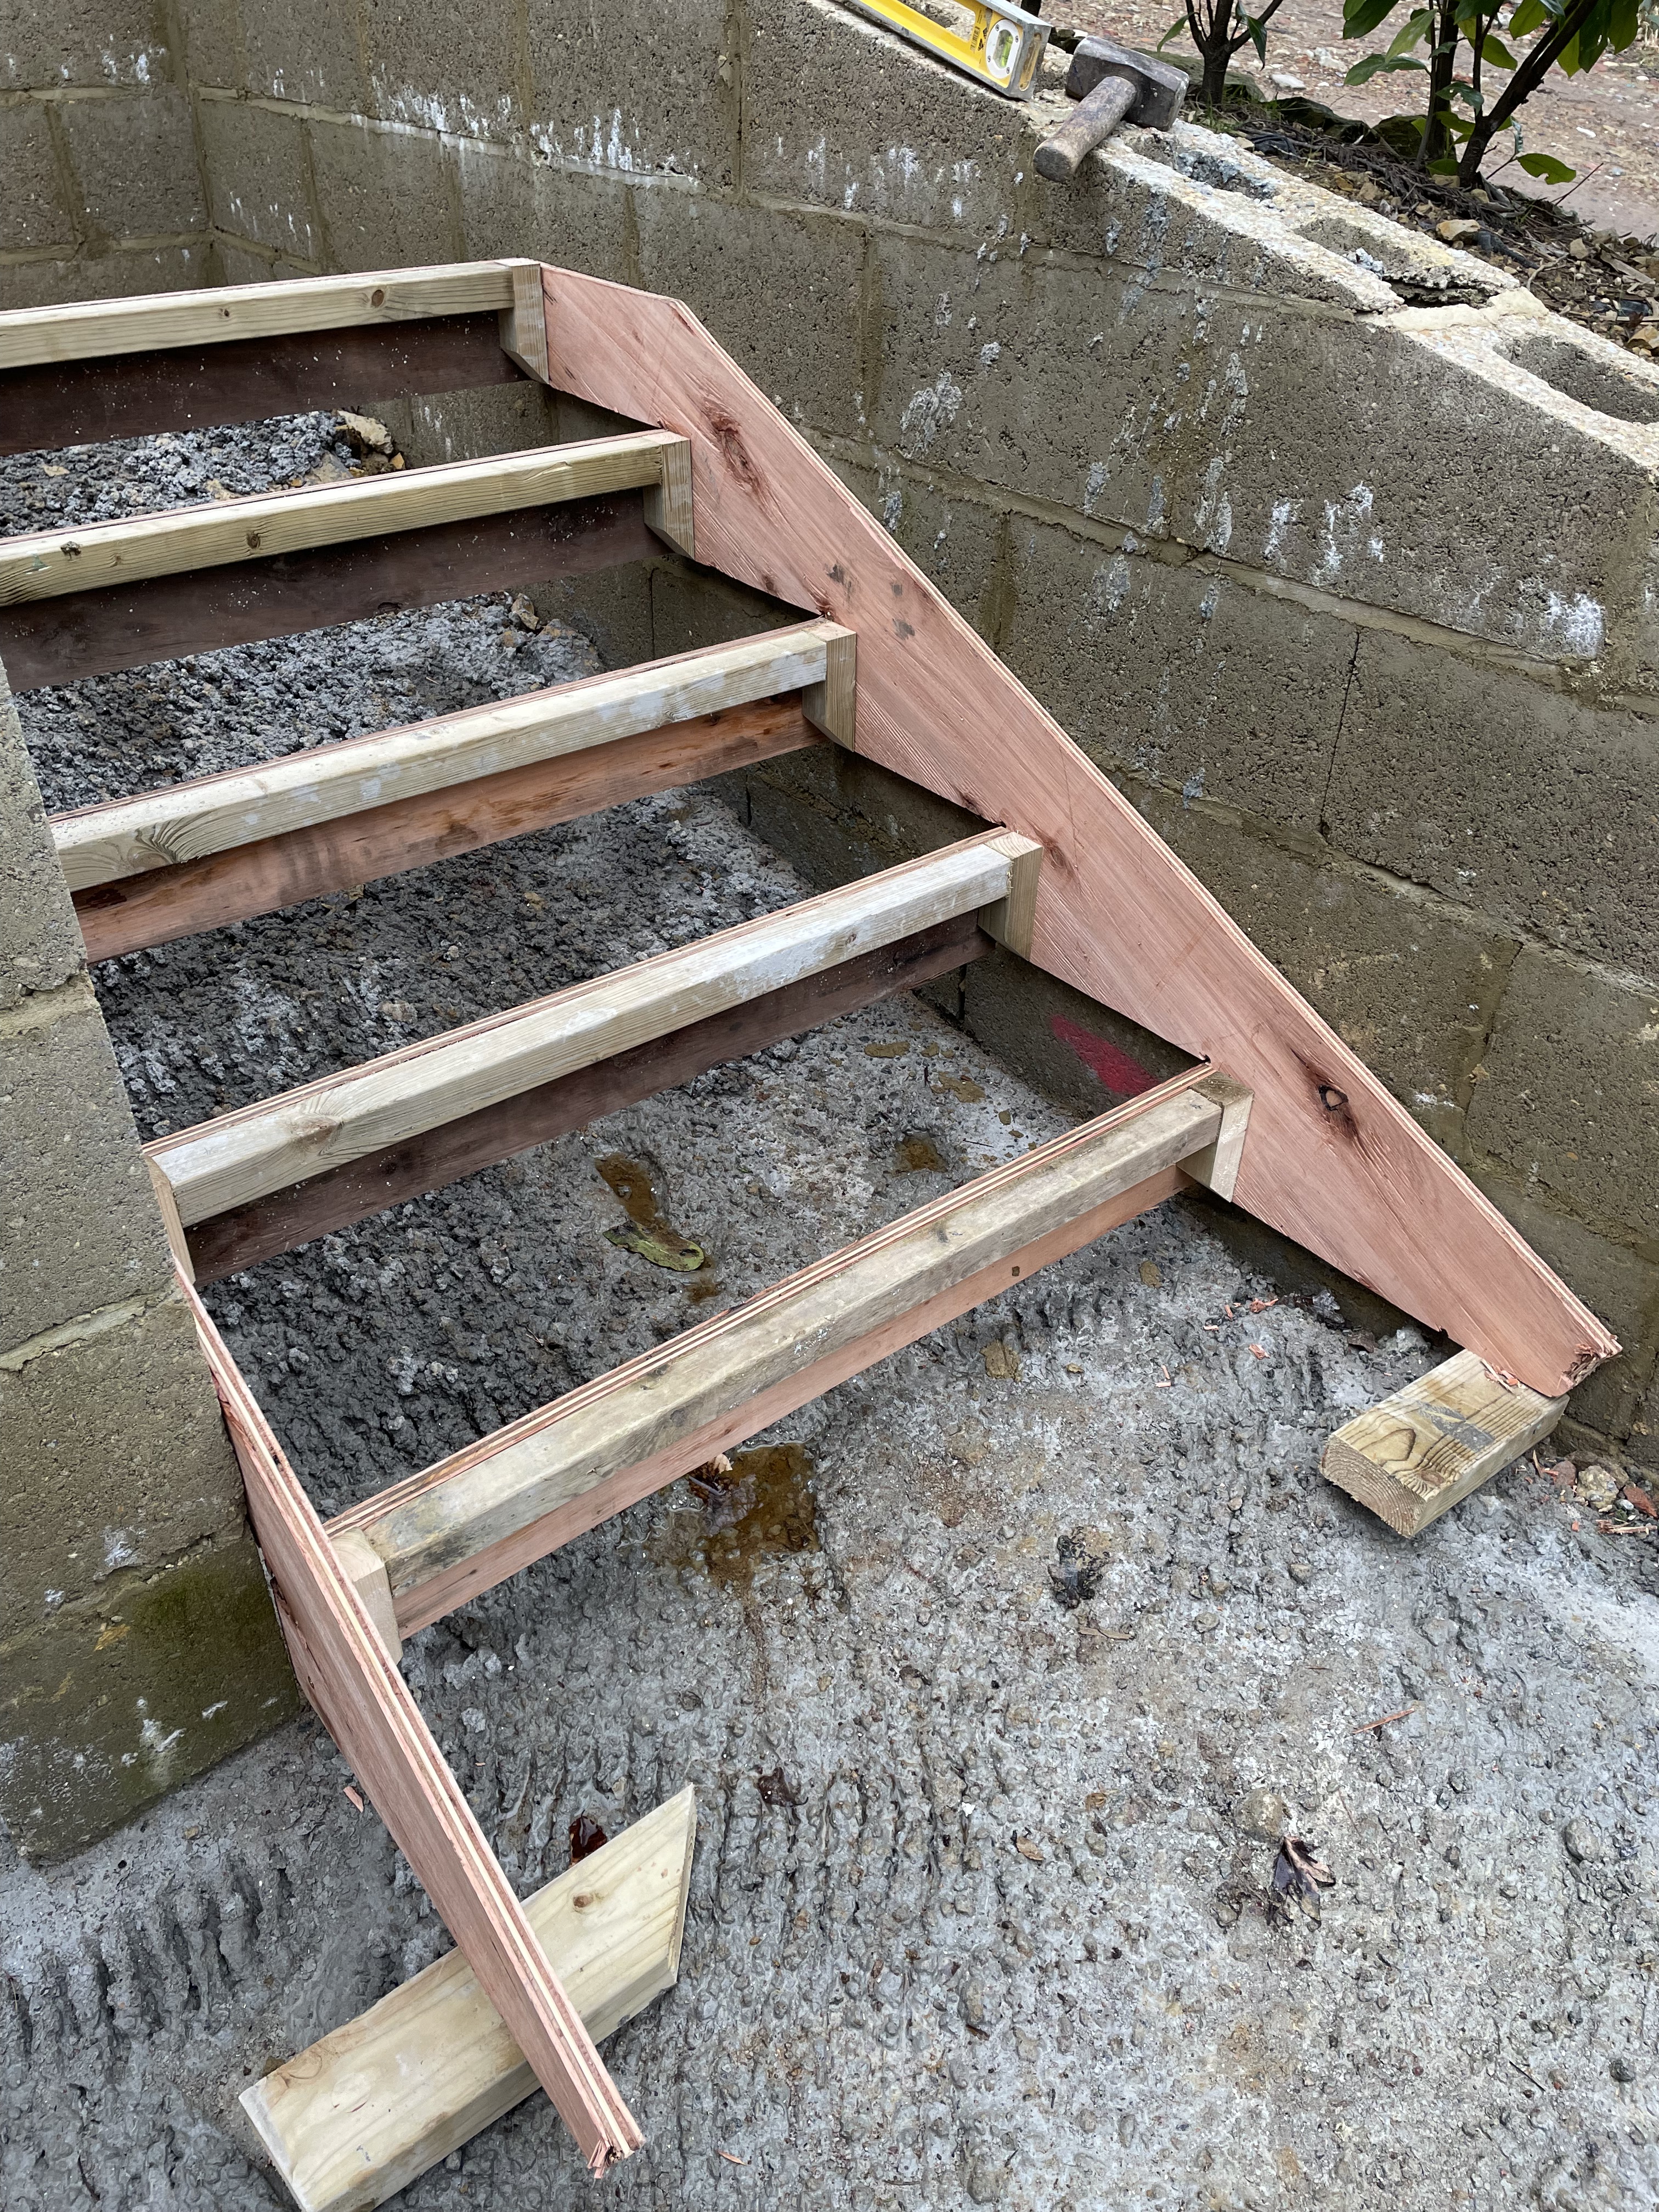
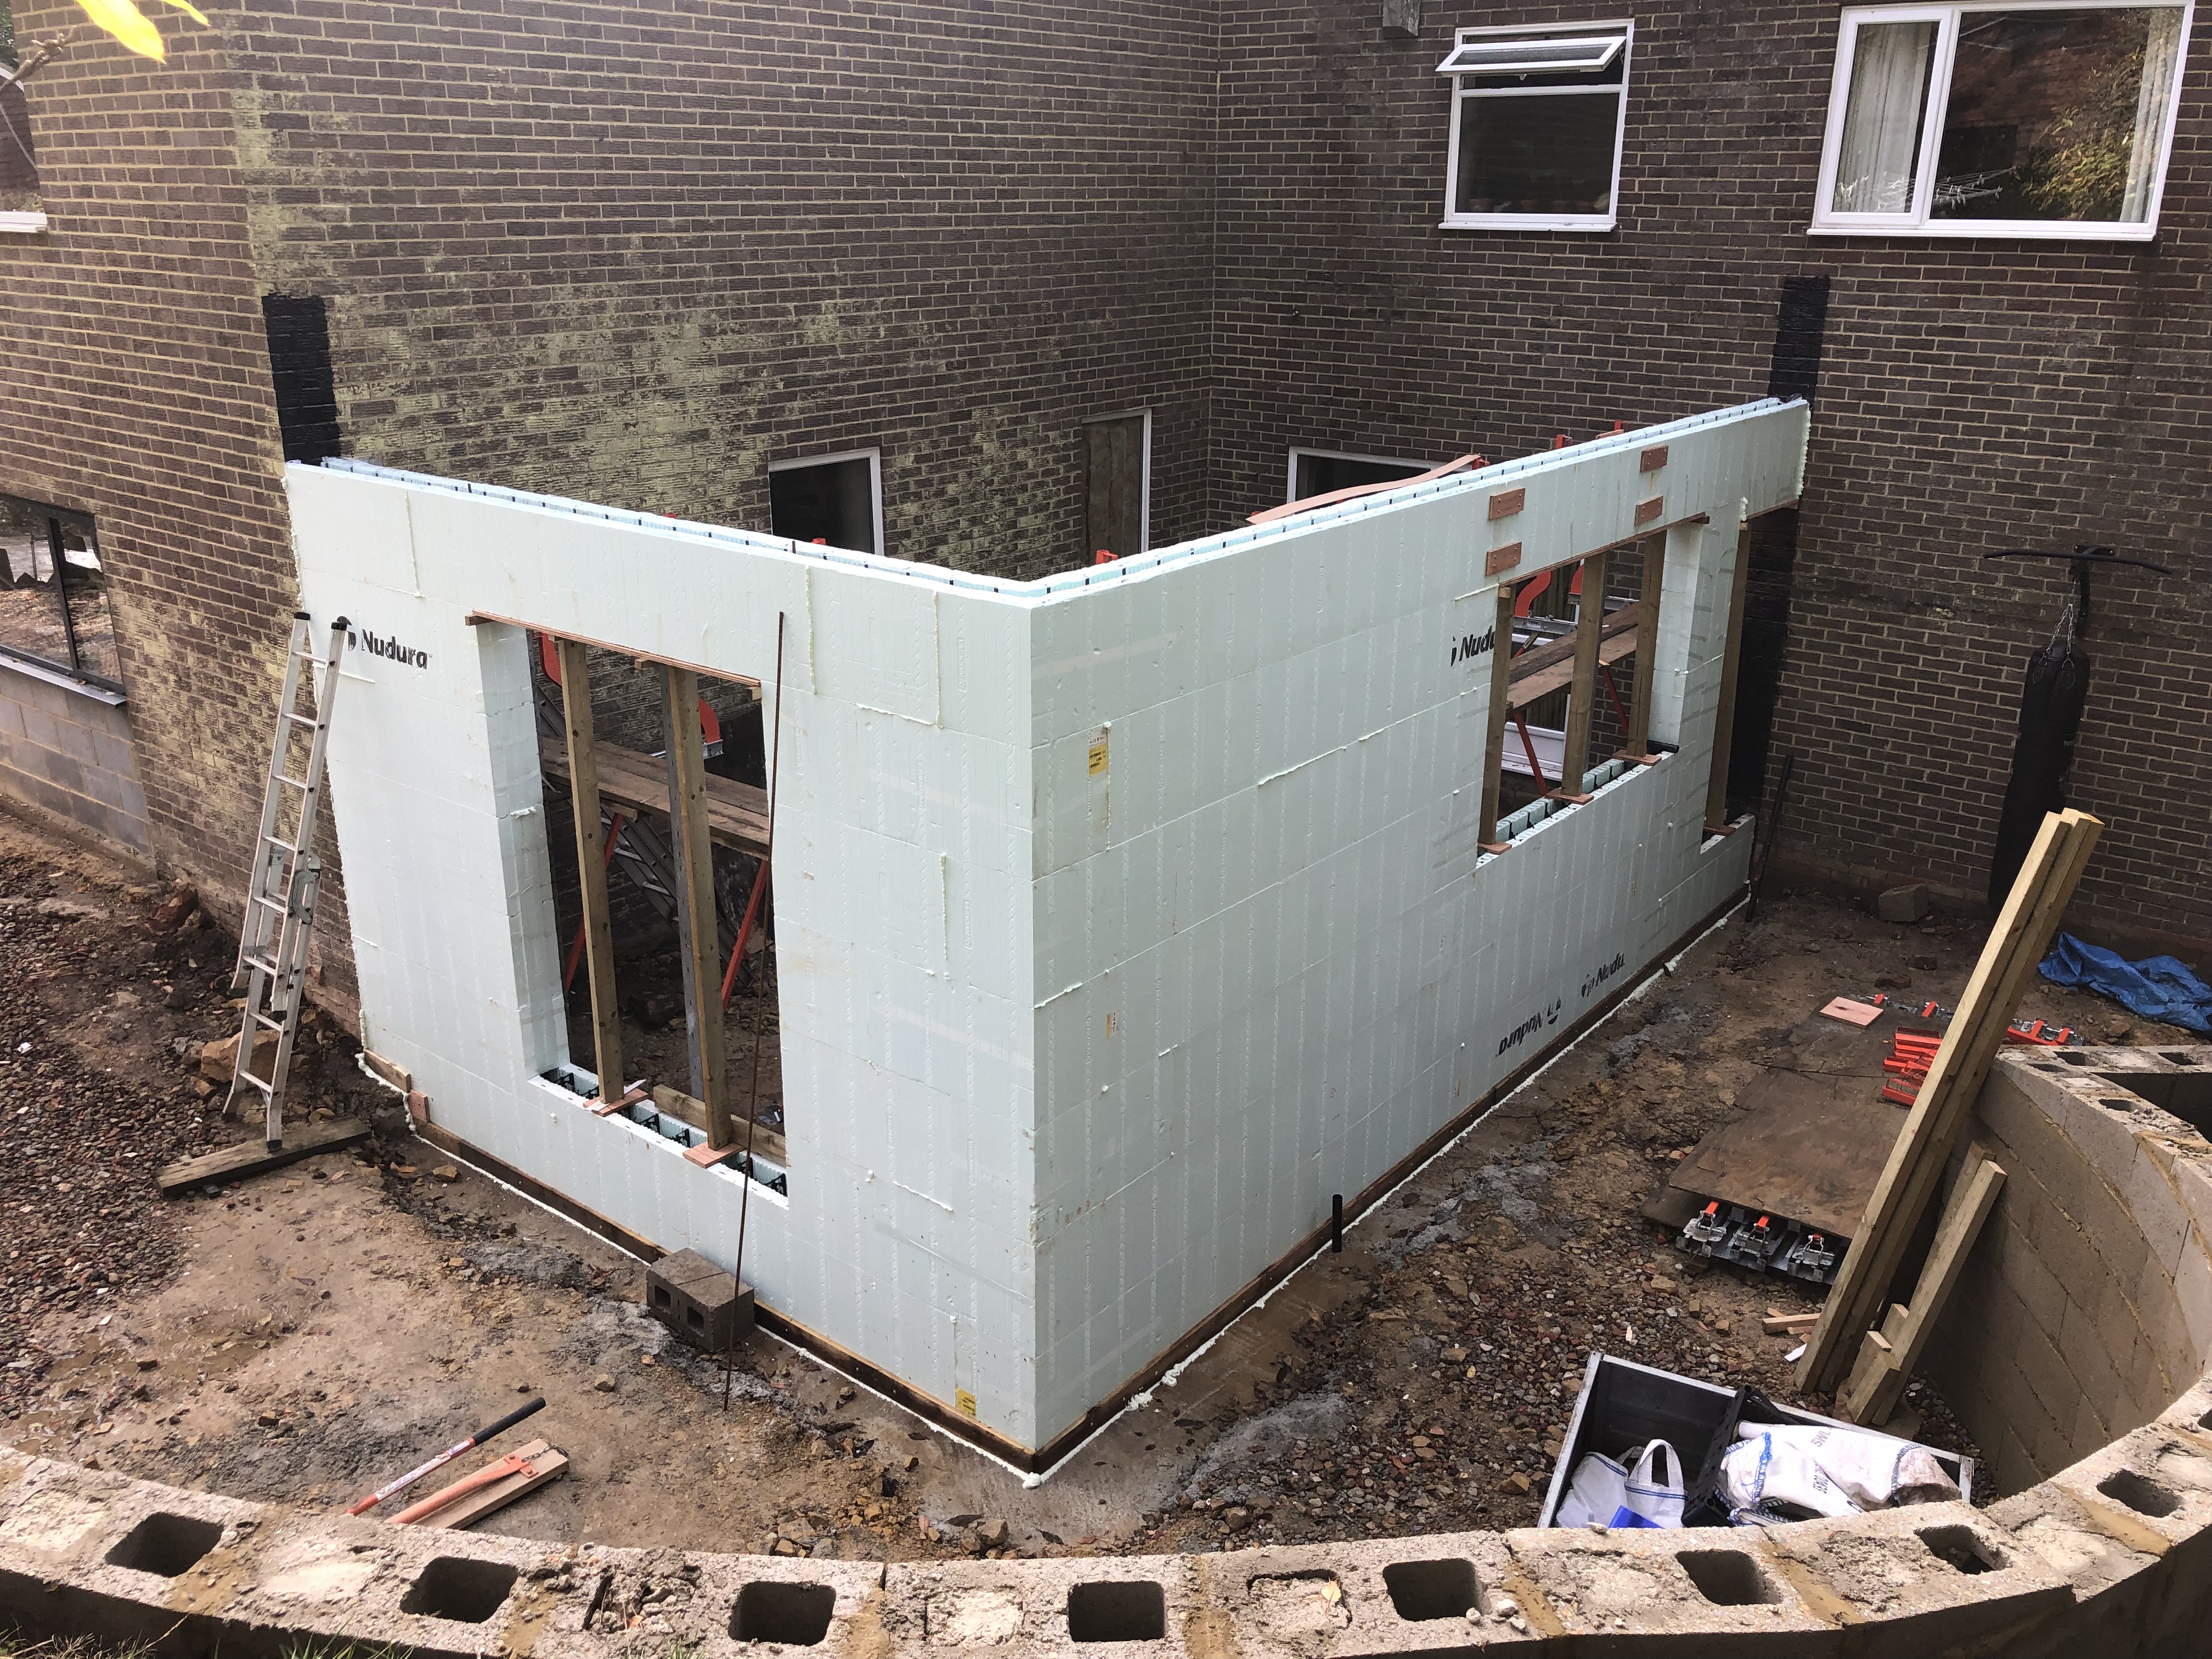
All done and ready to fit back on the deck once I complete a couple of other tasks (finish building an extension, fit a bathroom, replace a flat roof, fit a kitchen, install a home office, install some skylights……🧐 )

“Renewed shall be blade that was broken”

Down at the ‘boatyard’ there are always distractions and with Flamingo’s new blocks all finished and nestled safely cheek by jowl… or perhaps cheek by sheave… their 1930’s pennies gleaming in oiled splendour, just waiting for their moment to shine, this old splitting axe, or maul that belonged to my mother caught my eye. There’s something about handling old tools that connects you to previous owners. I have an old smoothing plane given to me when I was 17 and just starting out, even now I seldom pick it up without thinking of Paddy and Topsy Margaret who gave me the bucket of old tools it came in. There was more than one Margaret in my life growing up, so this one took on the name of her scruffy little dog Topsy, as a differentiator between her and Fancy Margaret … I wonder if she minded… Anyway I digress. Restoring this old axe from something frankly rather lethal to a useful tool again kept mum popping in to my mind and I like to think she would have appreciated its resurrection.

Mothers old maul

A firm believer that nothing couldn’t be fixed with a bit of string and some glue, mother patched it up long after it should have been consigned to the repair box.

It didn’t take much to free the handle. I made the new one from an offcut of a paddle making project, (more on that in another post) ground a new edge and wire brushed it til it gleamed!

Tool handles.

The key thing with tool handles is straight grain and no knots. Hickory is often the go to choice for any tool that will be subject to high impact however, I really like the workability of Ash and its flexibility helps absorb the shock, plus I had some under the bench so decision made! I left the profile chamfered near the head keeping more material there as that is where any mishits (is that a word? It looks… wrong) will likely fall and shaving the handle down to the size of the eye in the axe head would have made it super skinny and, to my mind, a bit flimsy.

A couple of hardwood wedges driven into the top finished it off.

Chores

Sawing and splitting logs always reminds me of childhood chores. My weekly list was; feed the chickens and let them out, feed the geese and let them out, burn the rubbish (I know!) take out the compost, and saw up one wheelbarrow of wood to feed the venerable old Rayburn that sat, wheezing tepidly in the corner of the living room. “a man who saws his own wood, is twice warmed” mother used to reply, if I moaned about this labour. This graft earned me something like 50p (about a million in todays money I’m sure…)

Though they never had the same list of chores to help the smooth running of the house, apparently just clearing their own plate from the table is contribution enough, I did let my kids loose on the wood pile once they were old enough, if they can walk and talk, they can saw and split is my motto and they all have all their fingers and toes so it must be true.😀

oiled and ready for splitting logs

So whilst it’s not exactly comparable to ‘Anduril, Flame of the West’ it is ready to be a serviceable tool for a few more years…

Up the Creek… with a paddle!

I’m dedicating this post to https://ashesstillwaterboats.com. Anyone who gives out free plans for making cool stuff deserves a mention. Especially as once I made the paddle and posted a photo, they sent me free plans for a canoe to build!

The Paddle templates are sent on paper at full size. I laminated them onto some skinny ply so I can keep them for future paddle making projects… with all that spare time I have…!

Paddle Blanks cut and ready for shaping.

Of course credit also needs to go to Number 1 son who requested a handmade paddle for his birthday. Unable to decide between the Beaver tail model and the Otter tail, I got both. Having cut them out, Toby’s had to take precedence as his birthday was looming as was his canoe trip down the River Tay. The timber is Ash from a local timber yard www.treespanner.co.uk, really helpful people, good stock and great attitude. Anyone who helps load the vehicle, and says just transfer the money when you get home deserves a mention.

Method

I borrowed fathers bandsaw to cut the outline then it was back to my workshop for shaping. The shaft I kept square for as long as possible so as to hold it firmly in the vice. The blade faces have only a gentle curve so Topsy Margarets smoothing plane was the best tool for keeping a nice uniform shape. The handle was shaped with a curved bottomed spoke shave, a variety of carving chisels and a curved carving knife (see below). The curved bottom spoke shave was used again for the transition from shaft to blade, then the shaft was done using the smoothing plane for the majority of the length employing the classic technique of taking material off the corners to make the square section octagonal, then take of the corners again to make a Hexadecagon (yes yes, I had to look it up…😀) and then smoothing all the corners of ’til it felt good in the hand. In section it isn’t a true circle it’s an ellipse, so as to keep more strength in the direction of the stroke.

Some in Progress shots
Beavertail.
With a lot of sanding, a little stain and plenty of oil, the finished Beaver tail paddle glows in the sunlight.

There is something very therapeutic about shaping a good piece of wood, working methodically with a sharp blade, surrounded by fragrant shavings, revealing the shape hidden within (yeah yeah alright Michelangelo 🙄)

The pattern calls for an alarmingly thin section at the edge and I have to confess I baulked at going quite as skinny as the specification so they are probably slightly heavier than the optimum, but I’ll trade a bit of extra heft for a sturdier paddle that can take the knocks.

Sidetracked

I did get slightly sidetracked with a another little job, making a curved carving knife out of an old file. I justified it by using it to create the concave areas of the paddle hand grips but really it was just an excuse to fire up the little devil forge and hit metal hard with a hammer!

Devil Forge
Curved carving knife
Pudding

The proof of the paddle is in the paddling they say…

So in a classic competition that would go down in the annals of history as Beaver v Otter, Up the Ouse! Number 1 and I lit out for the horizon… well the weir in this case then back to the pub for a pint and a spot of lunch! Slightly irritating that you can’t tie up to the pubs pontoon (apparently this is a health and safety issue 🙄) and have to ‘trespass’ on the farmers field opposite then cross over via a footbridge but we didn’t let that spoil our pint!

Anchor Inn, a great pub stop up river from Barcombe Mills
The end of the line…

The match ended in a draw with neither Beaver nor Otter out paddling the other, I guess the obvious flaw here was both being in the same canoe… though I swear I was catching him up at one point….😄 Seriously though, I was really pleased with both paddles, possibly after a solid day paddling I might regret the slight increase in weight but I certainly didn’t notice it over a few hours.

Excuses Excuses Excuses

Well the title says it all. This post will be more about why I haven’t made progress on the boat so if you were hoping for some in depth boatbuilding stroll on…. if you are vaguely interested in the goings on in my little corner of the world then welcome, and scroll on.

January 2021 was the last update! I was happily looking forward to a productive year but as is so often the case when man plans, the gods laugh.

Storm Eunice took one look at my beautiful (it’s in the eye of the beholder!) bowshed structure and thought, I’ll see just how structural that is. Result? Bowshed 0, Eunice 1. After all our hard work and not inconsiderable expense I finally had to build what I should have built to start with, a strong scaffold structure.

The carnage Eunice left.

Several hundred pounds of scaffold later, some much needed help from the lads and Flamingo had a cover again. We used the remains of the Bowshed as the roof and fingers crossed it will last a bit longer.

Solid new scaffold shelter. Below, sons and nephews lend a hand.

The next obstacle to navigate on the course to completion and launch was rather more daunting. The slightly quirky design of our 1960s gem of a house meant we needed to extend. Plans were drawn for a Den and Office downstairs and a swanky new Bathroom and Bedroom upstairs. The slope of the garden meant a retaining wall, and while we were at it, and with no concept of how much work this would entail, we decided to make the area big enough for a little patio for enjoying morning coffee outside the new home office… because we have so much time on our hands we need new places to spend it relaxing in…

800 concrete blocks each weighing 25kg, hundreds of lengths of rebar, countless tons of spoil removed, goodness knows how many cubic metres of concrete poured (including the huge dollop I spilled with my appalling aim!) After some hired help with the ground work and foundation, Tracy and I pretty much built the whole thing apart from the roof and the render. (yes, yes Luke, I know you helped a bit, oh alright and thanks Lou for shifting so many blocks from the drive, oh and Tilly and Timor for smashing old tiles into hardcore), It was a steep learning curve and there are lots of things we would do differently but a year on and we’re weather tight, warm, and ready to fit out the interior.

Insulated Concrete Formers

ICF (Insulated Concrete Former) is a brilliant construction method and it goes together like lego. Steel reinforcing where specified and then concrete poured into the cavity, or in my case all over the nice clean scaffold! If you’re starting from scratch and not trying to match an existing bricks and mortar building you can save a lot of time and materials by designing to suit the sizes of all the various elements of the system, and in terms of complexity, we did a 1 day course, read the manual and watched a few YouTube videos so its not rocket science!

The Irony!

While Tracy and I are lugging 25kg concrete blocks around and constructing the Great Wall of Crowborough or Stalag Scharlings as we fondly christened it, Luke and Tilly were staring down the eye of the tiger, working out in their ‘jailhouse gym’ …. Oh the irony!

I’m going with the extension as my main excuse for the deplorable lack of progress on Flamingo as it’s about the same floor area as a 2 bedroom flat, and laying those concrete blocks was seriously hard work!

Of course there were lots of other goings on, mountains to climb, boats to sail, boards to paddle, apples to pick and press and work to do.

That’s about it for this catch up on a nearly 3 year hiatus…(!) I think I’ll save something for future posts to give the illusion that lots is happening from now on… though that sentence may have given the game away…

nah…

no one has read this far down the page surely…?