Tag Archives: blocks

“Renewed shall be blade that was broken”

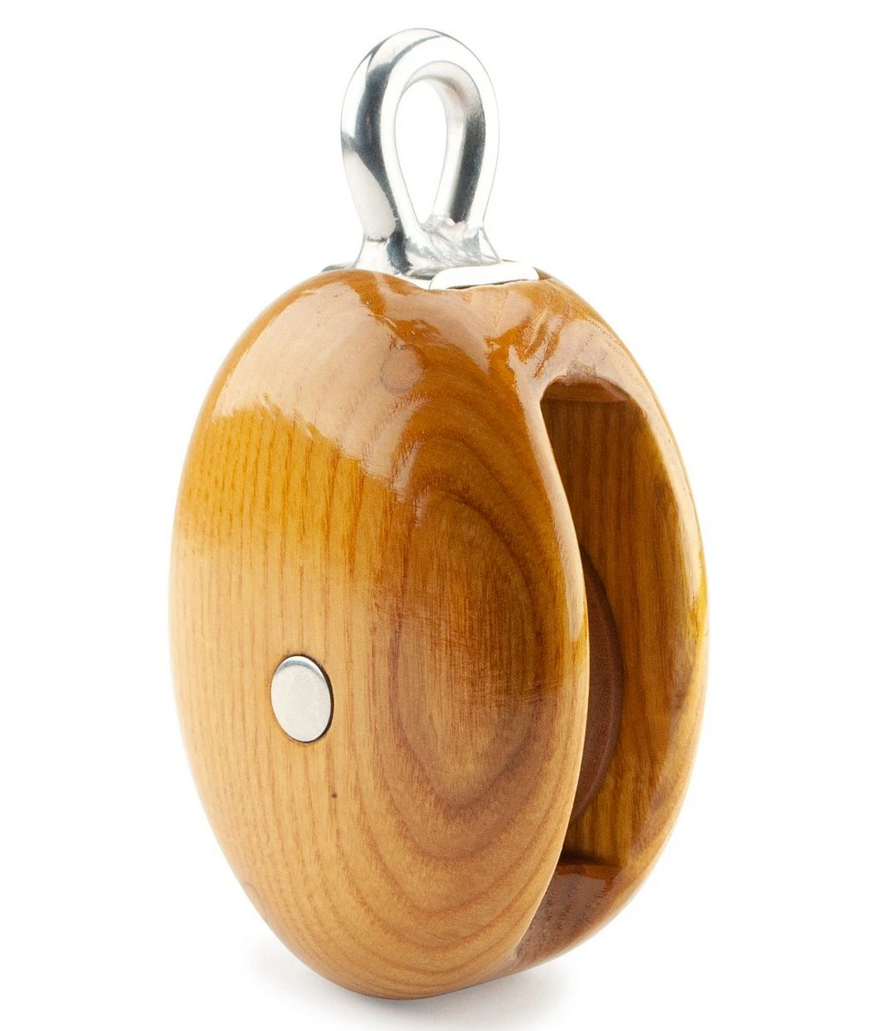
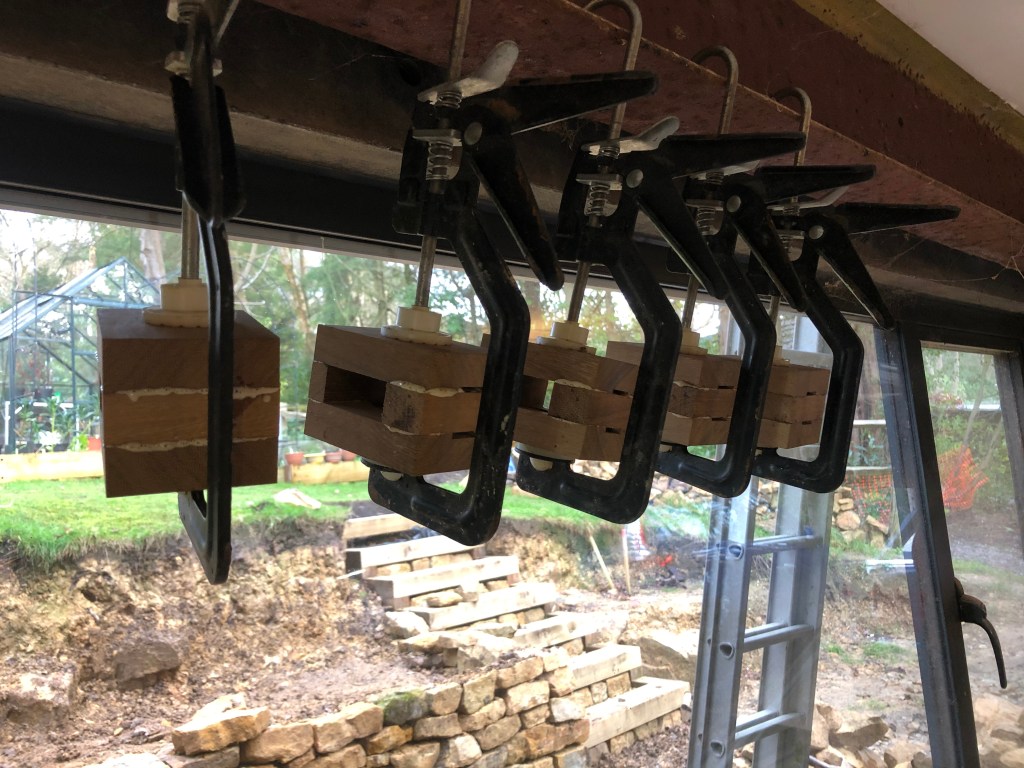
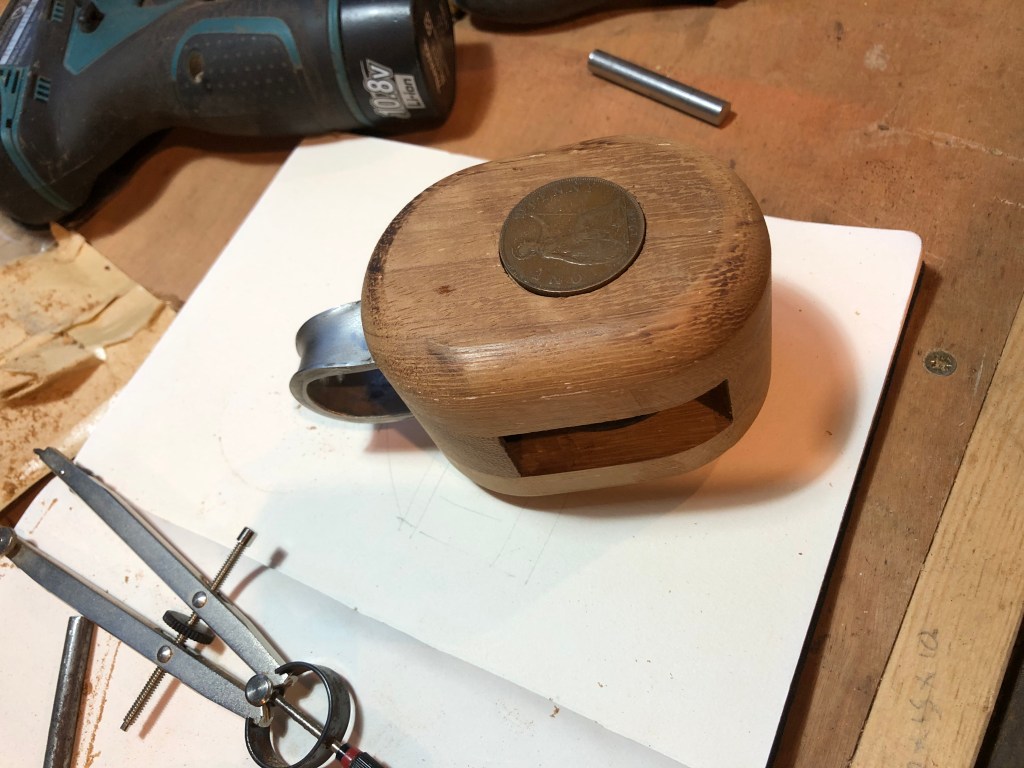
Down at the ‘boatyard’ there are always distractions and with Flamingo’s new blocks all finished and nestled safely cheek by jowl… or perhaps cheek by sheave… their 1930’s pennies gleaming in oiled splendour, just waiting for their moment to shine, this old splitting axe, or maul that belonged to my mother caught my eye. There’s something about handling old tools that connects you to previous owners. I have an old smoothing plane given to me when I was 17 and just starting out, even now I seldom pick it up without thinking of Paddy and Topsy Margaret who gave me the bucket of old tools it came in. There was more than one Margaret in my life growing up, so this one took on the name of her scruffy little dog Topsy, as a differentiator between her and Fancy Margaret … I wonder if she minded… Anyway I digress. Restoring this old axe from something frankly rather lethal to a useful tool again kept mum popping in to my mind and I like to think she would have appreciated its resurrection.

Mothers old maul

A firm believer that nothing couldn’t be fixed with a bit of string and some glue, mother patched it up long after it should have been consigned to the repair box.

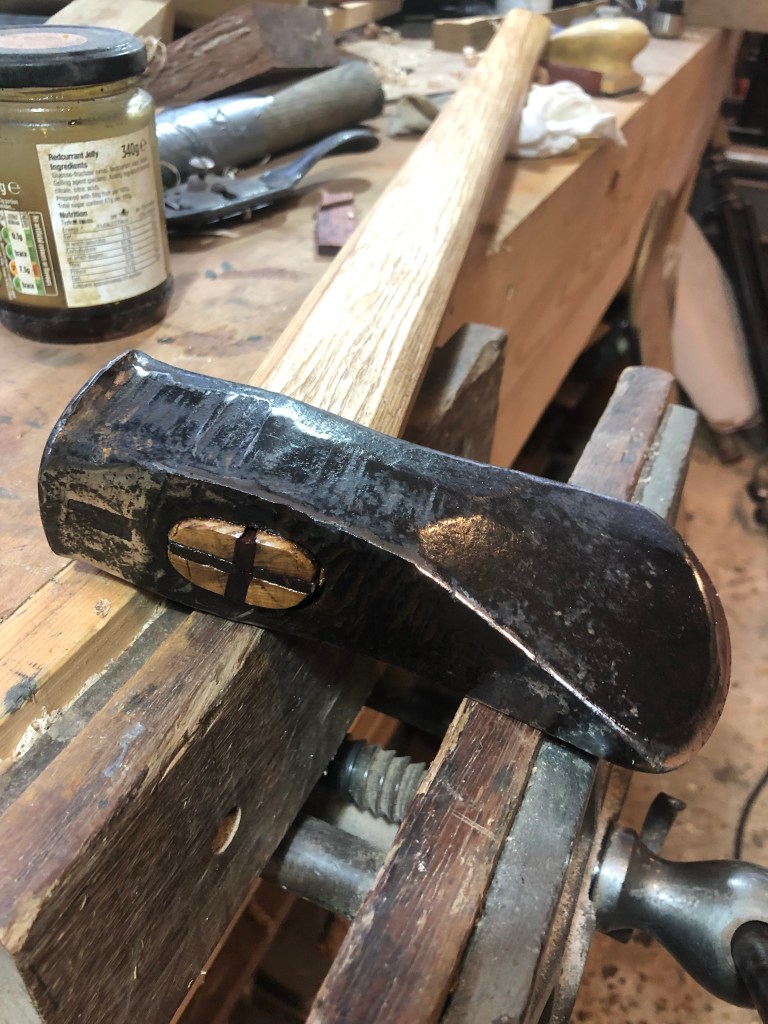
It didn’t take much to free the handle. I made the new one from an offcut of a paddle making project, (more on that in another post) ground a new edge and wire brushed it til it gleamed!

Tool handles.

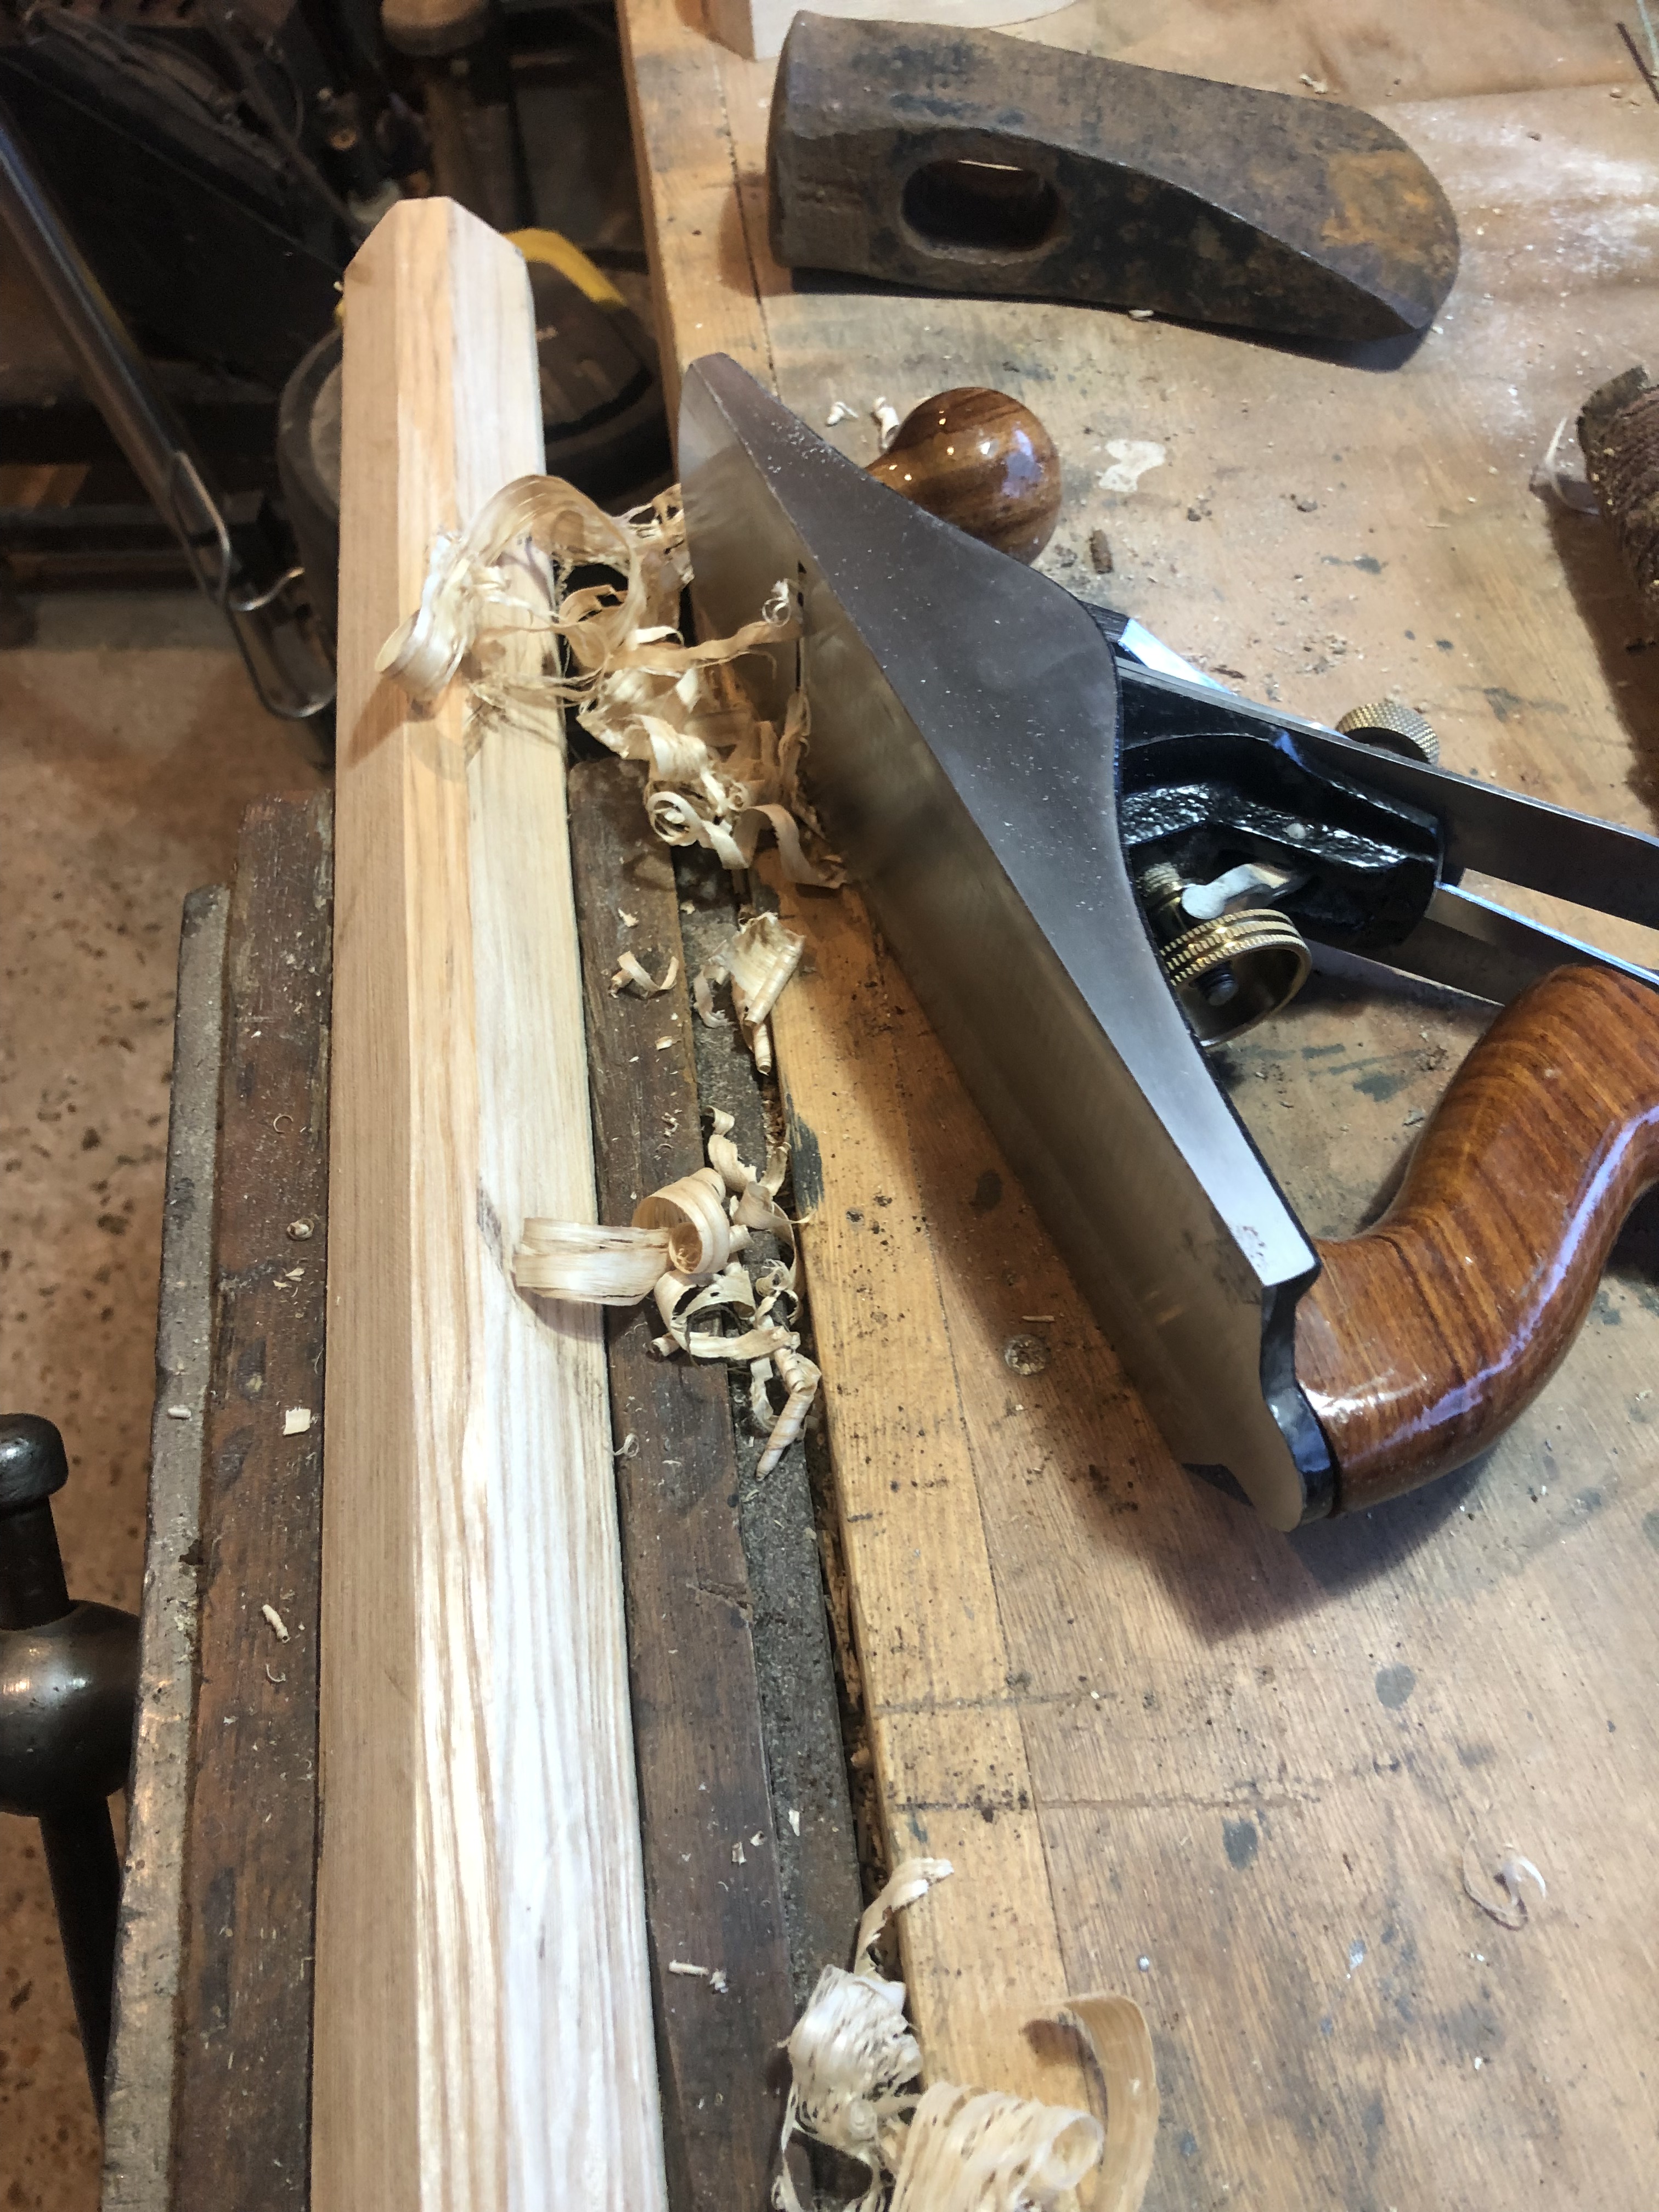
The key thing with tool handles is straight grain and no knots. Hickory is often the go to choice for any tool that will be subject to high impact however, I really like the workability of Ash and its flexibility helps absorb the shock, plus I had some under the bench so decision made! I left the profile chamfered near the head keeping more material there as that is where any mishits (is that a word? It looks… wrong) will likely fall and shaving the handle down to the size of the eye in the axe head would have made it super skinny and, to my mind, a bit flimsy.

A couple of hardwood wedges driven into the top finished it off.

Chores

Sawing and splitting logs always reminds me of childhood chores. My weekly list was; feed the chickens and let them out, feed the geese and let them out, burn the rubbish (I know!) take out the compost, and saw up one wheelbarrow of wood to feed the venerable old Rayburn that sat, wheezing tepidly in the corner of the living room. “a man who saws his own wood, is twice warmed” mother used to reply, if I moaned about this labour. This graft earned me something like 50p (about a million in todays money I’m sure…)

Though they never had the same list of chores to help the smooth running of the house, apparently just clearing their own plate from the table is contribution enough, I did let my kids loose on the wood pile once they were old enough, if they can walk and talk, they can saw and split is my motto and they all have all their fingers and toes so it must be true.😀

oiled and ready for splitting logs

So whilst it’s not exactly comparable to ‘Anduril, Flame of the West’ it is ready to be a serviceable tool for a few more years…

Sheaves, pins, bindings and cheeks

So it proves as hard as ever to spend time down at the boat and what little time I do spend there seems to be taken up with clearing the latest storm debris or propping up the lean-to that is a bit lean-too-much. Chester took great delight in discovering a couple of plump little field mice nesting in the anchor chain box as I moved various bits of boat from the leaky shed to the new, less leaky bowshed. Despite this lack of progress on the fabric of the boat I’m feeling more organised down there and have been working my way steadily through the process of making blocks. Traditional blocks for a yacht of Flamingo’s age are readily available from several sources. They are miniature works of art, and consequently are prohibitively expensive. Faced with a cost of about £1700 for 15 blocks I resolved to make my own. No one seemed to be able to supply the various components in the exact size I wanted so it really has been a ‘from scratch’ mission.

These Davey & Co blocks would set you back about £115 for the single and £140 for the double!

I decided to use Delrin (a very dense, acetal plastic) for the sheaves, stainless steel for the bindings and pins, and luckily father had some lengths of Iroko, poor mans teak, going spare for the cheeks.

For the sheaves, the method was saw the rod to lengths, face them off on the lathe and then, with a purpose made profile chisel cut the groove. A little sanding bobbin from an old Dremmel came in handy to sand out the tooling marks.

The bindings are 20mm x 3mm stainless steel flat, bent around a former in a jig made from scrap angle iron. As you can see it took a few test runs to get them to come out an even length. More test runs were needed to get the cold forging of the bends right. I tried hot forging it but ran into the classic problem of, too much YouTube watching (thanks Torbjorn, https://www.youtube.com/channel/UCSFaYYQzNMLo2U6rSNLpghg) not enough experience or skill. No matter how much I pounded and swore at the hot metal nothing would persuade it to form the shape I wanted and the roar of the gas forge lends a sense of urgency, almost panic to the whole process! Cold forging, though louder and harder work was infinitely more controllable, at least in my amateurish hands.

Eventually batch producing parts came to an end and it was time to assemble and finish the first one as a ‘hot’ prototype, ‘hot’ meaning if it worked out and I was pleased with the result, I’d use it, if not, I could excuse myself on the basis that it was ‘only a prototype’.

The pin is peened over one end to stop it working it’s way through and then held in place with the penny that will be screwed on. The stainless steel bindings are cold forged at the bend enabling it to move on the shackle more easily and thicken the material where it will get most wear. The pennies are a batch of 1930 (year of her build) ones I bought online, the original blocks had the monarch’s head facing out but I rather like the idea of Britannia facing out, trident and shield in hand gazing out to sea.

Every now and then I am joined briefly in the workshop by one of my offspring with their usual inquiry; ‘wotcha doin’ dad? (shades of Leo Goolden here https://www.youtube.com/c/SampsonBoatCo/featured with his “hey Pete, what are you doing”) My answer is usually, making a jig, or making something to help make the jig. This invariably causes raised eyebrows and the comment; “What… you’re making a thing, to make another thing, that isn’t even the thing you’re actually making….?” exit stage left, shaking head at sad old man covered in sawdust.

I’m so misunderstood… sobs quietly into dusty rag…..

Of course, all the jig making and batch production experience means I can now reproduce lots more blocks to the same design, though given the time it all takes I doubt I’ll be setting up the Flamingo Block Emporium any time soon!

Getting organised in the new Bowshed.

After reinforcing the downhill side of the Bowshed where the legs are longer, therefore a bit more flexible and storm Bella had taken her toll, I installed some shelving and a workbench. Moved the rudder and companion way steps from the damp leaky lean to and swapped the slightly too short aluminium ladder for a slightly too long wooden one. The new one is ex GPO (giving a clue to its age) and weighs so much I can barely lift it. As such it is a completely impractical tool, so far better to conscript it to a life of stationary service at the stern.

That’s it, looking forward to sunny lockdown free days filled with the sounds of progress……. 🙂