Late Post

I found this post from Spring lurking in my drafts… so here it is.

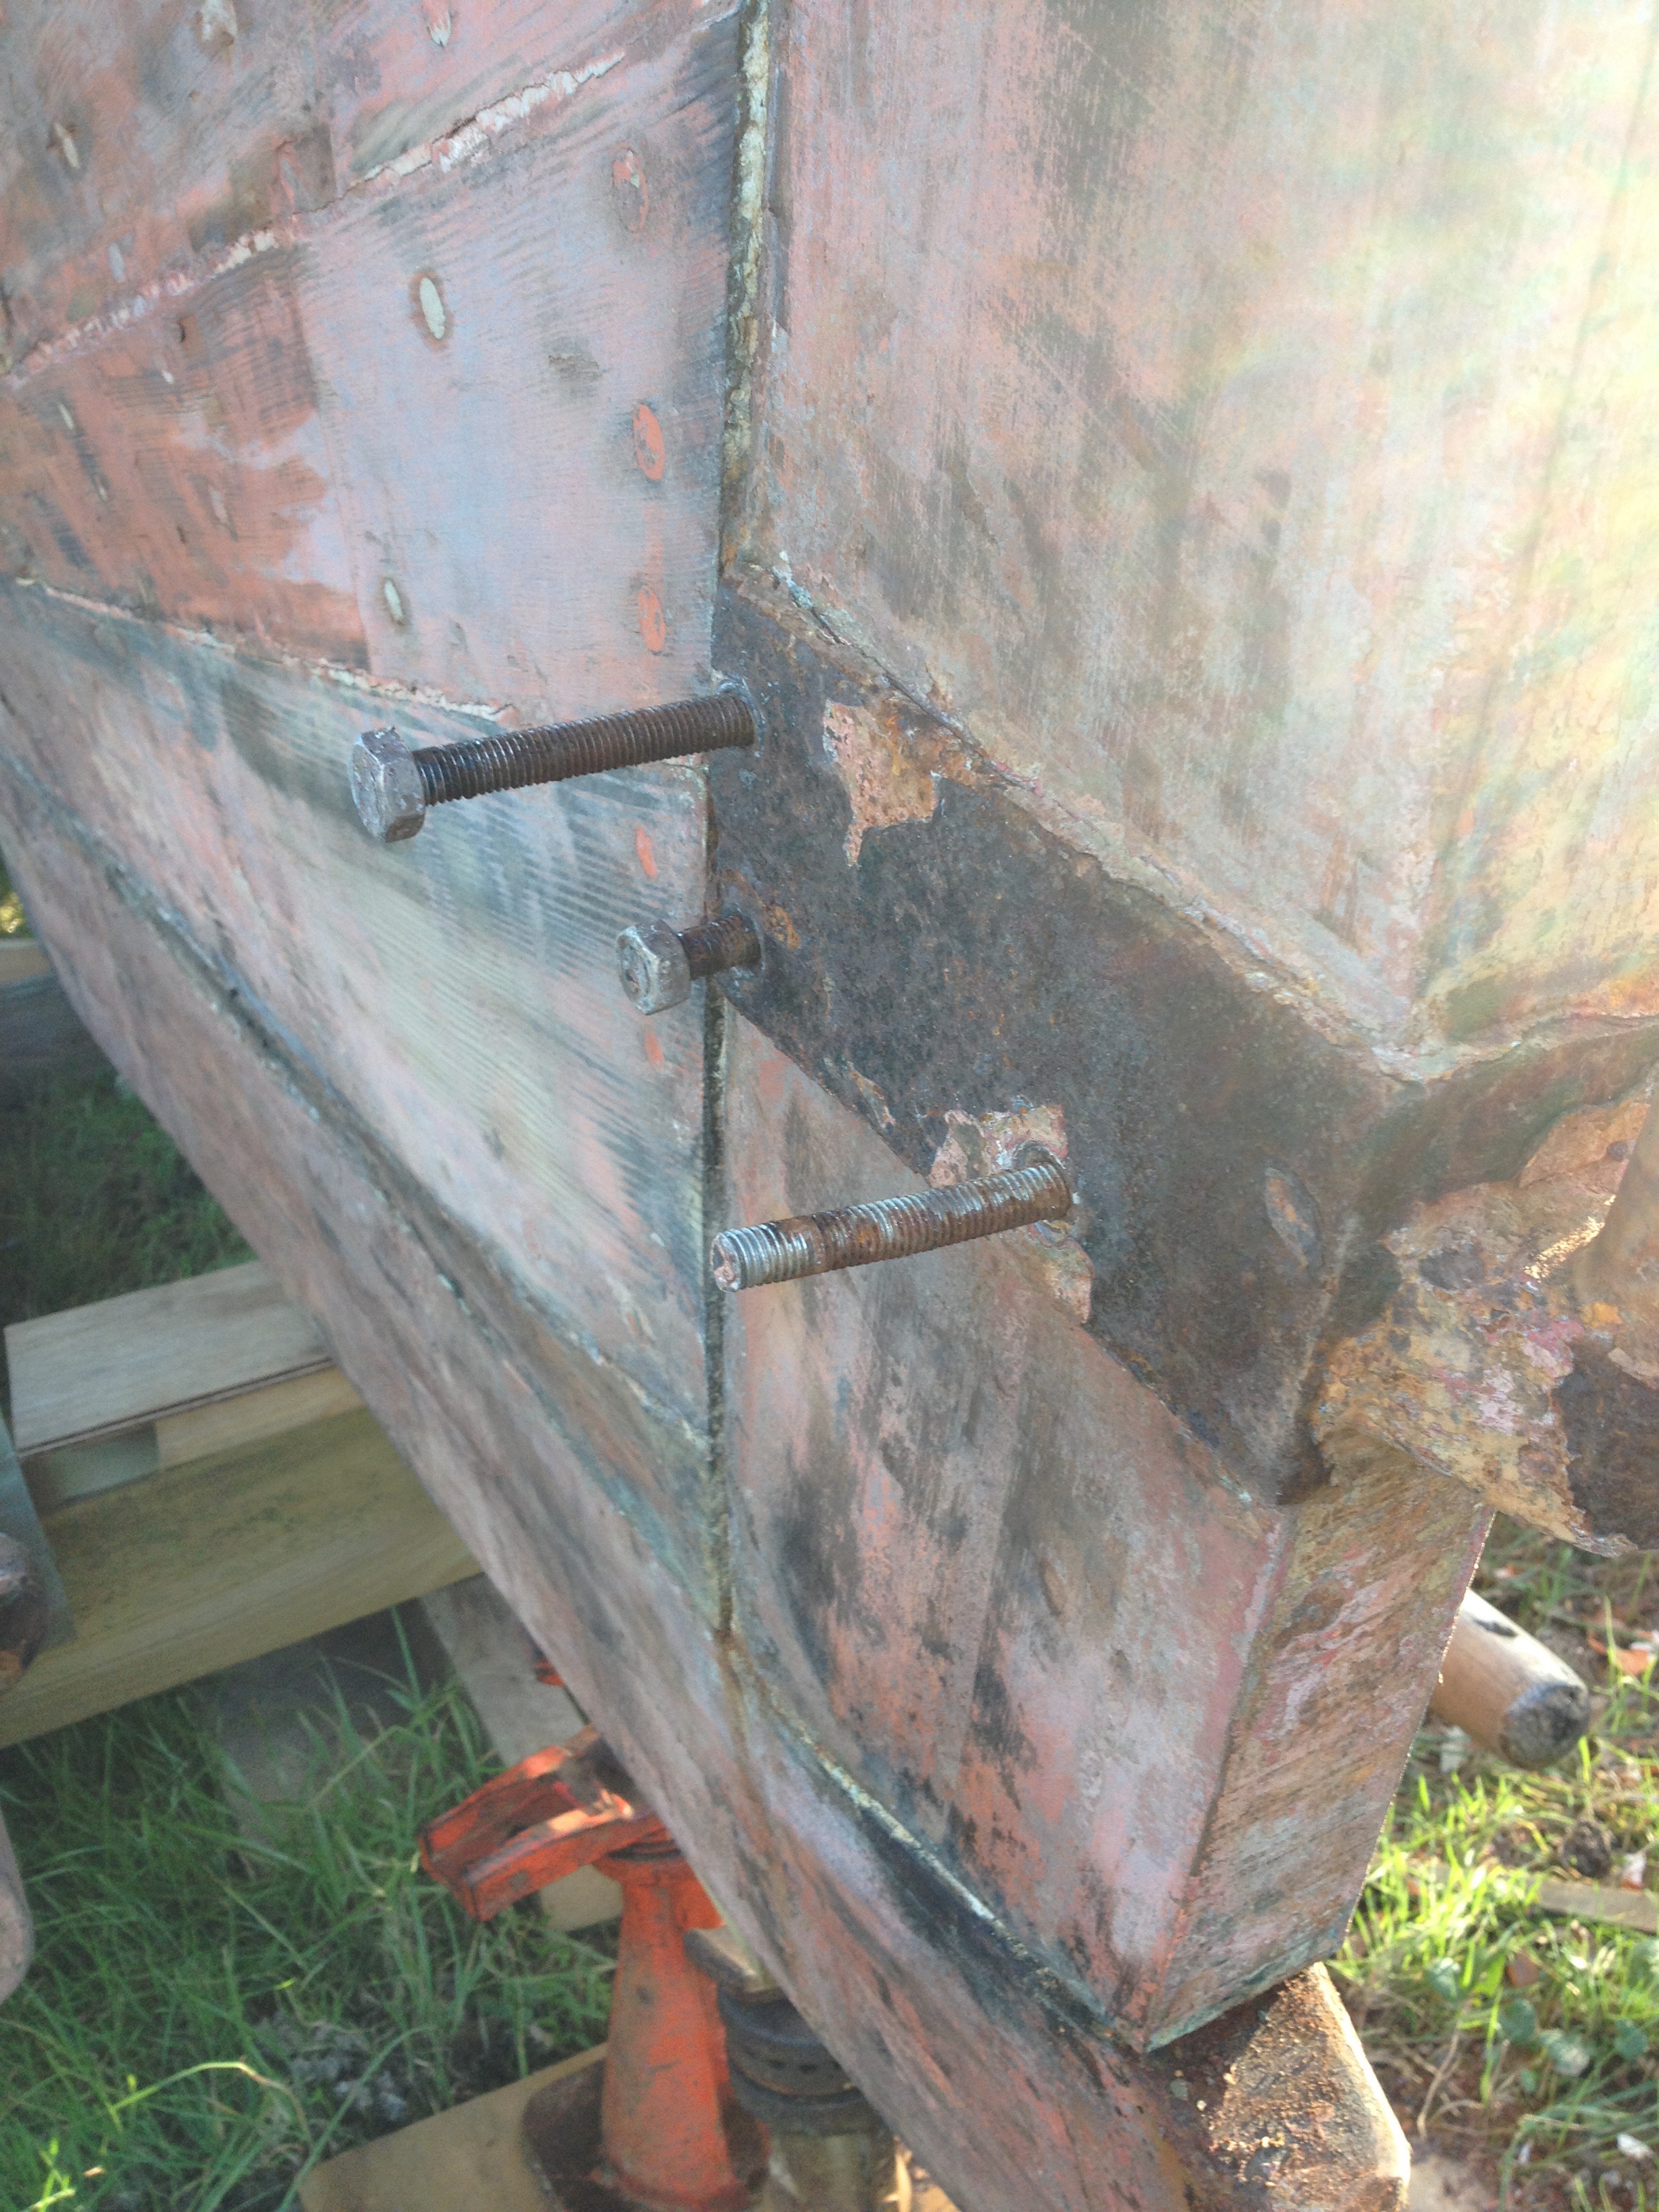
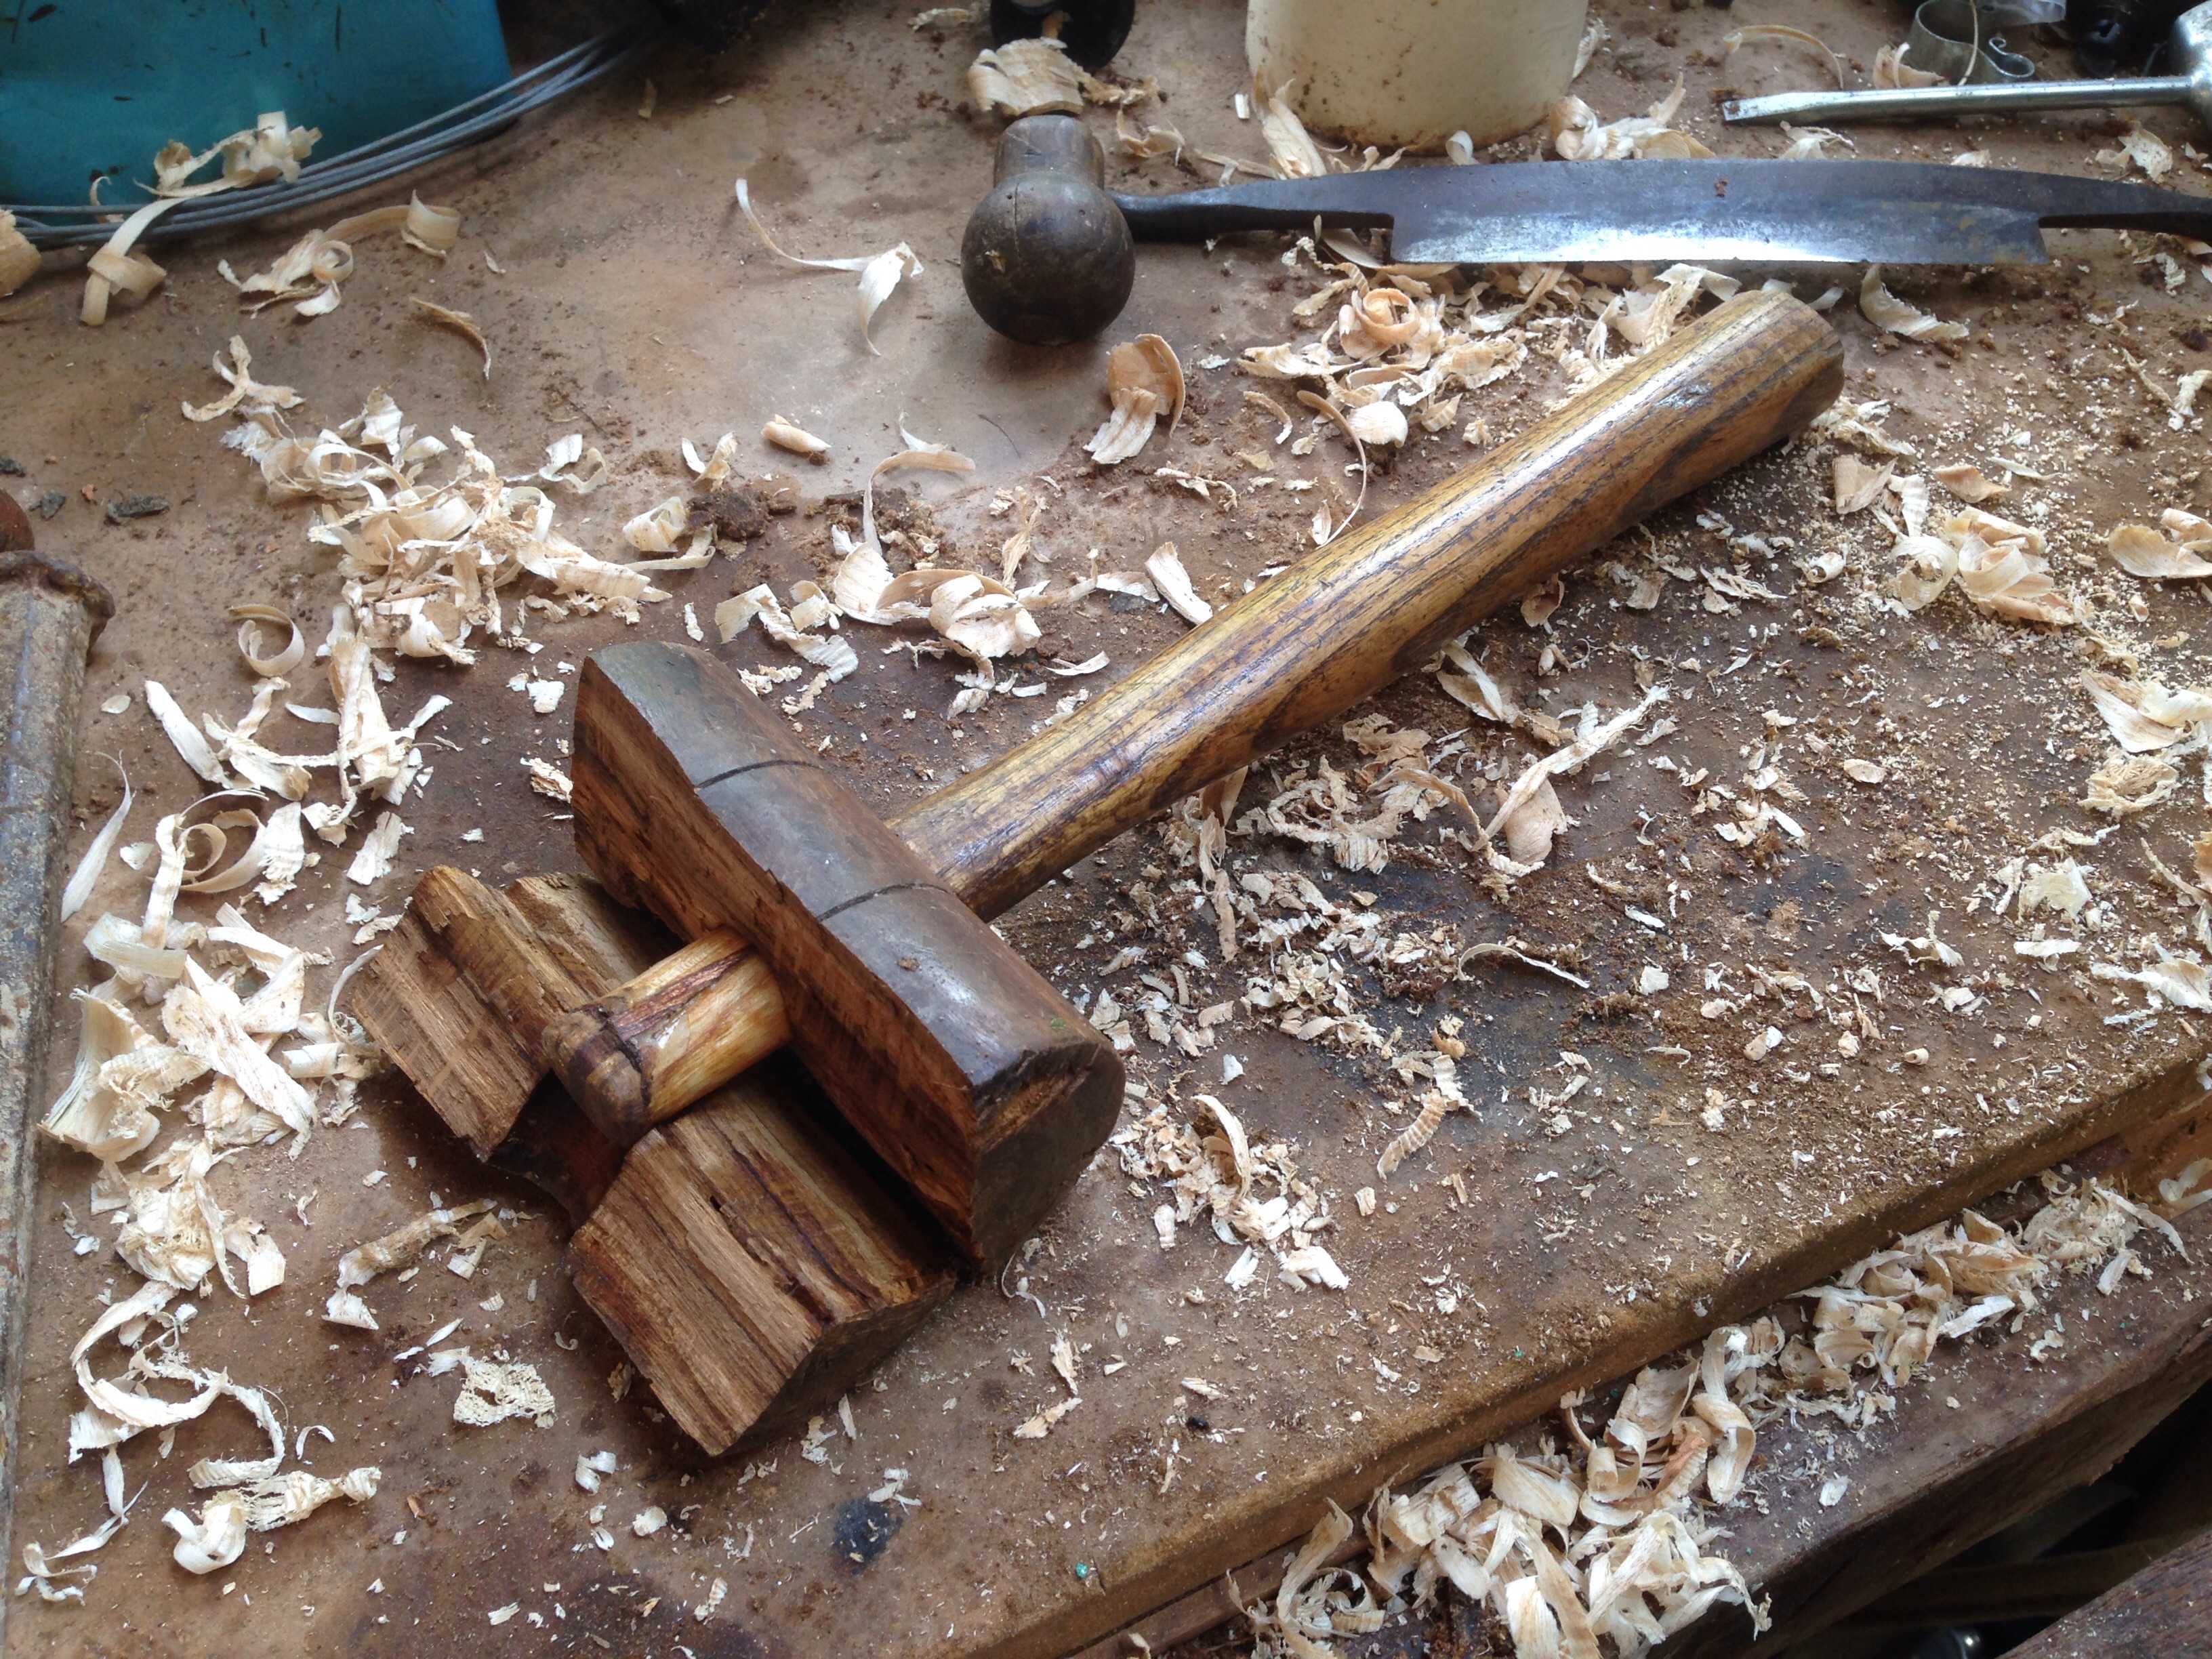
A beautiful sunny day and no school run = lots achieved on Flamingo. The mast step is finally finished and I scale the ladder with some trepidation partly due to the massive lump of English Oak on my shoulder and the wobbliness of the ladder but mainly because I have spent a considerable amount of time and effort to get to this stage and this will be the first time I see whether it fits. It doesn’t. The mismatched bolts it has to slide over, project from the keel at jaunty angles – mocking me. Undeterred, a bit of work with mallet and chisel and a bit of sweat and grazed knuckles… and it’s on! I have to admit to being slightly surprised. My woodworking skills are ok but copying the crumbling original with no square or flat surfaces to use as a datum there was always going to be a hefty dollop of crossed fingers and guesswork in the process.

The old mast step is a crumbling lump

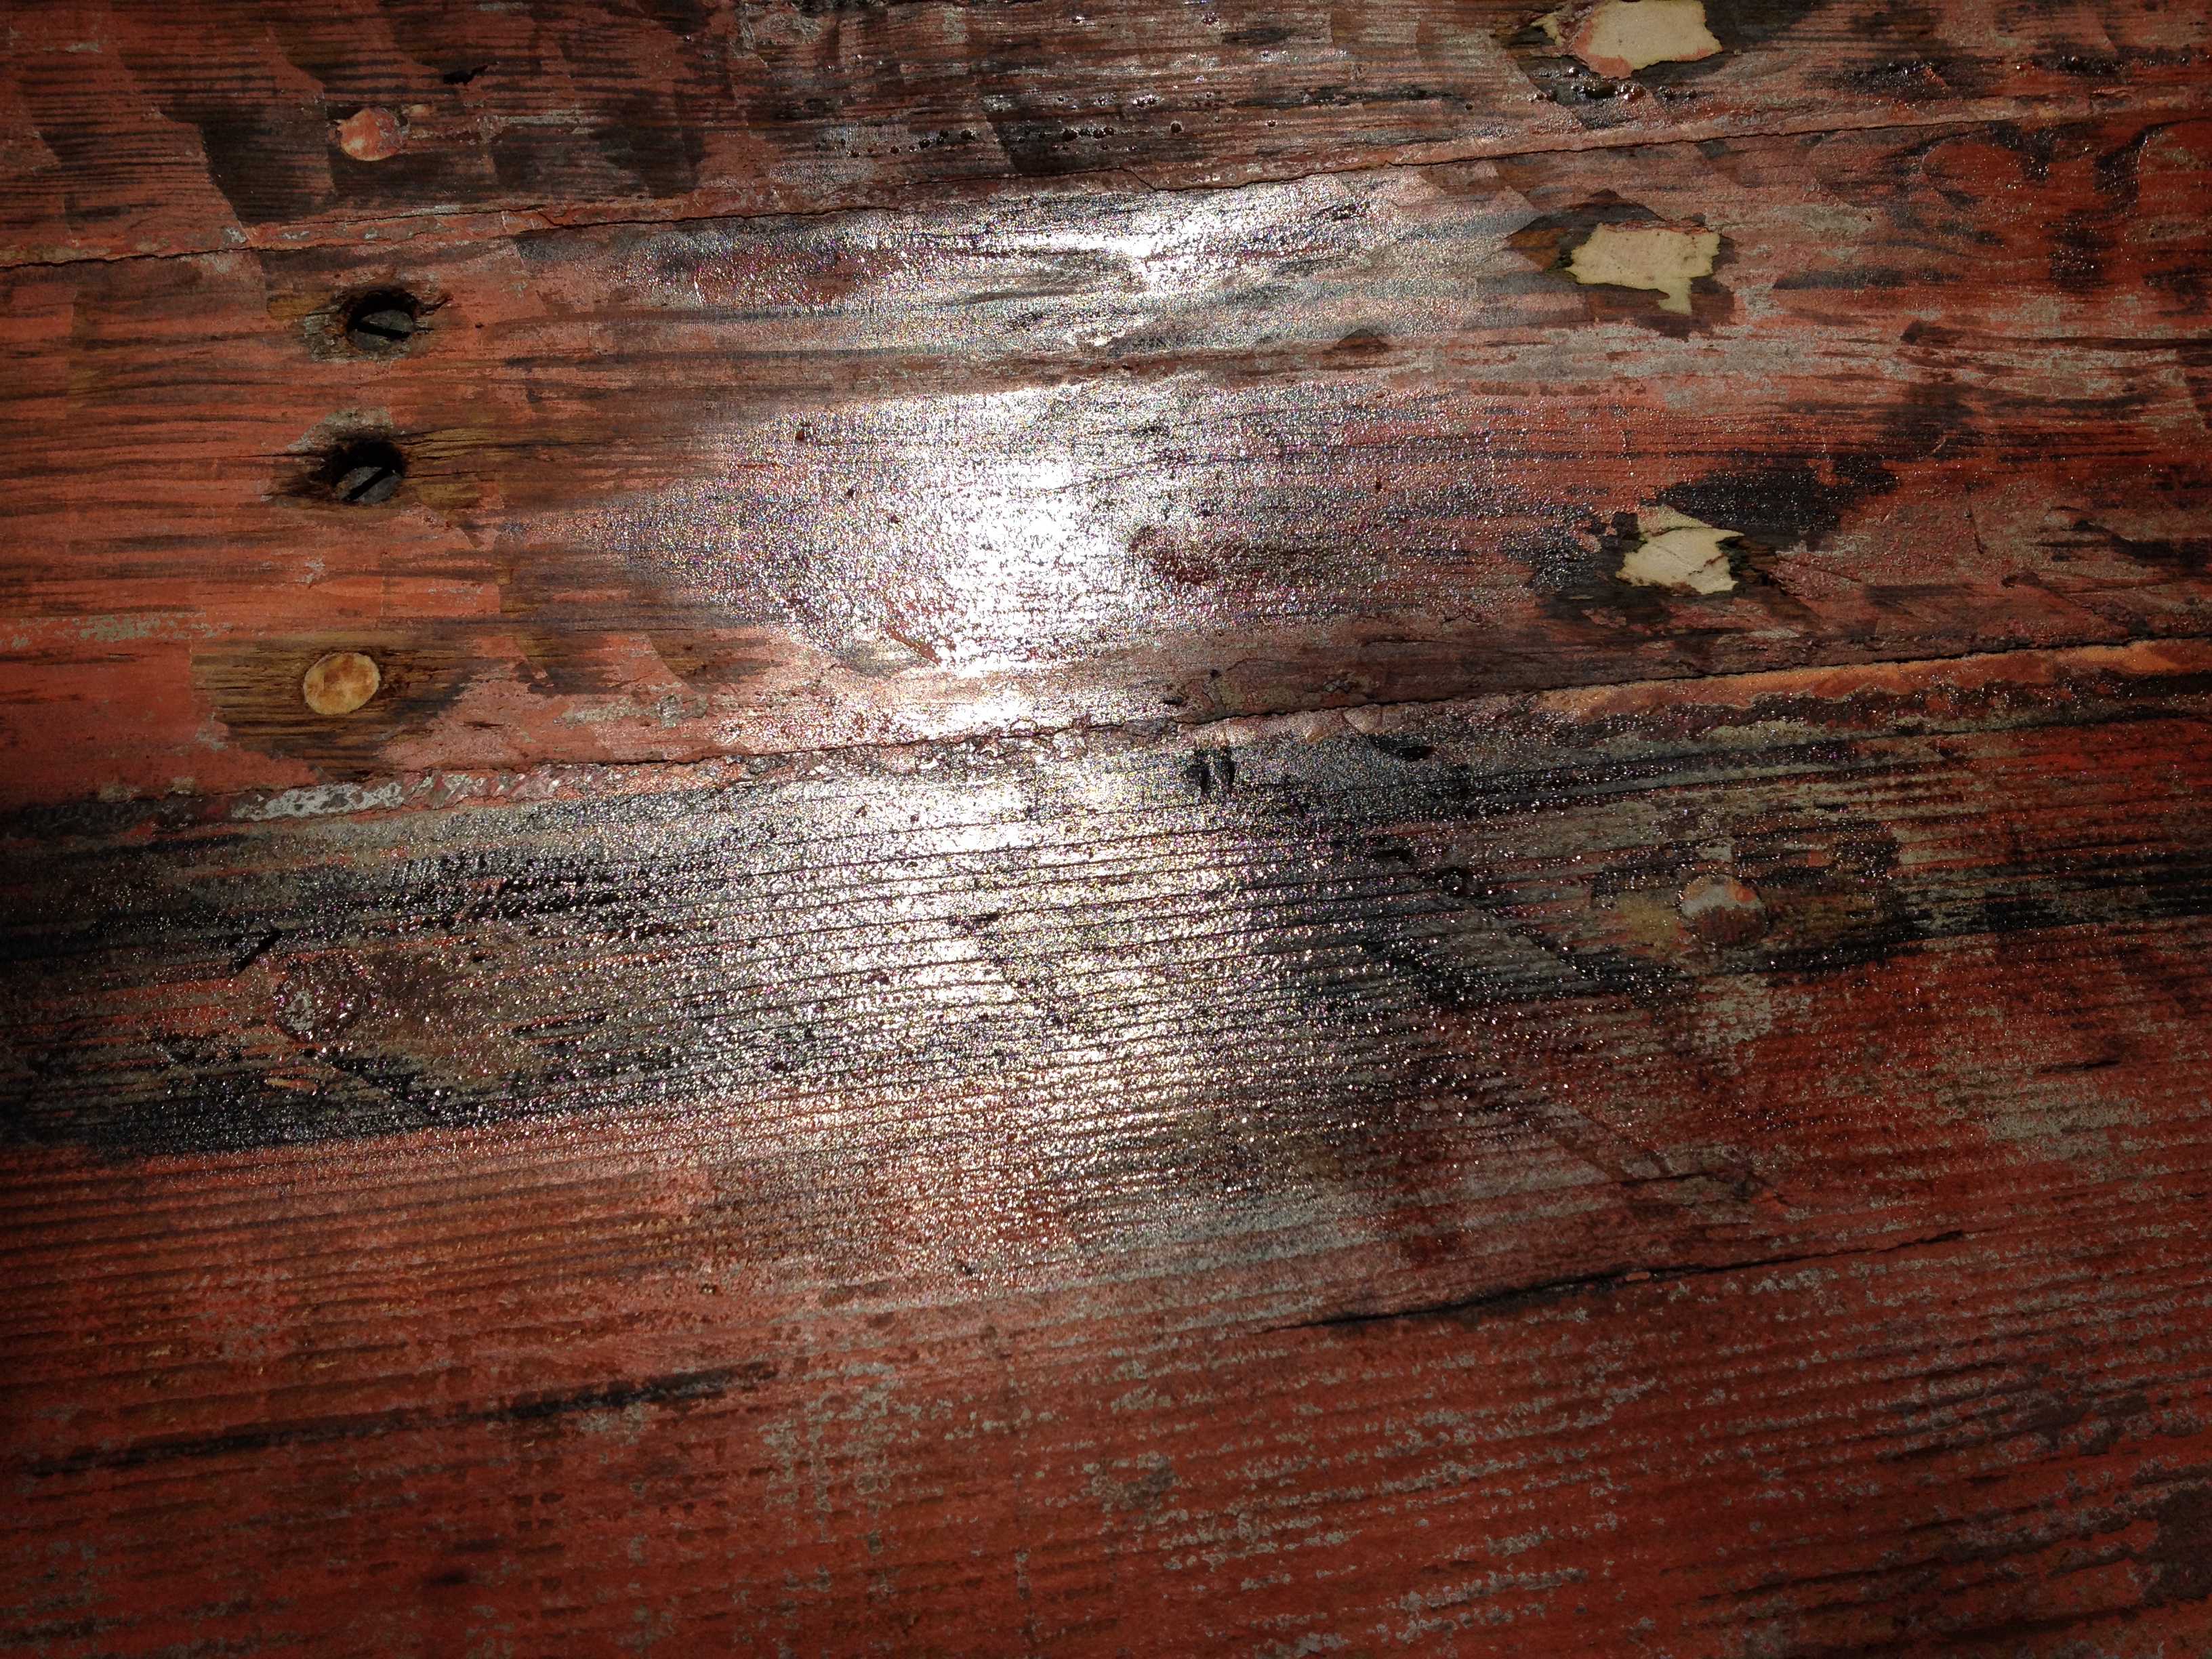
Reversing my wobbly progress back down the ladder I applied a generous coat of linseed oil to the Oak. It was a little green when I bought it and sitting out in the sun, wind and rain is drying it a bit too quickly. Hopefully a good soaking of oil will help slow the seasoning down a little.

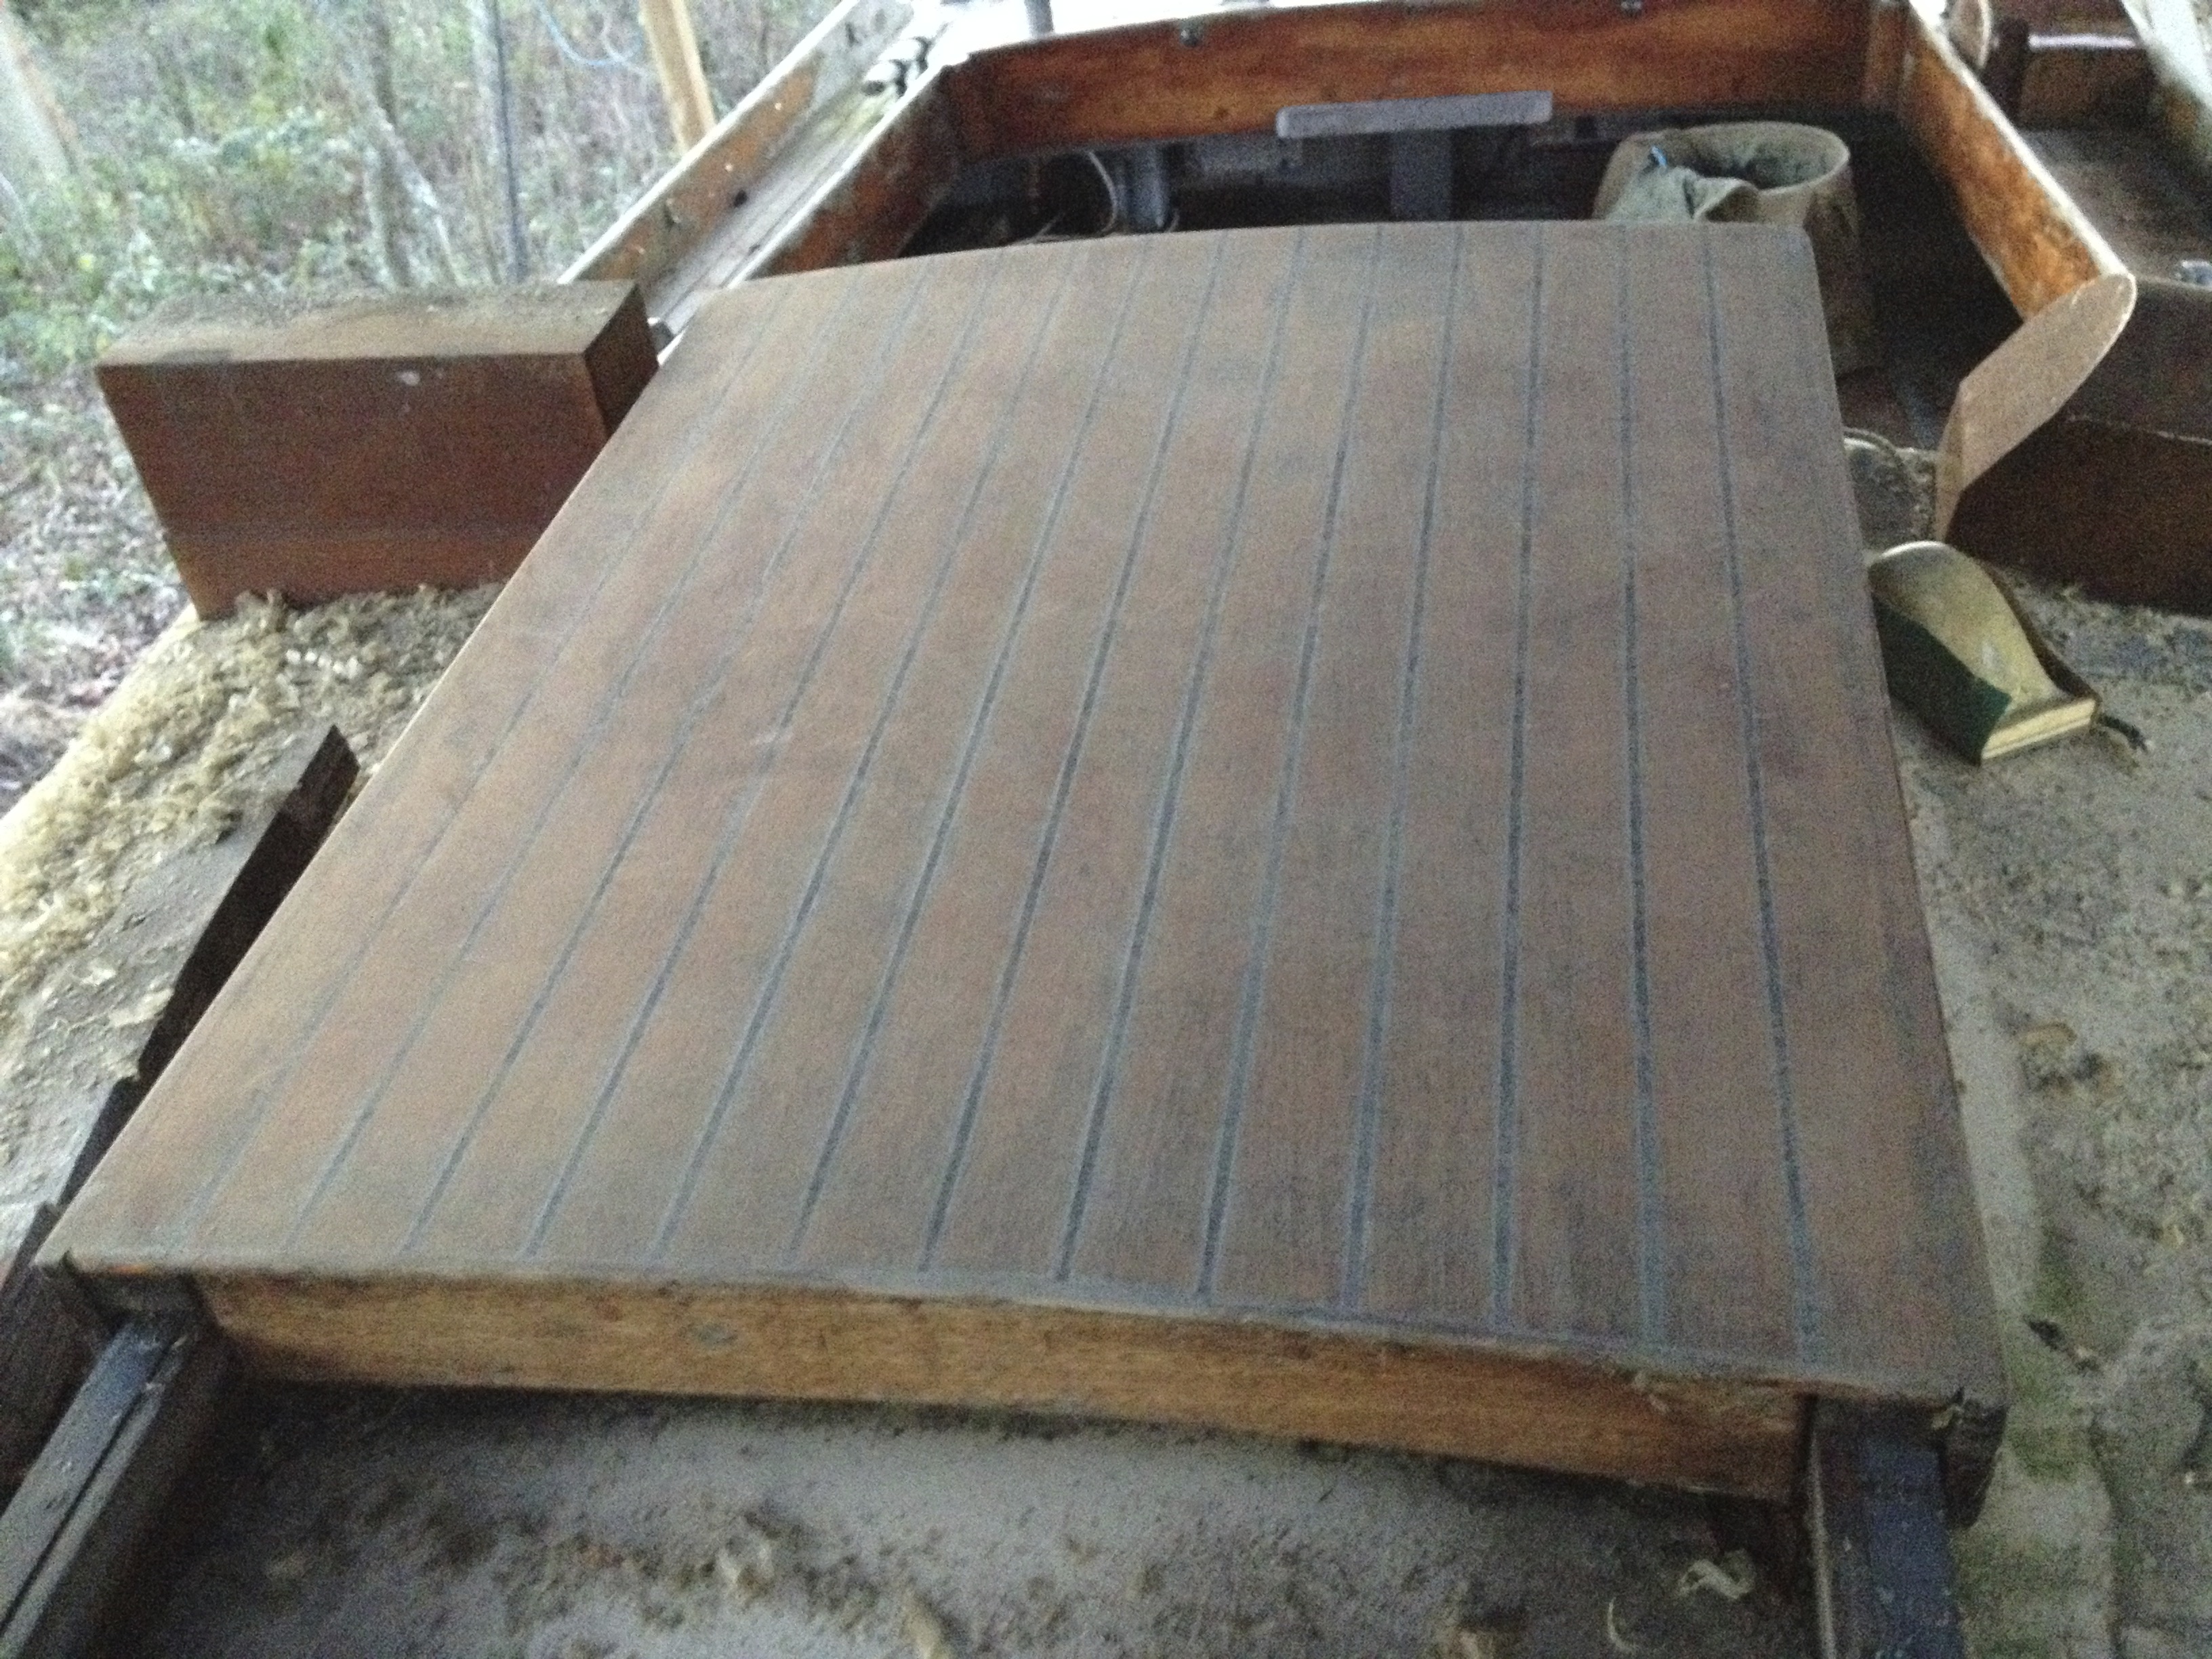
Having mixed up far too much thinned down linseed oil I cast my eye around for anything else that might also be suffering  from Mother Nature’s affections. The rudder, a huge laminated slab of teak was looking a little dry… its not now. 🙂

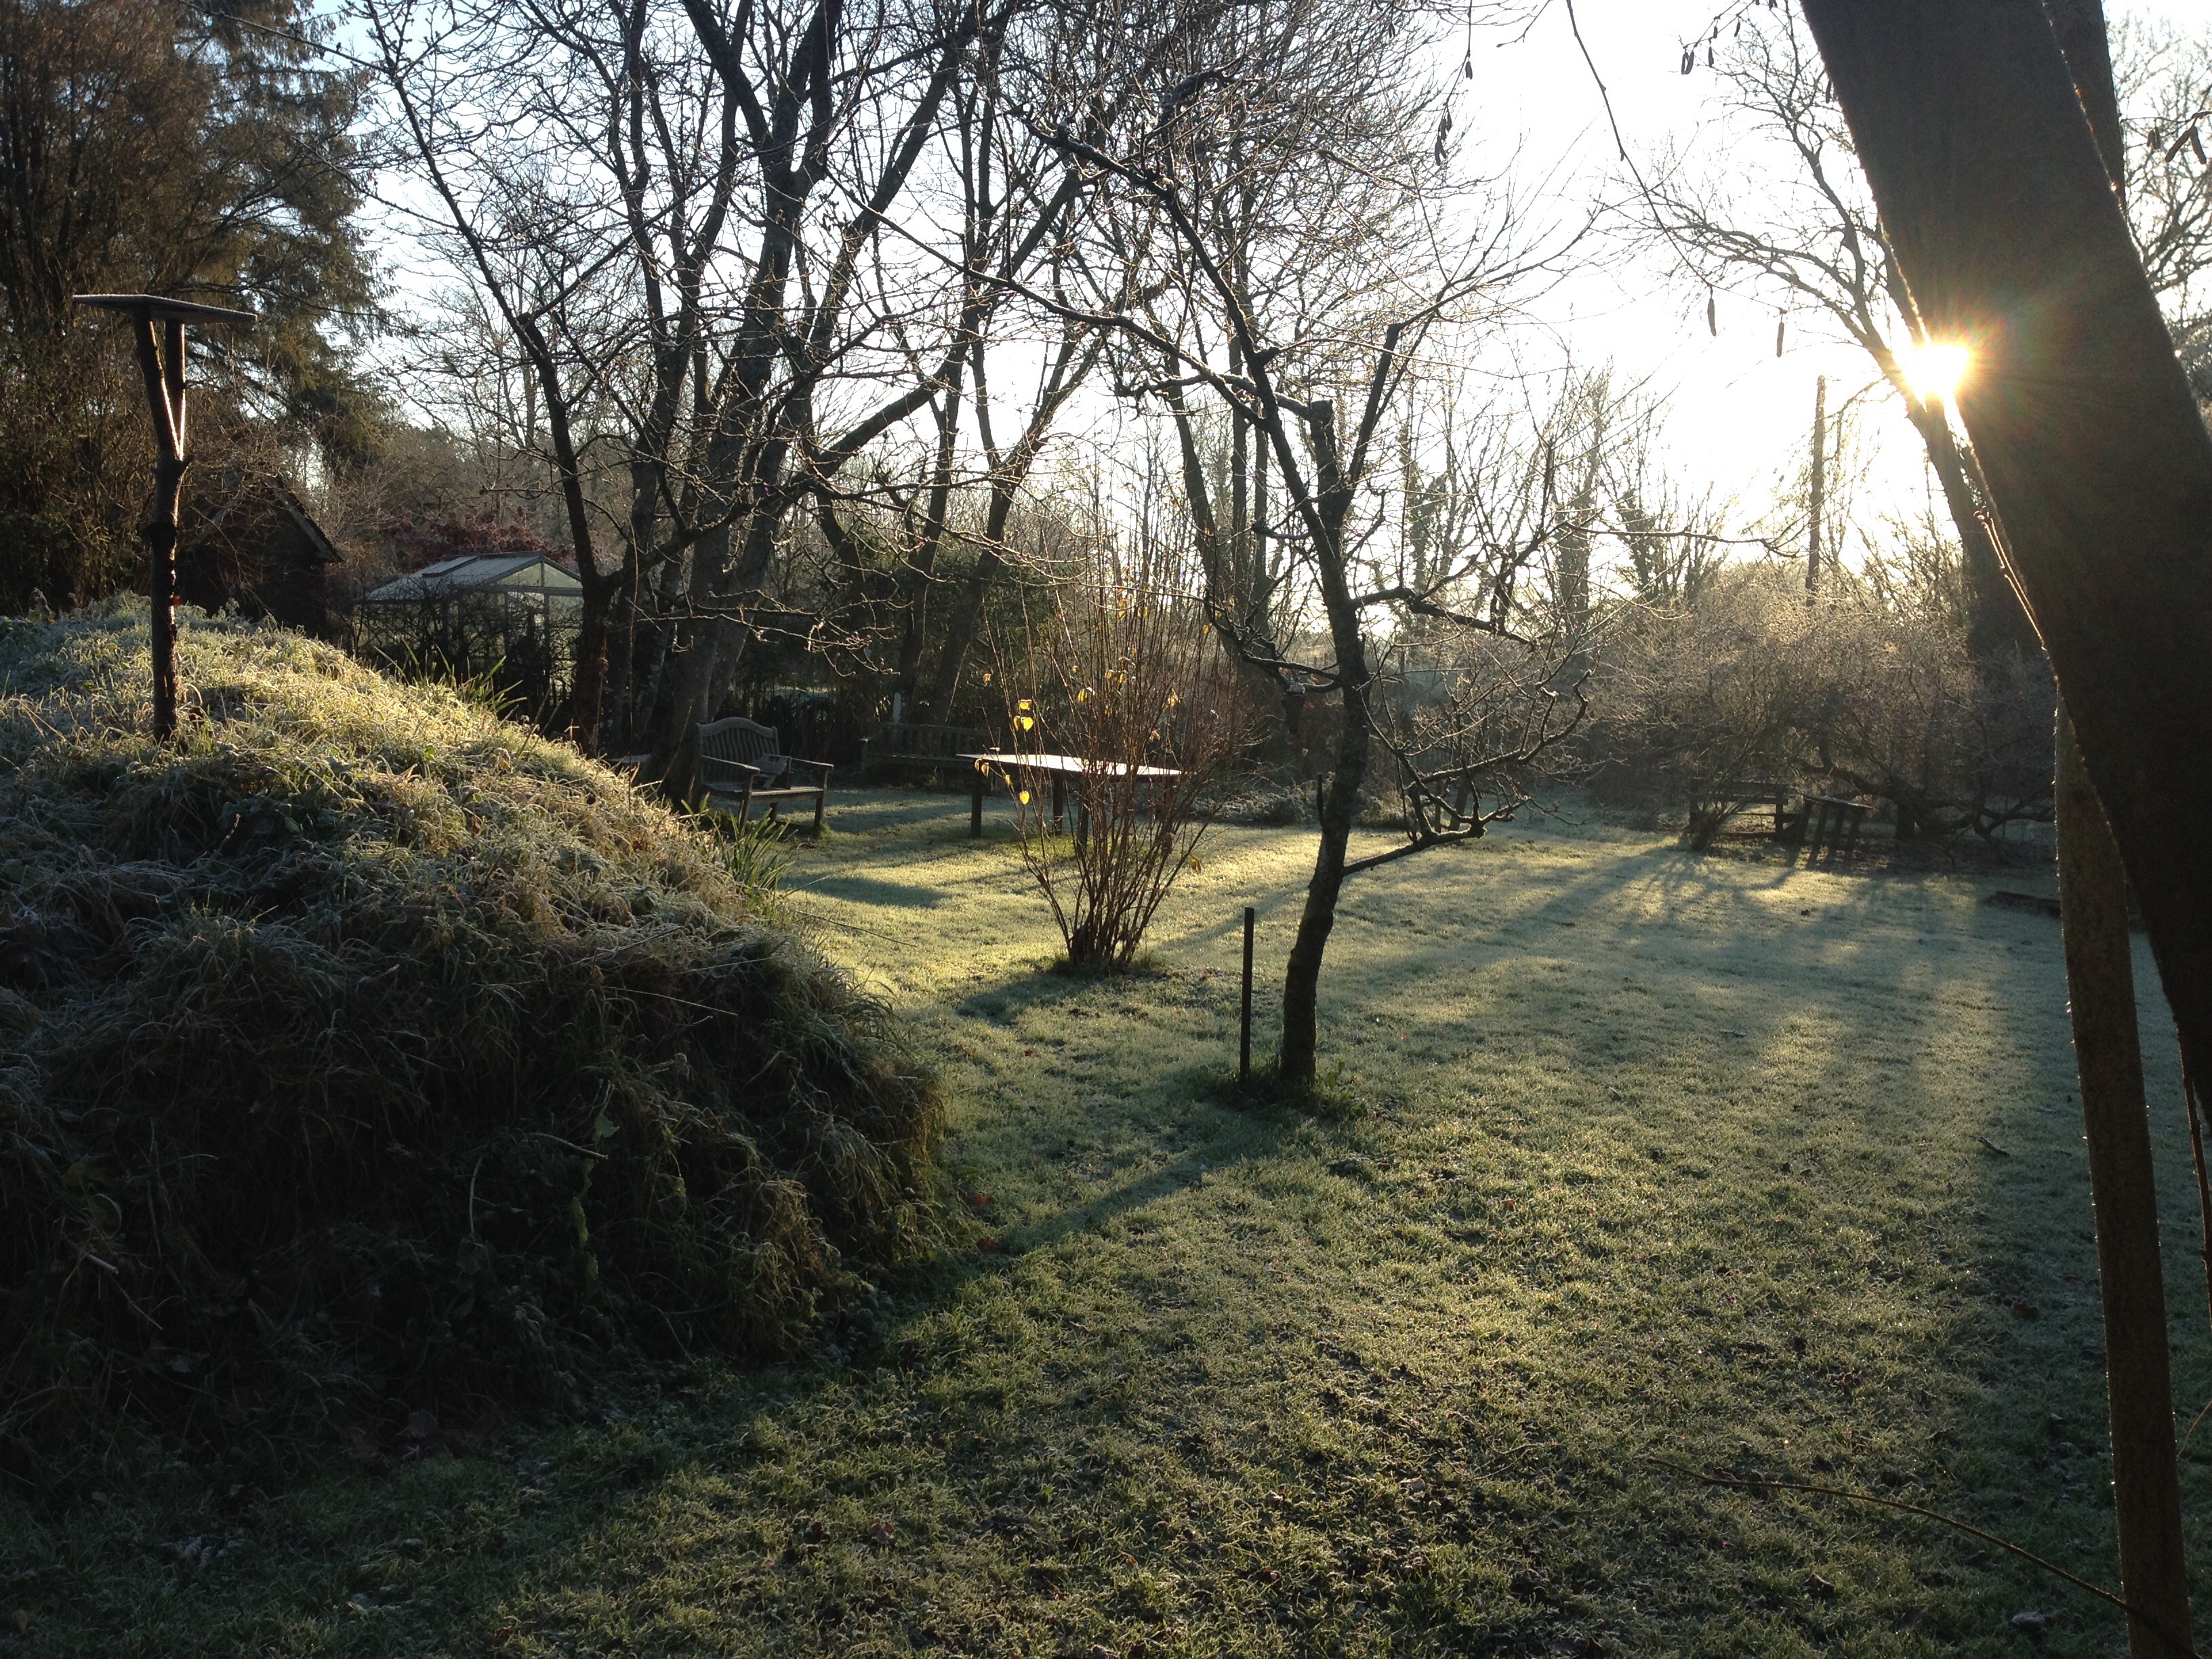
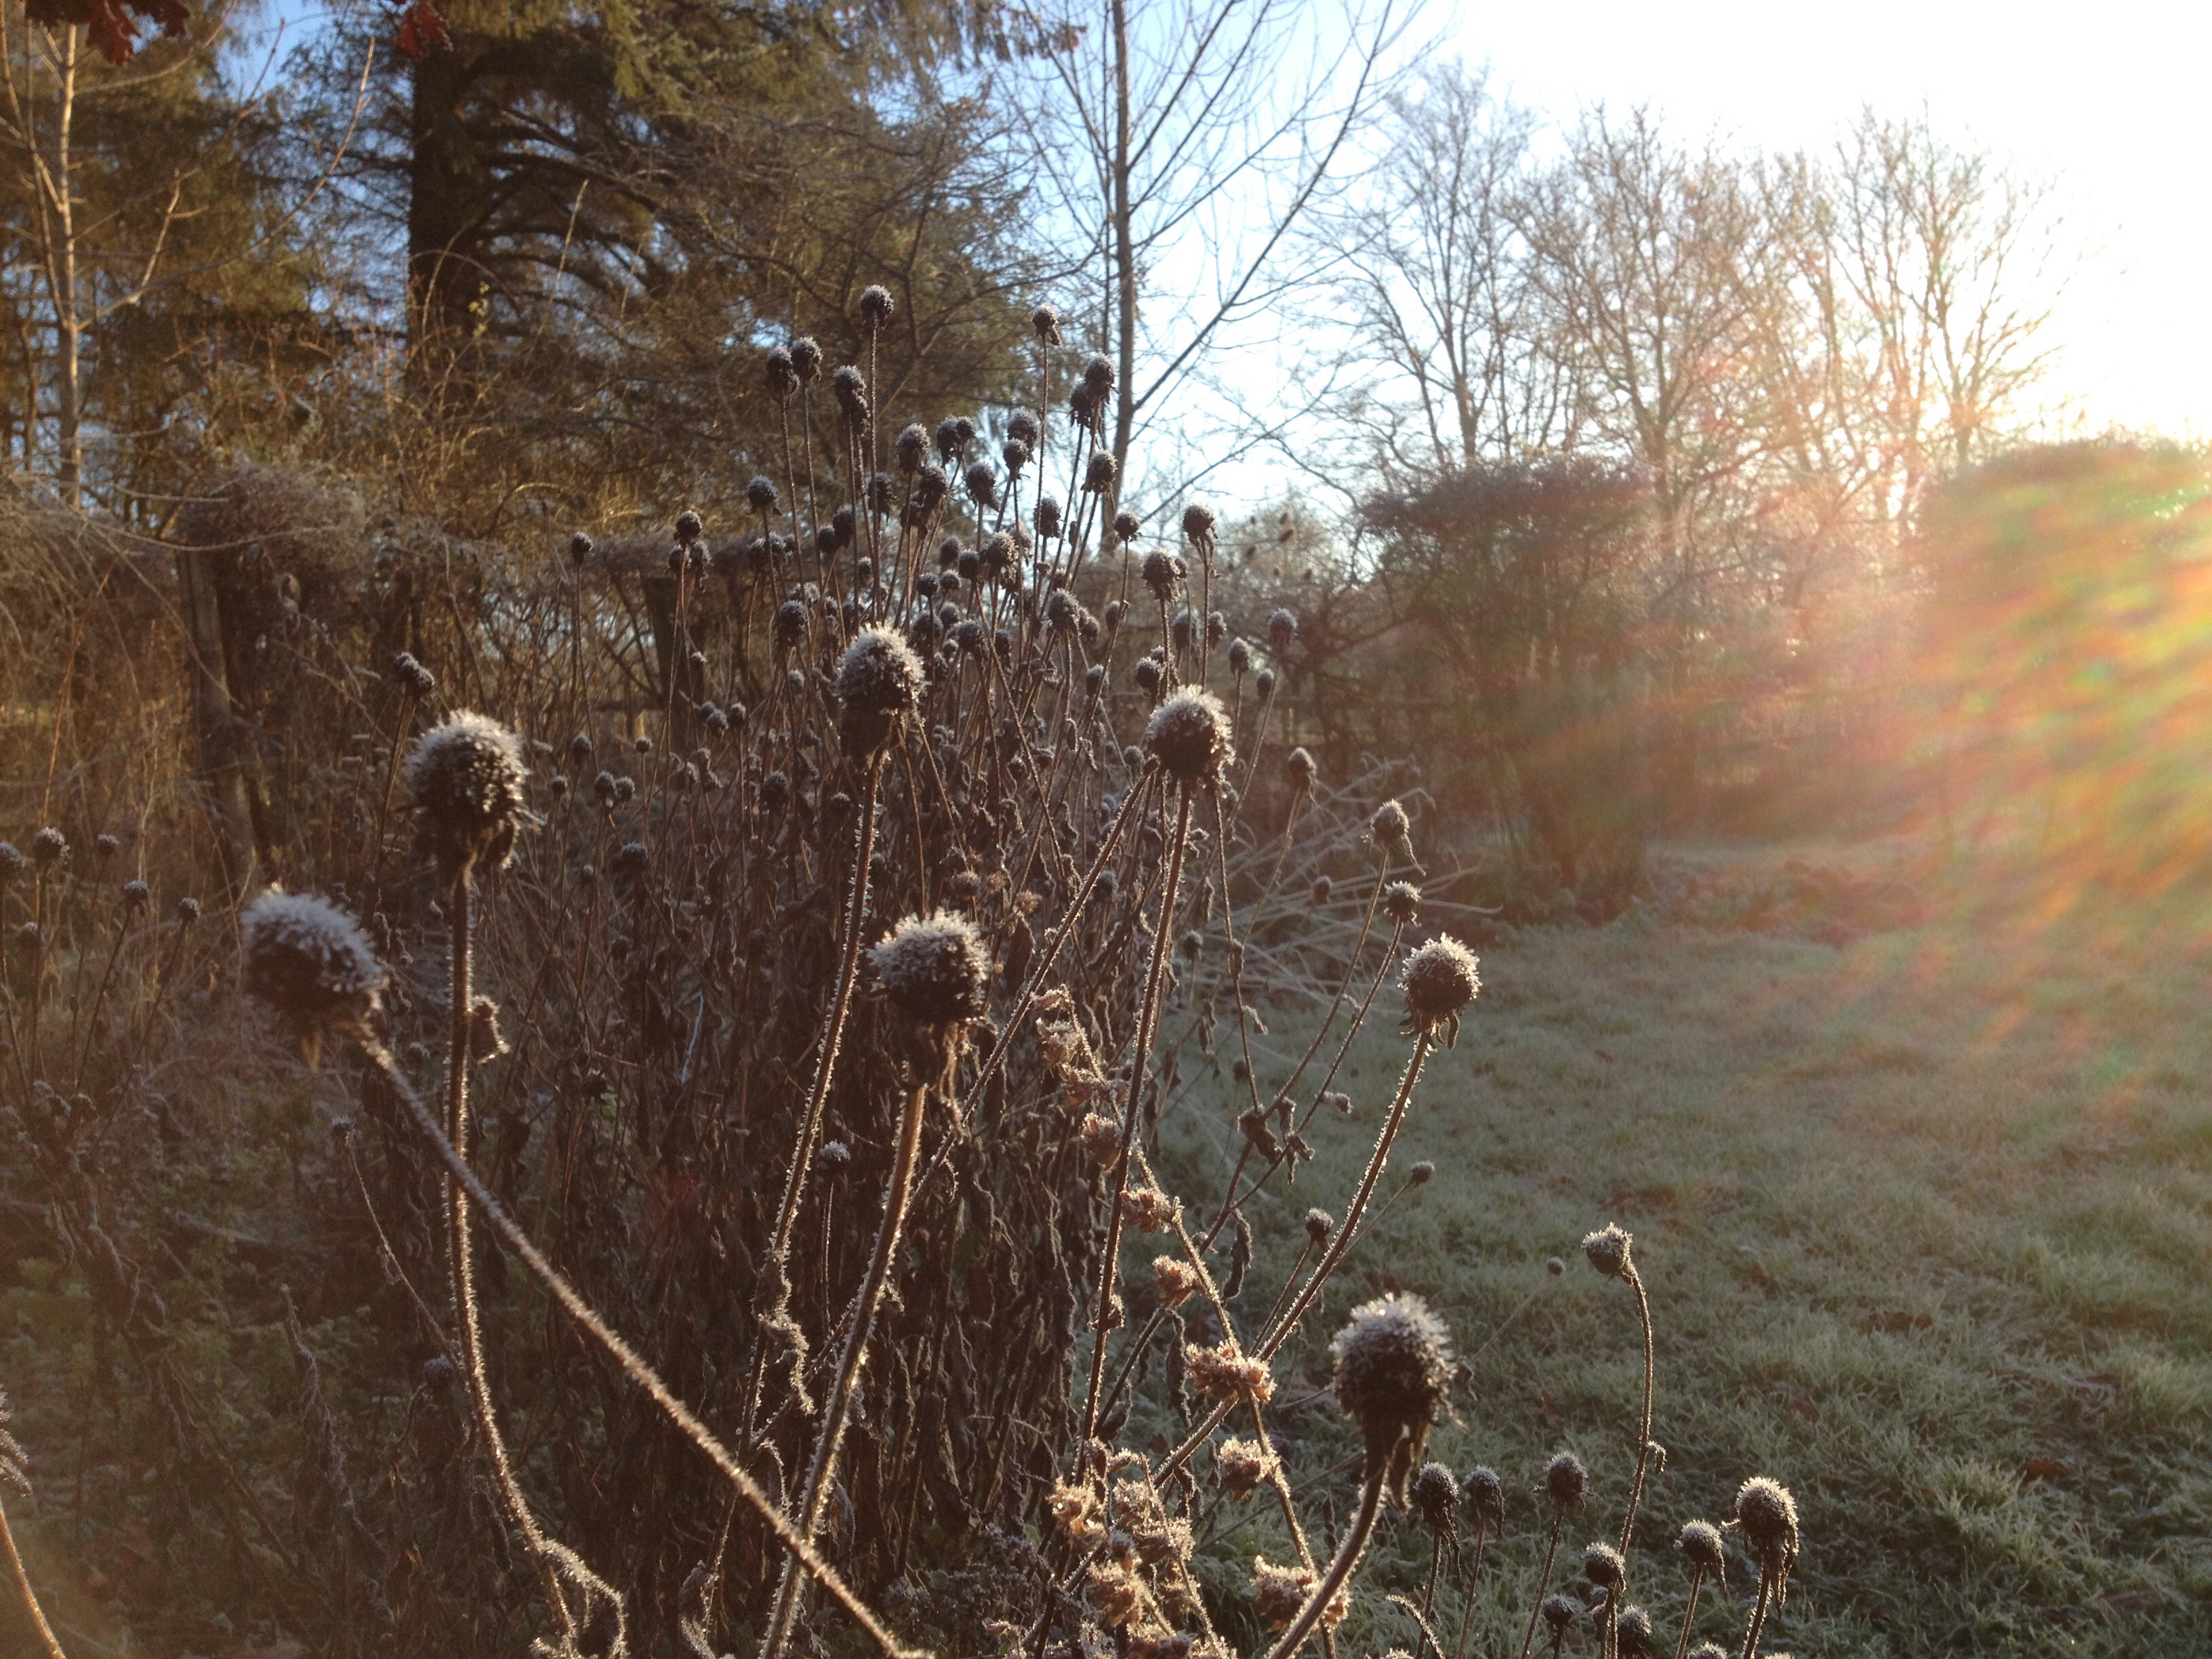
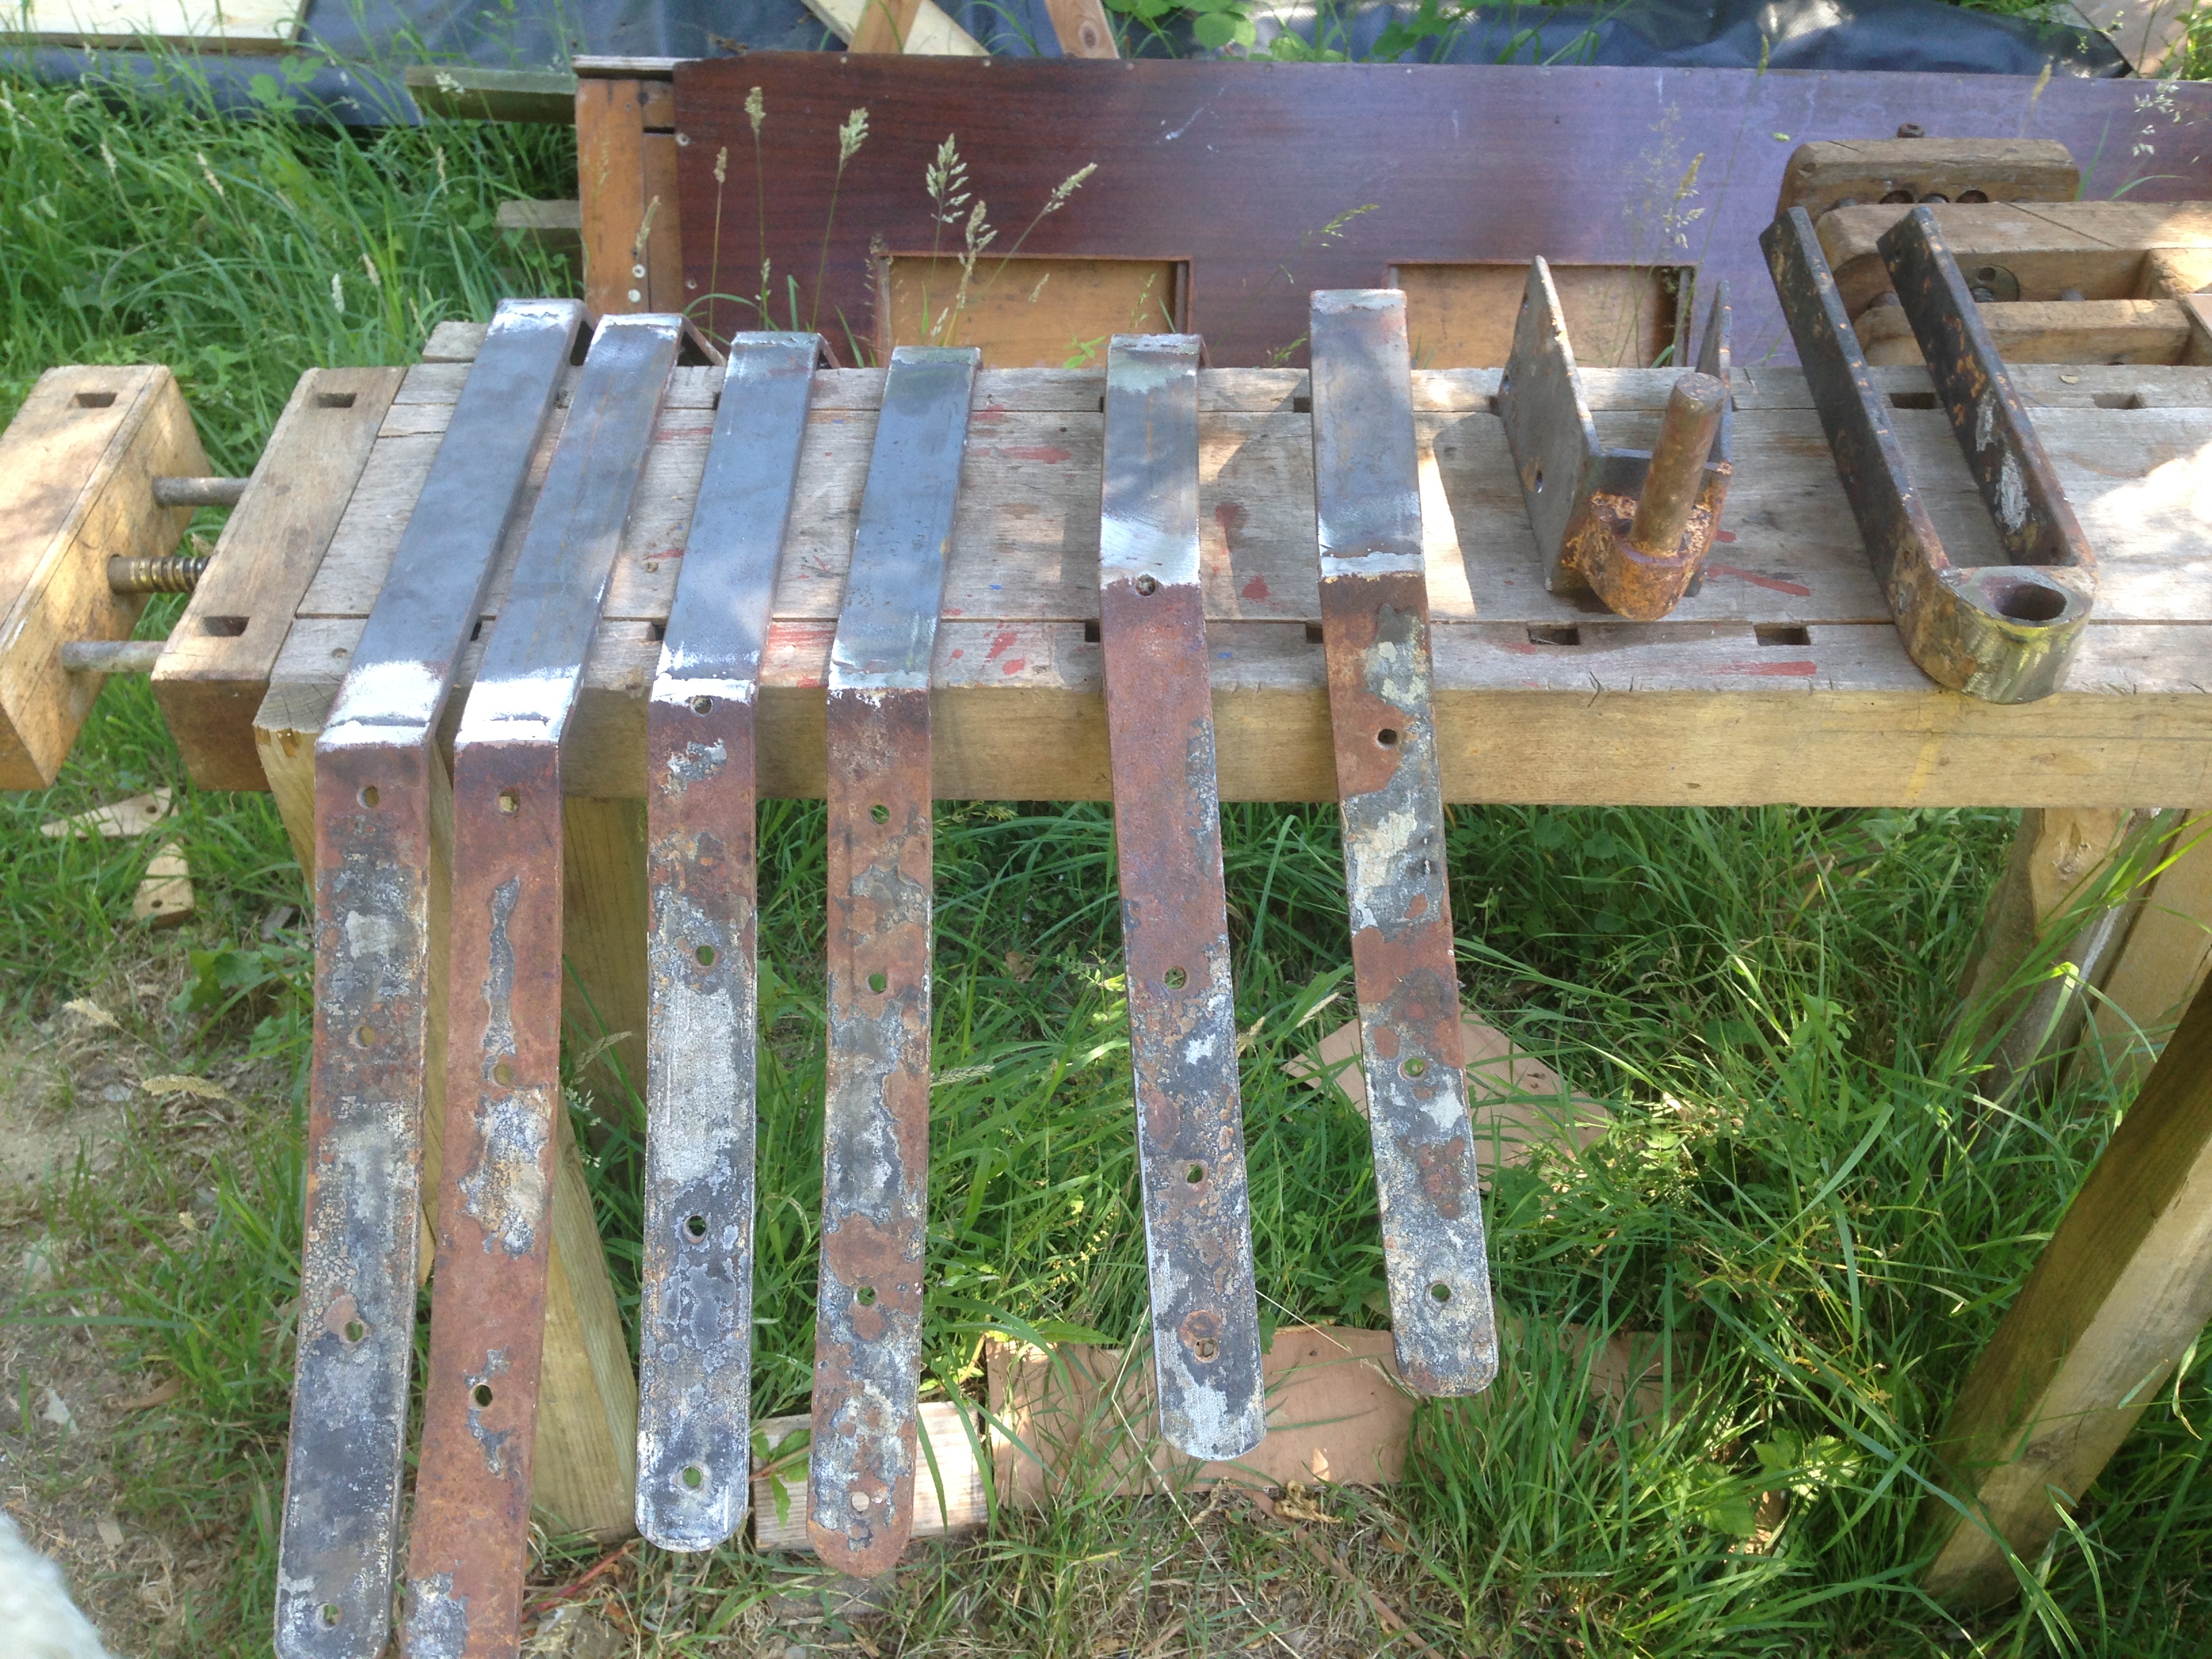
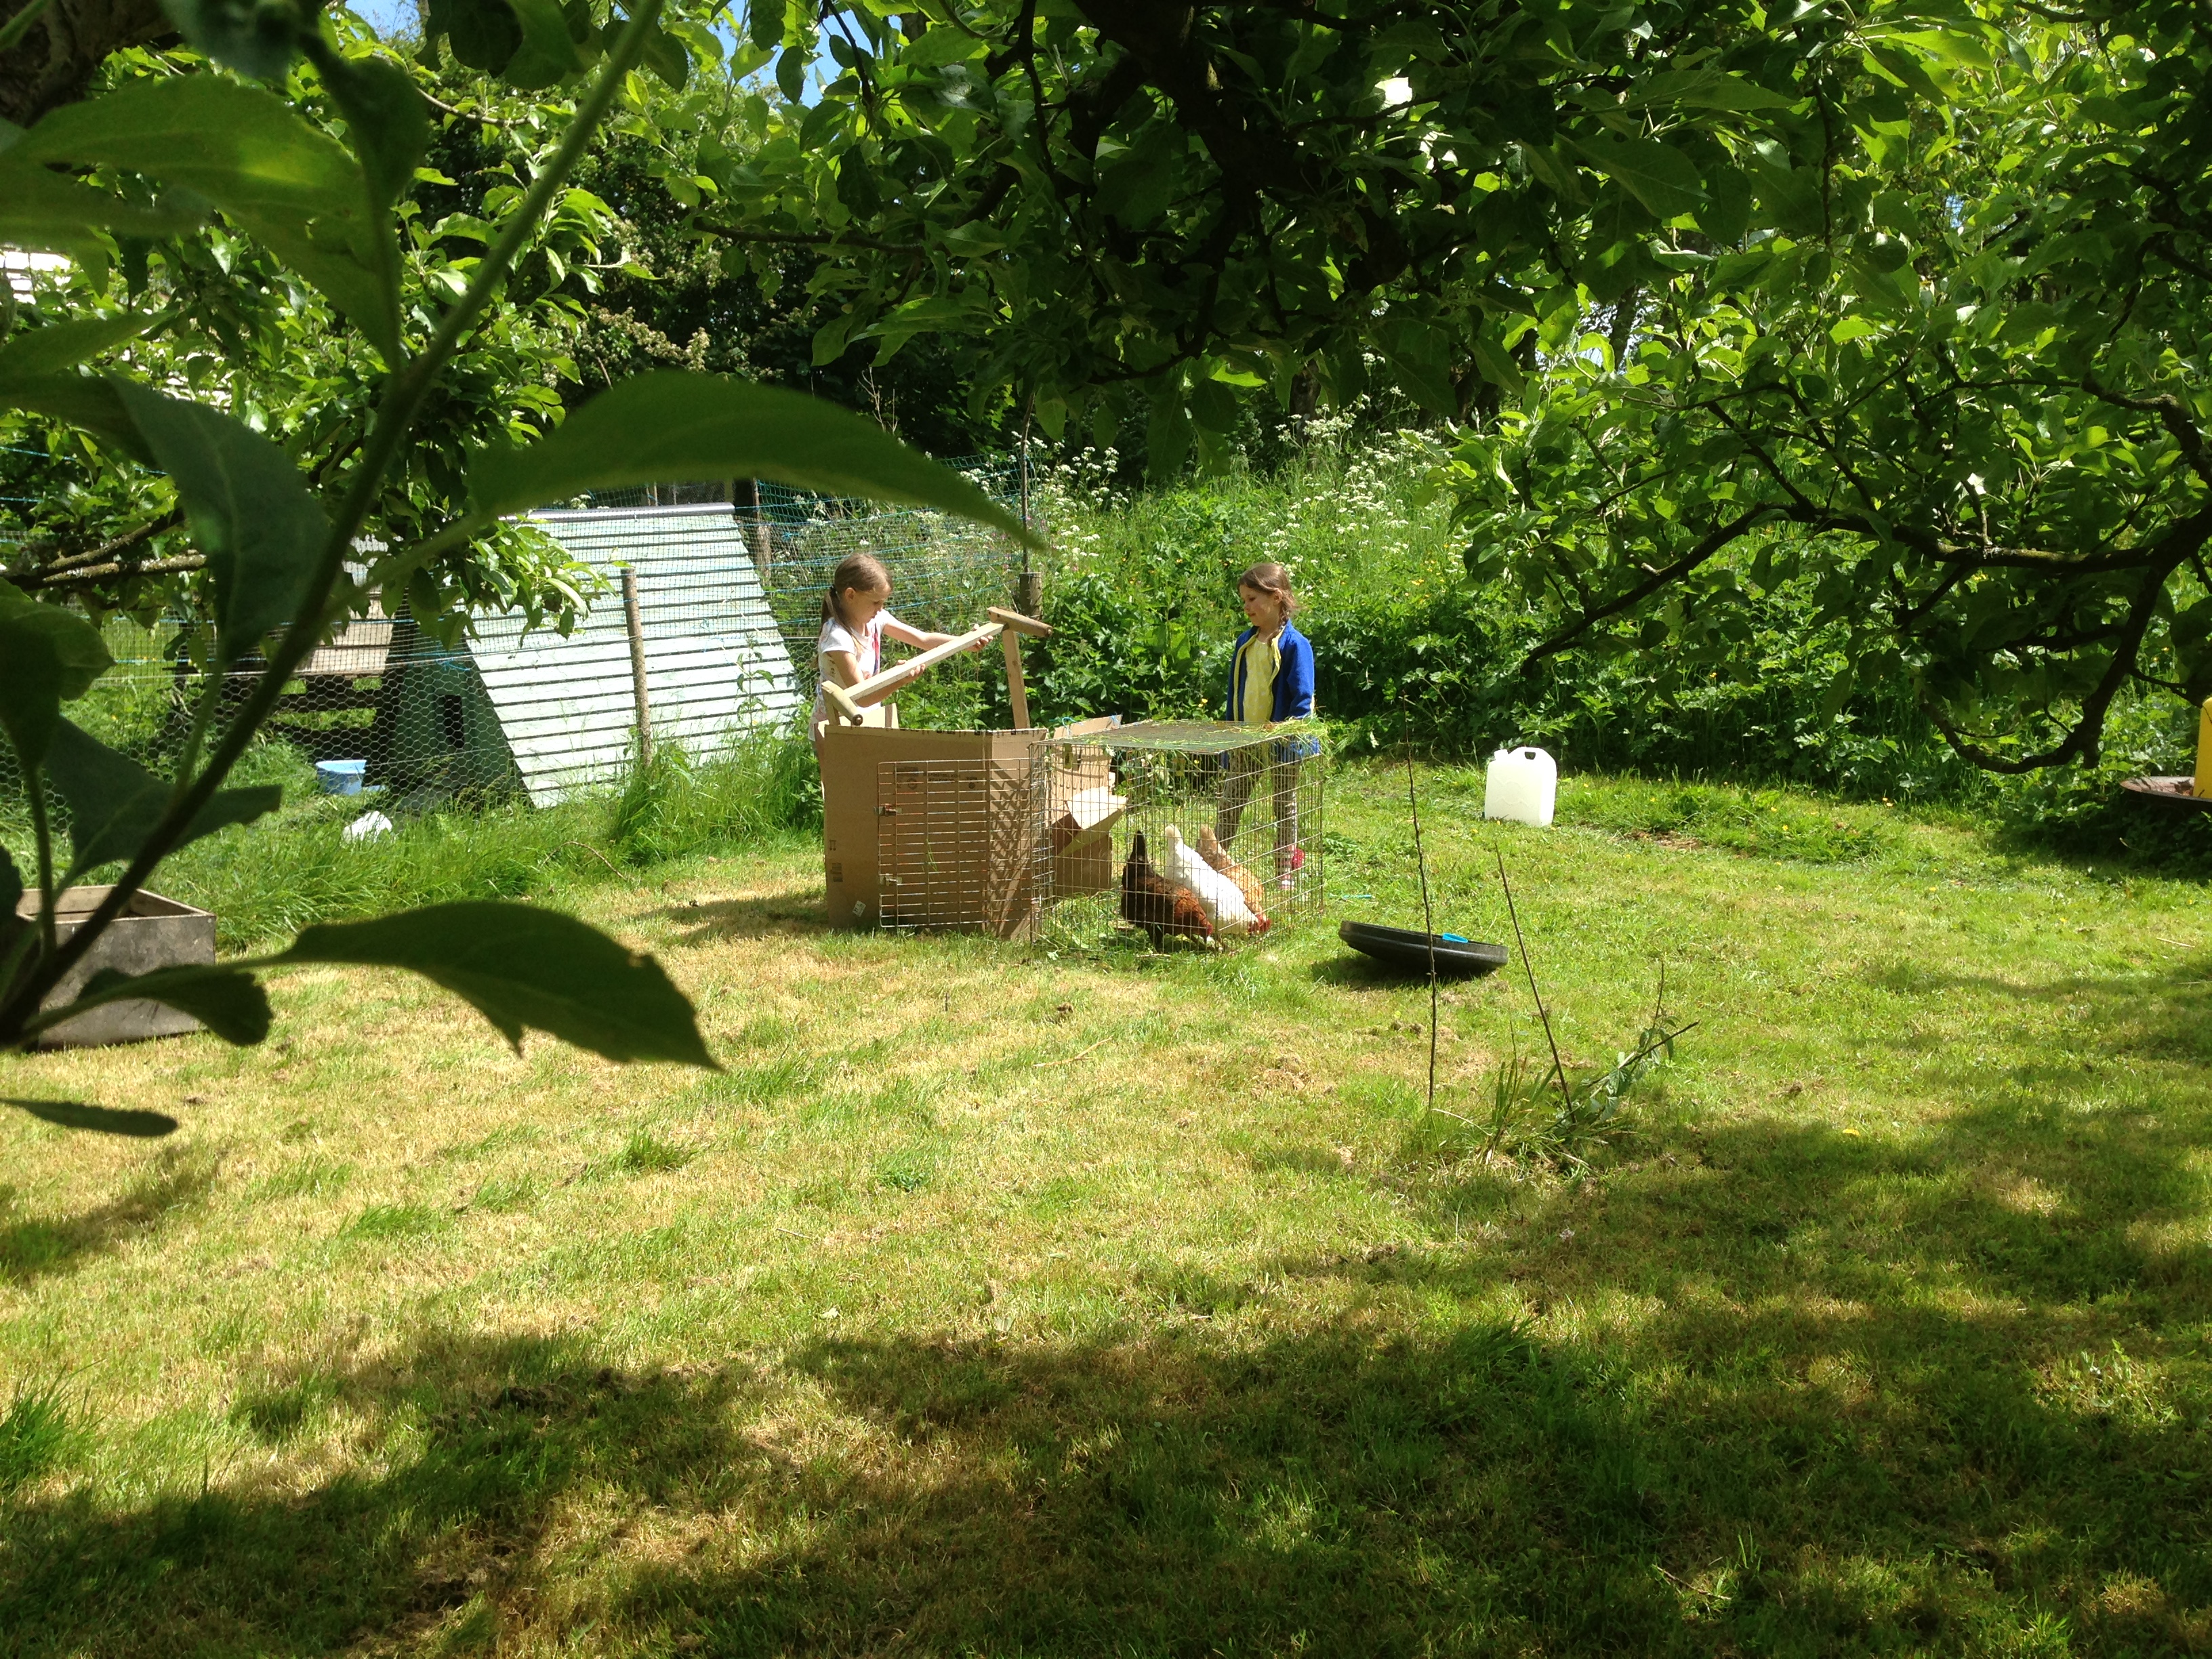
I spent some time last weekend making some trestles to store the spars. They were languishing under the boat exposed to the elements that the flash coat of varnish was fast losing the battle with. They are now more convenient to access and better supported to limit any unwanted bend in the mast. Lots of sanding and a large jar of thinned down oil later and the Mast, Boom, and Gaff are looking very nice and all tucked up under a roll of DPM to give them some protection. Whilst cursing nature’s effect on my wood, I am of course aware, that I’m working whilst standing in an orchard surrounded by apple blossom and primroses, bumble bees lumbering through the periwinkles, a ubiquitous robin chirping nearby and the rat tat tat tat of a woodpecker down by the stream. So I guess, given the entertainment she’s laid on, I’ll forgive her the depredations.

Primroses and Periwinkles in the spring sunshine


Last Days of Summer

Thursday dawned warm and sunny and my bonus four day weekend (one day all weekends will be made this way)  looked like being a fruitful one. Still putting off the making of frames, (my current excuse being I need more workshop space to lay out the laminates) I carried on stripping varnish and sanding the sides of the coachroof. I’ve invested in velcro backed rolls of sandpaper and what a difference! Gone the frustration of trying to clamp reluctant 80 grit into poorly designed clips that ping open at the slightest provocation. Substitute instead, a stack of pre cut sheets ready to be popped on in seconds. Of course the extra time sanding has had a negative effect on my back muscles but every silver lining has a cloud.

More sanding
More sanding
Some nasty black stuff has been used to fill the cracks...:(
Some nasty black stuff has been used to fill the cracks…:(

The thought occurs, as I curse the orbital sander marking a clattering trail of little dents into the deck, that some sort of rubber edged sander would be a good invention. Yes yes I know, It’s a poor craftsman who blames his tools but it is really hard to get right up to the edge without bashing the adjacent wood…. must try harder.

The pulpit was getting in the way, so off it came. Does she look cleaner without it….?

Pulpit gone.
Pulpit gone.

Maybe a bit, but I wonder whether someone wrestling with the anchor or hanking on a foresail would be glad of its steely galvanised (and galvanising?) embrace, and more than happy to compromise Flamingo’s traditional lines for a bit of safety….. Well, we’re a long way off that point so I’ll not worry too much about it now. It’s many a mickle makes a muckle,  as like as not as makes no nevermind….

Pulpit pushed overboard

The whole site is getting a bit untidy so I spent some time clearing up, sorting out, and stacking the various bits of the interior and then covering them with a tarp.

A surprising amount of stuff when it's all collected
A surprising amount of stuff when it’s all collected
All wrapped up. Chester checks my handiwork. He's a bit sniffy about it but deems it OK
All wrapped up. Chester checks my handiwork. He’s a bit sniffy about it but is probably looking forward to all the mice it will shelter…

Lots of strangely shaped pieces are carefully stashed. These two bits are a puzzle.

Puzzle pieces
Puzzle pieces

I’ve labelled them and obviously while doing so fondly imagined I would remember more about their function….. I’m thinking PA (Port Aft) PM (Port Middle) but of what? I can’t for the life of me think where they’re from.

The leaky workshop continues its frustration, Father’s canvas Ditty Bag has to be dried out and its contents find a new home in a Whiskey tin (thanks Sarah)

It always seems a shame to throw away the tin...
It always seems a shame to throw away the tin…
So I didn't.
So I didn’t.

Meanwhile, Tilly discovered a Fairy shoemaker’s last, proof if it were needed that the little people are all around us…..

Tiny stone last for making tiny shoes upon. Fairies exist. Fact!

Turas math dhuibh.

NOT UNDER OR OVER, JUST WHELMED

There has been very little work over the last few weeks. Life has just got in the way. This weekend will be no different as #1 Son has flown the coop to University so we’re “popping up” to see him. Driving to Manchester with a post birthday party hangover will be stretching the phrase popping up but it will be good to see him in his new digs.

There are, of course, lots of little jobs that could be done in the few moments I have had, but I’m a master of procrastination so the workshop has remained untidied, the storage shed likewise, the grass and brambles grow unchecked while I –  make lists…

Lots of people ask me; “How’s the boat coming along?” and “Nearly finished?” or, “Is there much to do on it” It’s a bit like asking “How are you?”, no one really expects an answer, certainly not a seemingly never ending list of what needs doing…. gabbled out excitedly in some sort of nautical code language. As I talk I see their eyes glazing over and flick from side to side (is there any rescue from this boat bore?)

So for all those who feign interest, for the list makers and procrastinators, here is the ‘To Do’ list. It’s by no means exhaustive, though it will be exhausting.

The endless list
The endless list

I’ve found the trick is, to look at the list, and then add a new item, that way I can feel I’ve achieved something. 🙂 Otherwise I could feel overwhelmed, and lets face it no one likes too much whelm in their life do they?

Helping Hands

A week at home should have allowed for more progress on Flamingo but the weather was so awful it dampened my enthusiasm for outside work and even when I did grit my teeth and get out there it was difficult to see in the dim light below decks. Still there were a few bright moments and wonder of wonders, some helping hands!

Stripping and sanding varnish
Toby sanding the toe rail and Luke removing sealant from the cabin sides.

With some difficulty we removed the portholes so we could better sand and seal the cabin sides. I think at some point in her history the portholes were replaced with these rather too large ones with the result that the coach roof trim overlaps them.

The Portholes were fitted before the coaming.
The Portholes were fitted before the coach roof trim

It wasn’t a problem for the stern most ones but towards the bow where the coach roof tapers, the top screw was completely hidden. I decided to simply chisel out a small half round to access the screw, it was still a real struggle to get them off so the permanent solution will probably be to use the porthole as a template and reshape the trim around it. This will make it much easier to remove them in the future.

All eight portholes removed and labelled.

You can still buy these at www.davey.co.uk for £379.81 which means the portholes would cost more than I paid for the whole boat! No wonder the previous owner was worried someone would buy her to break up and sell as parts.

As usual there were many distractions;

an afternoon rock climbing at www.evolutionclimbing.co.uk

Climbing fun
Climbing fun

a day spent clearing brambles nettles and sycamore from the old chicken run.

Preparing for some new feathery friends

and an afternoon making a new, smaller axe handle…

A new handle roughed out ready for finishing.

Note to self, don’t use a wooden mallet to drive an axe head on to the handle.

the sad demise of the first tool I ever made.... back in 1981
the sad demise of the first tool I ever made…. back in 1981

So now I’m back at work on a very quiet Bank Holiday Monday (hence having time to write this) and though we didn’t really achieve a huge amount, I feel progress is being made, the toe rail looks lovely all sanded back to its natural warm teak colour and now the portholes are out the cabin sides shouldn’t take too long to strip back. At least then it will look like things are changing, unlike my adding one or two more frame templates to the ever increasing pile…

Steel, Sisal, Tufnol and Bronze.

No, not a dubious firm of solicitors, nor the latest colours from Farrow and Ball. My kids would call them Resistant Materials, apparently they don’t do Woodwork and Metalwork any more, and I’ve not worked out what would constitute non resistant materials… surely everything resists to some degree?

STEEL

So, steel. I picked up the floors from the blacksmith (MichaelHart) last weekend, not galvanised in case I need to make any adjustments. Hopefully the welding process hasn’t distorted the shape too much. Each floor was laid on the work table, drawn around and then the new flat steel pieces were welded on before cutting the old corroded parts away.  I think this method should  limit any movement… £170 seems quite a lot for a bit of welding but each piece had to be individually cut to size and angled to suit. Sand blasting and galvanising will be a further £130 if I can piggy back on a larger order. Its not cheap this boat business! Though maybe in the middle of an ocean, with a strong wind and a big swell, £300 to hold the boat together will seem like money well spent!

Newly repaired steel floors alongside the rudder metalwork

Templating frames is as tedious as ever but if I needed persuading how necessary it is, this ‘repair’ had to be removed to access the original frame and revealed just what a poor state some of the woodwork is in.

Frame repair showing signs of age


Nail sickness? Gulp!


TUFNOL AND BRONZE

So seeking inspiration I decided to dismantle the winches (well why not?) and see if I could get them to run more smoothly. The shiny chromed, two speed winches on Moonshine Blues are a far cry from these tufnol and bronze relics and I think the smooth clickety clicking of those modern Lewmar ratchets might be a bit of a tall order. However once I had dismantled them (one screw!) cleaned the accumulated gunk of years of neglect, and despite one spring somersaulting gaily though the sunshine into the long grass, I got them back together and was pleasantly surprised to find they work slightly more smoothly! I quickly stepped away lest I was tempted to meddle some more and undo all the good work!

An old tufnol and bronze winch, dismantled ready for cleaning.

A bit of brasso and a glob of grease and they’ll be like new!

SISAL

So on to Sisal… nothing to do with the boat, just a spot of Outdoor Darts with the extended family. Apparently compressed sisal is what dart boards are made of. Who knew?

I wonder if this is what mum had in mind when she planted the walnut trees all those years ago?

Outdoor Darts with offspring and their hangers on.


Summer days driftin’ away…


The summer is sliding past as if it were greased. Weekends are packed with things to do but not many of them are that productive as far as Flamingo is concerned.

If you want a small prison for chickens though…

The hens are being 'trained'
The hens are being ‘trained’

Or maybe a giant flying slug?

IMG_0334

Or trees climbed…

Tree climbing at the aptly named, Lepe Beach

Or a picnic trampled…

Ubiquitous Pony picnic invasion.... so unoriginal!
Ubiquitous Pony picnic invasion…. so unoriginal!

Or an Island sailed around…

Round the Isle of Wight on Moonshine Blues

Then it has been a very productive Summer!

TEMPLATES, TEMPLATES, AND YET MORE TEMPLATES.

There has of course been some work on the ‘shipwreck’ as my daughter still insists on calling it.

I’ve made a template for the companionway and commissioned a local craftsman (my father) to make me some lovely washboards. She had doors on when I got her, well, one door, the other was hanging on by one rusty hinge, but was originally fitted with washboards. There is some discussion between us as to whether doors, or washboards, or a combination of both would be best….

Washboard Template underway

I’ve also been making templates of the frames that need replacing. It’s fiddly but quite satisfying.

Alarming number of frames in need of repair!

Every now and then I break off from the tricky work of template making and do something that requires very little cerebral activity, like removing old varnish. It helps me think things through, plan the next steps. Though if I let myself think to far ahead I find I am staring, motionless out of a porthole imagining how it will be in a few summers time, anchored in a quite bay, the sun setting on a nice cold beer, my comfy bunk calling, the days sailing fresh in my mind…

“but oh those summer nights”

Cracked Frames, Saw Teeth and the passing of old friends.

Another short window of opportunity opened last weekend and I leapt out of it and into a more thorough investigation of the cracked and sistered frames.

Looking at the way some of them have failed really highlights why sawn frames are just not up to the job. I guess grown frames were hard to come by or more expensive, or both, and in 1930 there was not much laminating of frames going on.

Starboard midships frame failure
Starboard side midships frame failure
Portside midships frame failure
Port side midships frame failure

Both these frames have been reinforced and are in such an awkward place I’m going to leave them.

This one however, has been ‘mended’ but has failed again where the bolted on ‘sister’ frame finishes.

Failed, mended, failed again!

This picture shows the rather slapdash original repair…

Straight butt join.... not good enough!
Straight butt join…. not good enough!

I think the butt joint (if you can call that a joint!) allowed too much movement and simply transferred the stress to the next weak point, with inevitable results.

Taking the bull by the horns, or at least the screwdriver by the handle, I have released the screws from one section, of one frame that needs repair, near the bow. I used an old spoon bit with a handle and a heavy duty awl, to chip out the old filler and expose the screw heads.

Old tools
Old tools

I love old tools! That screw driver has been with me since I started work at a cabinet makers in 1981, I made the mini gouge from an old spoon bit at about the same time and used it for wood carving. The heavy duty awl came ‘free’ in an old carpenters tool box I picked up at a boot sale.

Some screws are more reluctant to leave their little hidey holes. Awkward buggers!

This weekend, if I get a break from daddy day care duties, (Tracy is away on a course) I will, with fingers crossed and a small prayer to St Nicholas (patron saint of seafarers) Take a saw to the frame and cut a scarf ready for a new section of frame.

Maybe best to hedge my bets and throw in a couple of words to Isis, Posiedon, Neptune, Mazu, Njord, Tangaroa and any other seafaring dieties I can think of. 🙂

TIME PASSES…

So I did get some time on the boat despite my day care duties. Actually if I’m honest I neglected the day care in favour of too many milkshakes, cricket on the lawn, movie nights, nerf gun battles and late night snacking. This shocking neglect also meant that someone went to school on Monday having not had a bath since Thursday, but hey, how grubby can a small child really get… oh.

Anyway, back to the boat, I made a couple of templates for the new sections of frames but actually cutting out the dodgy sections was so scary I embarked on some displacement activity.

I salvaged a whole load of 3mm ply from a skip at work. Perfect for templates
Making a pattern for the new section of frame

Along with a selection of hand tools in that old carpenters tool box I bought for £12 at a car boot sale, were a couple of old saws. I hadn’t really paid them much attention until I watched this video;

https://www.youtube.com/watch?v=XthOkO-wsK4

Seeing Jimmy Furey build a beautiful boat, largely with traditional hand tools reminded me those old saws are a classic design that has evolved that way for a reason. I’m so used to disposable, all purpose jack saws now, that the idea of having a saw for ripping, one for cross cutting and one for fine work seems a bit over the top. However, as a displacement activity to put off actually sawing chunks off Flamingo, saw sharpening is right up there! It’s time consuming, fiddly, satisfying and sort of needed… ok I don’t need them, but they are lovely old tools, and I am a sucker for old tools…

I needed a jeweller's loupe for this close work which caused much merriment from youngest daughter
an old saw clamped in the vice for shaprening

Friday’s activities were interrupted by the sad passing of Mrs Black. She died with her friends around her and the sun was shining. I guess there are worse ways to go…

Mrs Black two keeps vigil for her perch partner
Mrs Black #2 keeps vigil for her perch partner

Sunday was gardening day, various family members came down to lend a hand working through the list of chores the Head Gardener had left on the blackboard. Not that the Head Gardener takes a hands off approach, oh no, despite her nearly eighty years she was mowing and trimming with the rest of us.

The Head Gardener

Next weekend is a shake down sail training weekend getting ready for the Round the Island Race with some friends. So no Flamingo work for a while. 😦


Forward floors and keel – done!

Feeling inspired by this blog of a beautiful boat being restored to her former glory and I thought I’d share it here.

dorothysails's avatar"between wood and water"

Drilling-to-fix-floors-to-the-keel

A major watershed in Dorothy‘s restoration was reached today as Tony drilled 4 silicon bronze bolts into the new floor straps, fixing them firmly to the keel. (see above. Below are the forward floors as viewed from the hatch last May, with mast step removed.)

Forward-floors-before-restoration

This structural repair up forward has been a long-thought through process that began last April (see photos in this news update) as Tony ripped out the floor and straps, pried up the mast step, knocked out the galvanized bolts that were loosely knocking about in half inch holes because the metals had corroded the wood, and began seriously contemplating how to pull together lap joint that had become separated by about 3/8th” from the keel and stem – if it were even possible…

Tony-looks-at-the-floors-and-keel
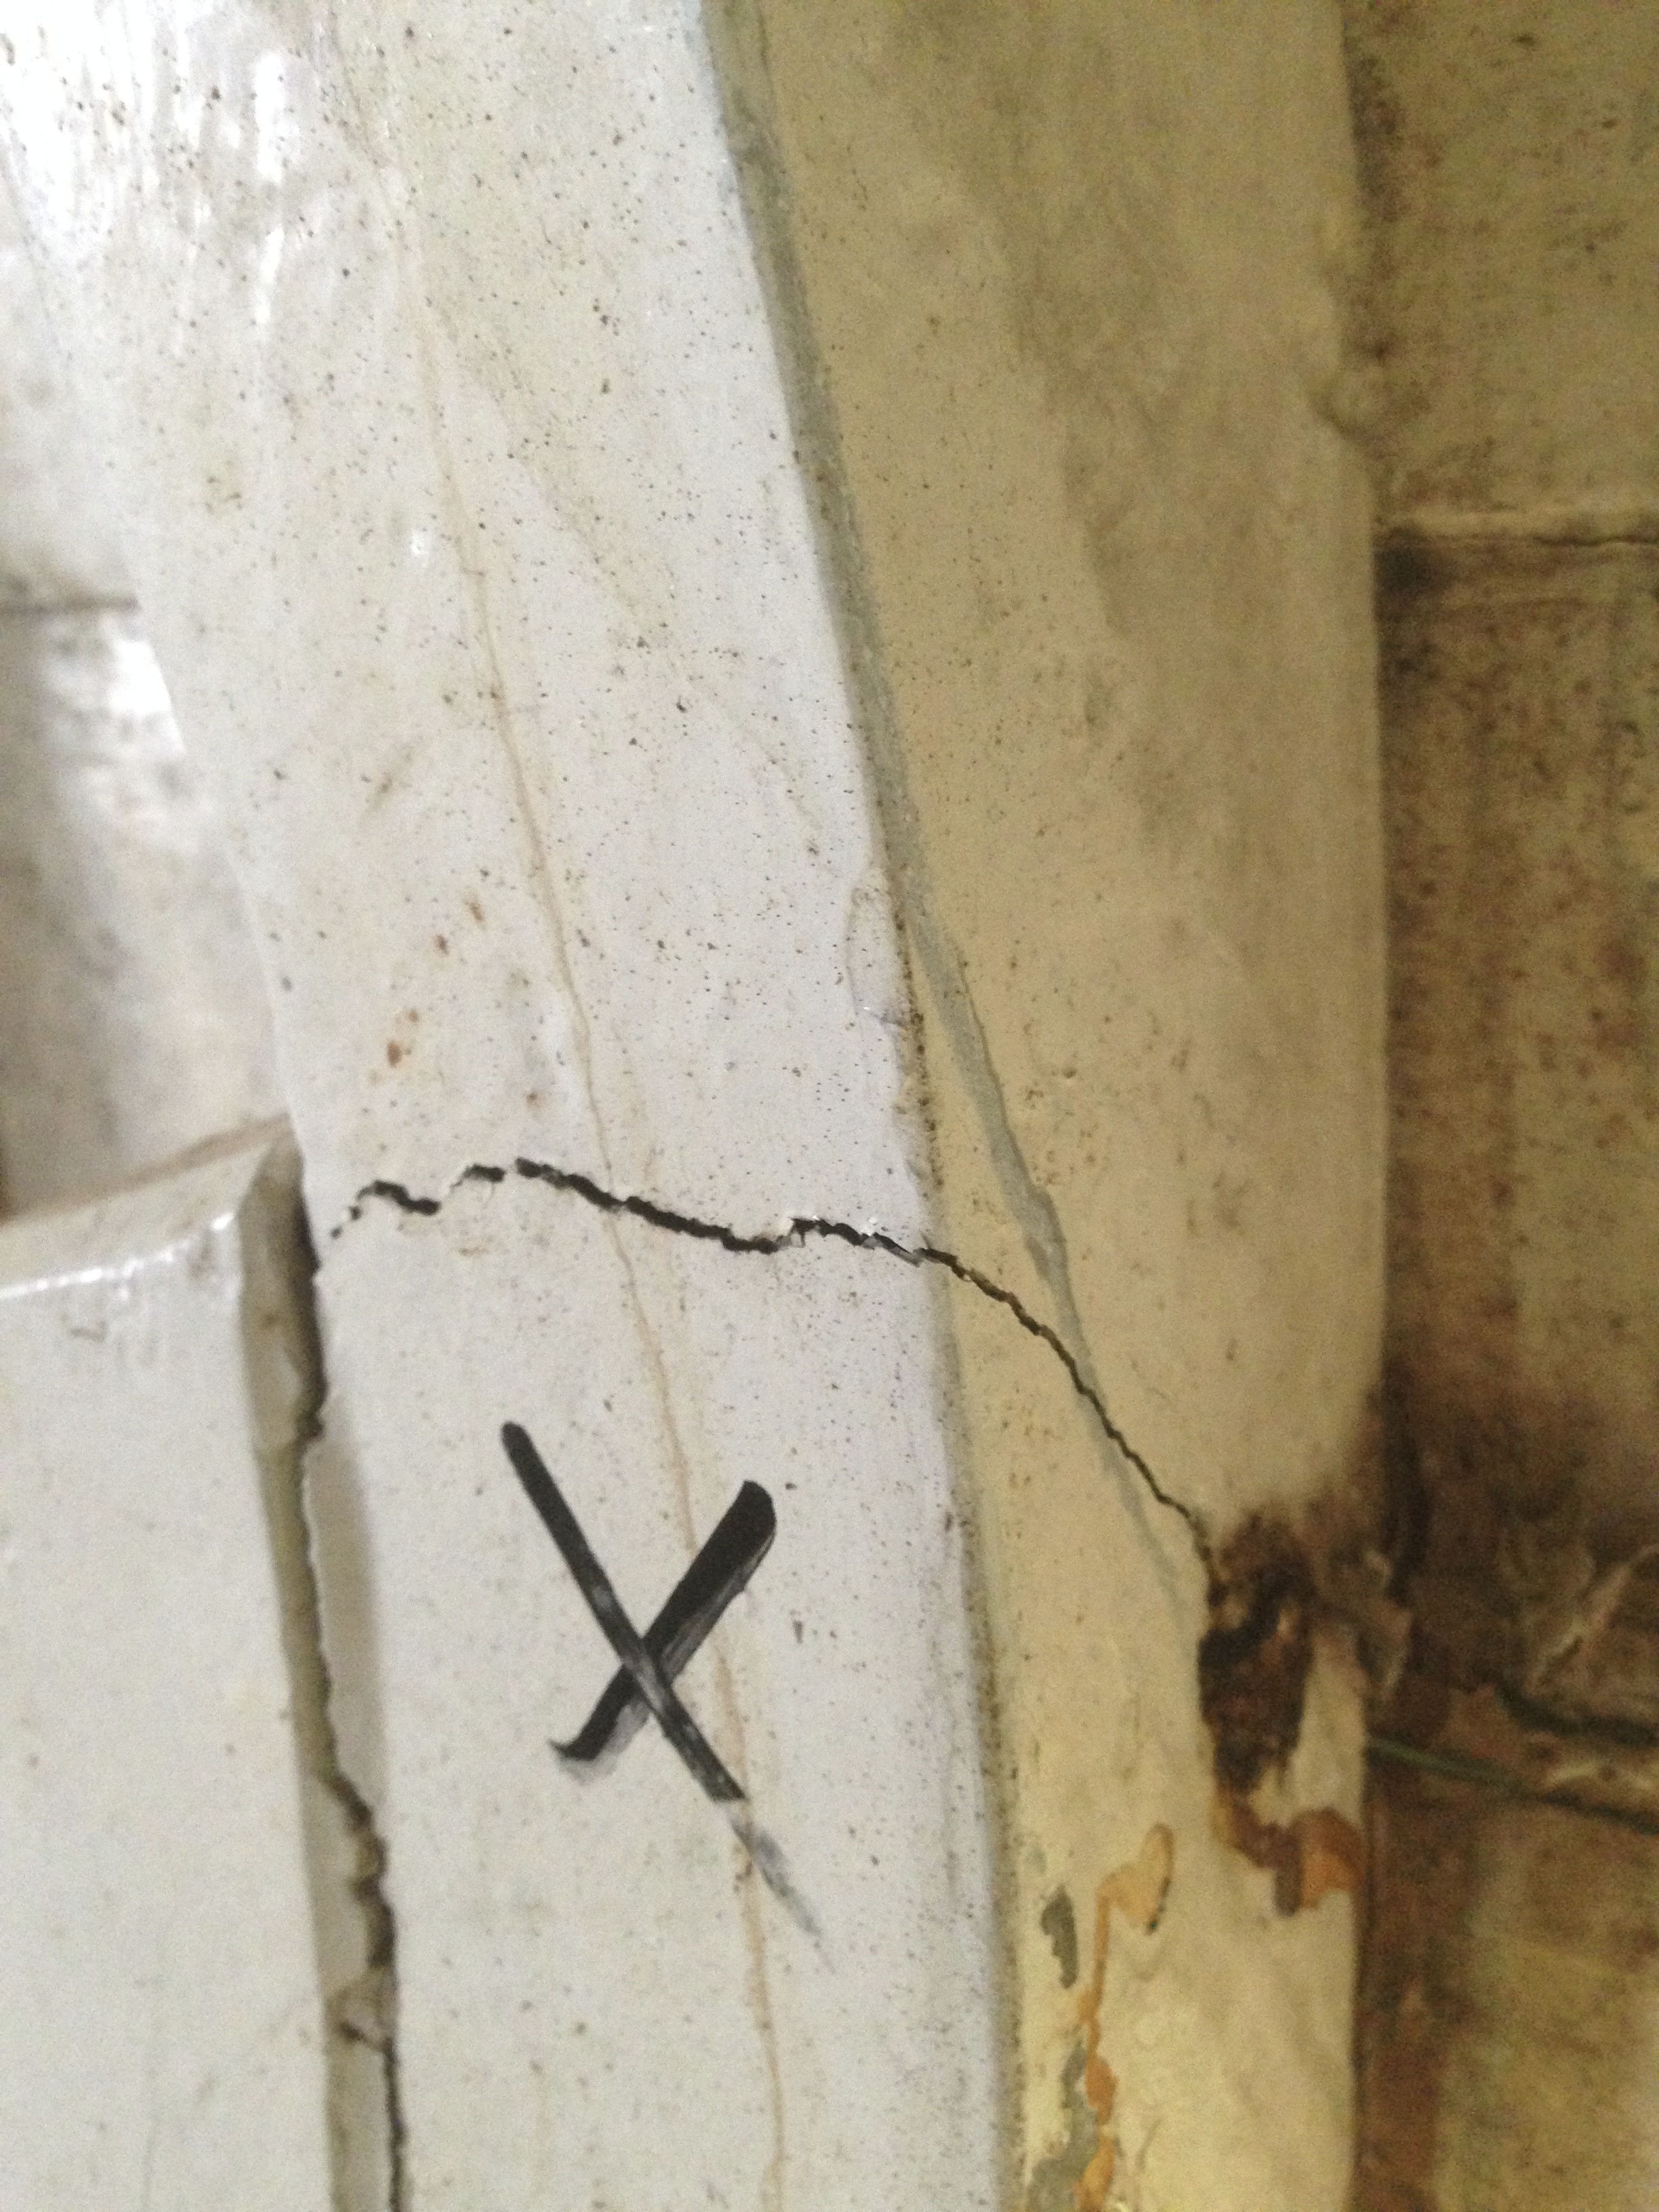
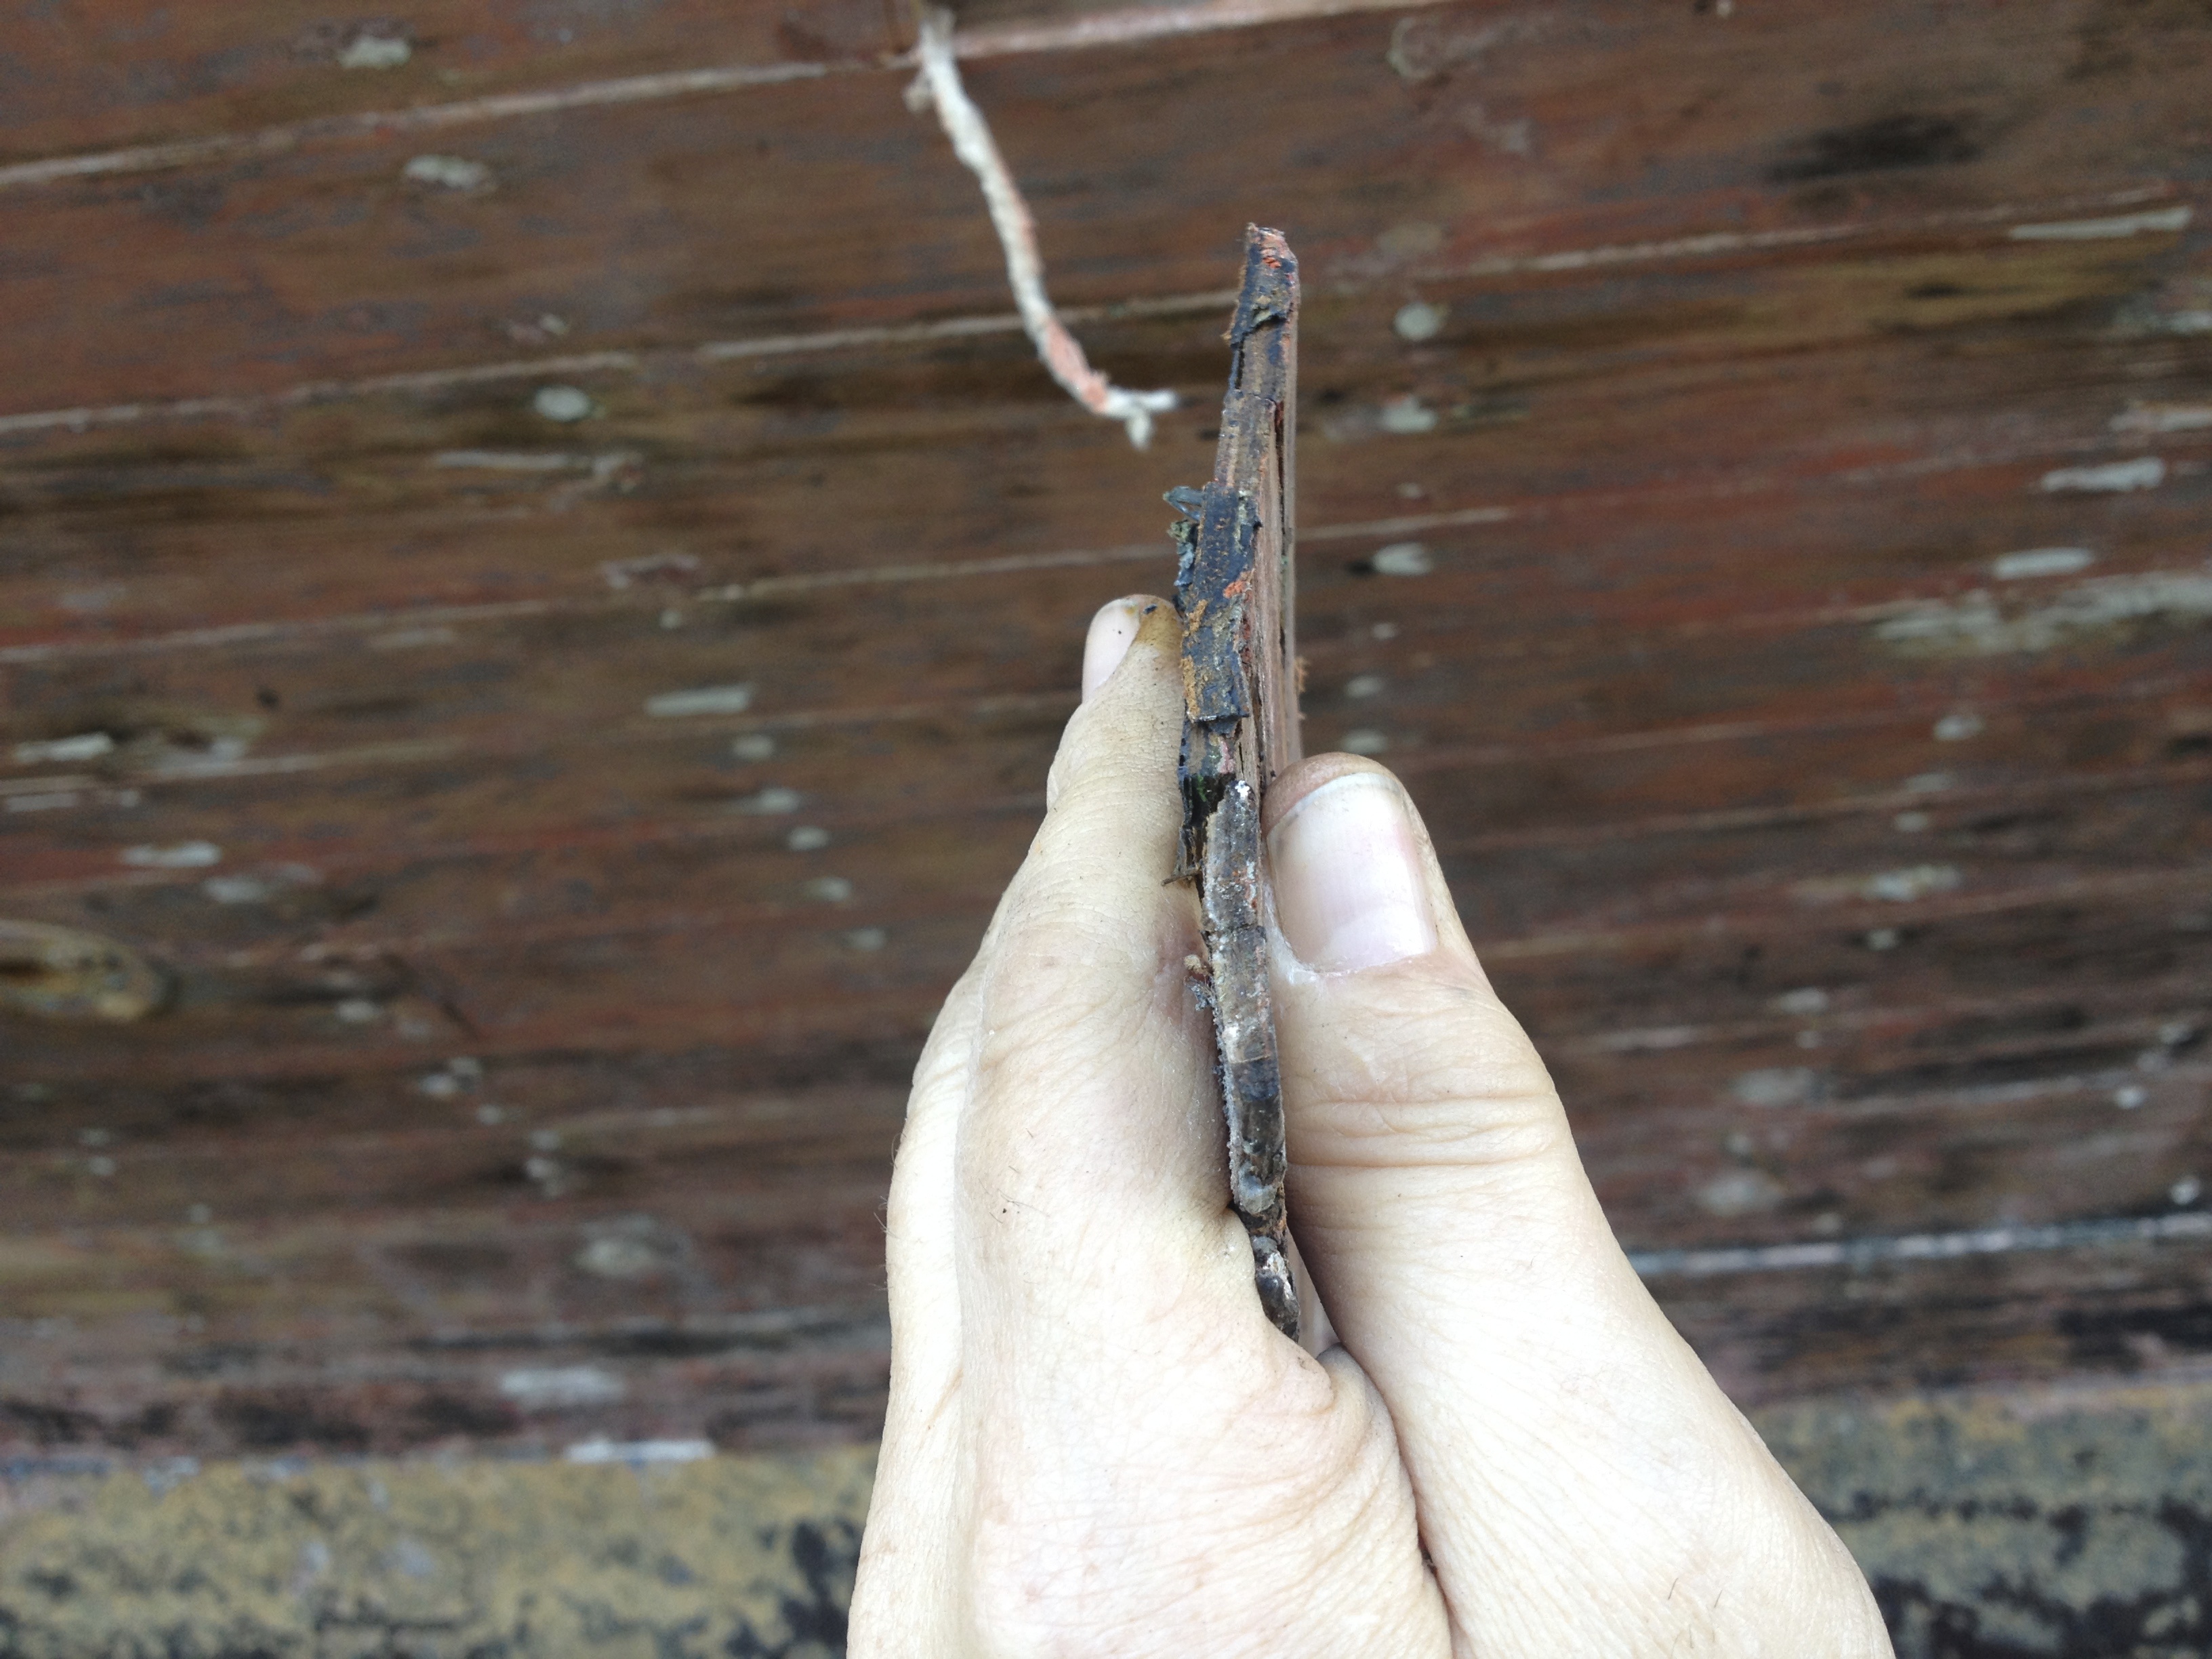
This last piece of business is quite serious, because all of Dorothy’s spot repairs over the years have been done around…

View original post 535 more words

Increasing Daylight, Increasing Distractions.

Despite having a week off work, and despite that week being largely sunny and dry, and even though the injections in my knuckles are finally starting to take effect, events have conspired to keep me distracted from my boat building. An Easter weekend invasion, a welcome one, but an invasion nonetheless, kept us busy with campfires and singalongs.

Beer from mugs, sunshine and a warm fire. What could be better
Surprisingly roomy dining room.
Easter Family Lunch


The Brian Flynn medley in full swing.
The Brian Flynn medley has been sung, now Toby takes a turn to entertain us.
It isn't all beer and singing, there are chainsaws sawing and,
It isn’t all beer and singing, there are chainsaws sawing and,
Processing the Hornbeam we felled with Billhook and Cleaver
Cleavers swinging
Marshmallow suger rush!
Easter Funday
Things got a little damp at this point.


So it was an action packed sunny break and back at work I’m wondering when I am going to be able to squeeze in some boat work. The mast step is very slowly progressing and I’ve been scavenging plywood offcuts to make templates for replacement frames. General consensus seems to be, that sistering frames (bolting a new frame or section of frame next to an existing one) is a bit of a bodge, resulting in weak spots and extra weight. It looks likes there are around half a dozen frames that could really do with replacing so the next job will be to make templates with a hot glue gun and skinny ply then make a former and laminate some up in oak. Squeezing them in in one piece may be impossible so I might need to look at making them in two bits.

I also tried my hand at converting some of the felled larch into beams….. and despite my little hairy helpers.

Chester and Rafferty helping out.

The result was less than satisfactory.

This is a good as it got

I’ve invested in a chainsaw planking guide from http://www.fisher-direct.co.uk/ (arborist supplies and equipment). It is reasonably priced and I’ll let you know how I get on. An article in Classic Boat about a builder who bought a plot of woodland and felled enough larch and oak to build a 26 foot yacht has inspired me to think about planking and seasoning the larch rather than make it into beams for the deck of the cabin in the woods. After all Flamingo will need a tender, 🙂 and larch might be a good substitute for Pitch Pine when it comes to her own planking repairs.

Bonfires, Benches and Beating the Bounds

I love a good bonfire!

I love a good bonfire! Clearing up the winter pruning and other debris that seems to self generate here is so satisfying. The crackle of the fire as it starts, then the roar as the wind rips it up through the pile of dead brambles and leaves, warms body and soul. Apple smoke takes me straight back to my grandparent’s garden in Oxted where there always seemed to be a fire smouldering at the bottom of the garden. That, and the smell of old creosote on weather boards and I’m back in the 70s, spinning around in the ancient summer house that rested on rails so as to perfectly angle it to the sun. Or rummaging around to find the croquet set for a game on Grandpas manicured lawn.

In between trips to stoke the fire I carried on with the mast step. First job, clean the rust of my jack plane and sharpen it. One of the problems of living in frost pocket with a stream running through it, is the damp seems to get into everything and all my tools suffer. This jack plane was in a bucket of tools some family friends turned out when I was about 16 and has served me well. (Thanks Paddy and ‘Topsy’ Margaret)

The disadvantage of living in a damp valley...
The disadvantage of living in a damp valley…

McTavish is singularly unimpressed with my sharpening activities as they are using up valuable sunbathing space…

Full name Mr McTavish Pinkerton on account of his investigative powers and ruthless execution of his duties
Sharpening tools under the watchful eye of McTavish

Of course once the plane was razor sharp… yes razor! Note the jewellers loupe for examining the edge…. look its either sharp or it isn’t. I’m not a pedant, I just like it to be perfect… anyway, once it was sharp I decided that what I really needed was a workbench rather than the floor to work on, so, in the style of one of those irritating DIY programmes where they build a floating pub out of scrap wood for no money whatsoever because they had two canoes, 16m square of brand new decking, a bunch of 8×2 all the fixings, and an old gazebo just ‘lying around’, I simply fitted this old bench with some fence post legs and hey presto! A lovely solid workbench right next to the boat!

Working on the ground has its limitations so I've put this old bench up.
Working on the ground has its limitations so I’ve put this old bench up.

Planing Oak is really hard, even when your plane is razor sharp (yes razor!) So little progress made on the step I’ll have to post pictures when I can see a difference 🙂

Meanwhile, in another part of Hundred Acre Wood (ok 3 acres) Chester poses for scaling purposes on some recently felled Larch that we are planning to use as a deck for the Cabin in the Woods… although… I wonder if larch might be a good substitute for Pitch Pine…. mmm.

Chester helpfully providing a sense of scale
Ready for turning into a deck for the Cabin in the Woods

Mother has added to her ‘estate’ and bought a bit more woodland so she and I ‘Beat the Bounds’ and discovered two Redwoods growing in the new plot.

Discovered two Coast Redwoods in mother's new plot!
Discovered two Coast Redwoods in mother’s new plot!

So the weekend came and went, Mother’s Day saw us pottering around the Walled Nursery, a beautiful walled garden near Hawkhurst. Then on to the Brown Trout for what turned out to be a surprisingly good carvery. Delicious beef! More work in the woods this weekend, weather permitting.


Fame for Flamingo

You may have noticed a dearth of activity from the orchard boatyard…. My enthusiasm isn’t waning but even though the days are lengthening there just never seems enough time. Last weekend was no different and despite the glorious sunshine all I managed to do was pop up to the field and note the tarpaulin is just about surviving, poke my head down the companionway to check we weren’t filling with water and that was it!

One bit of news though, I’ve been published! OK so its only the letters page of Classic Boat and they called me Jonathan Weir for some bizarre reason, but still…. Flamingo is in print. Last month’s magazine included an article about a Windfall Yacht from Kiel also called Flamingo which prompted me to write this letter.

ClassicBoatArticle

Looking forward to lubricating the work with a drop of Old Pulteney!

Weekend Woodwork

What a joy to be working with wood outside in the warm sunshine. OK so it was actually only 3 degrees with a wind chill that made it feel like minus three and the damp ground was leeching warmth through my knees as I worked, but the inch and a half razor sharp chisel that Mike gave me, sliced smoothly through the oak like a hot axe through butter, and the smell of the tannins wafted up to my cold, sniffing nostrils.

After tracing around the original mast step, I had roughed the shape out of a hunk of Oak with a chainsaw, less poetic perhaps, but it certainly got the job done quickly, then taking if not my life, then certainly the fate of my shins in my hands, I set to with an adze to clean up my frankly a very dodgy saw line. I’m really not a traditional methods purist, but whilst appreciating the convenience and speed of modern tools (hence the chainsaw) there is certainly something about a sharp blade and a piece of wood connecting that is so satisfying it is worth the extra time and effort, worth learning how to angle the blade just right to get a neat scallop of wood. Perhaps too, there is a deeper connection, a connection to the generations of boat builders who have hand built boats outside in all weathers with few tools and just the skill of their hands, a keen eye and a keen blade.

Of course if you’d handed me an electric planer or better still a bandsaw beefy enough to do the job I’d have dropped the adze (carefully) like a shot, but then I wouldn’t have had that sunny, memory tucked away in my head to pull out on a tedious screen staring work day. I wouldn’t have the thunk thunk thunk of the adze and the ring of the blade in my ear to counteract the click click click of my Mac keyboard. At my desk I never see the flutter of a hopeful Robin, ever watchful for the outdoor worker in case there are worms in the offing and there is certainly not the high piping call of a buzzard drifting on the wind. It’s what weekend are made for.

Oak from Wealden Oak Marsh Green
Marking out the shape of the mast step
Despite my nerves, the chainsaw made short work of the 8x6 baulk of oak
Despite my nerves, the chainsaw made short work of the 8×6 baulk of oak
A sharp chisel is such a pleasure to use.... Thanks Mike!
A sharp chisel is such a pleasure to use…. Thanks Mike!
Cleaning up the sawn shape with a razor sharp adze was easier than I thought


Though the wind chill was just that, chilling, the sun was warm, so warm in fact that the boat was sweating!

Sweaty Flamingo!
Sweaty Flamingo!

On closer inspection and a quick sniff the cause was revealed. There has obviously been a leaky diesel tank at some point and the wood must be soaked in the stuff. The heat and the low angle of the sun was heating up the planks, bringing it to the surface. Hopefully it will all evaporate before it is time to paint!

With Tracy off visiting her mother in Dorset for the weekend, Friday was the only day for boat work and the rest of the weekend passed in a blur of; Den building, Dog training, clambering a circuit of the house without touching the floor, “Can we have a Movie night daddy? With all the lights off?!” and “Can we have pancakes for breakfast?”

Nigella's American Pancake recipe is a firm favourite for Sundays
Nigella’s American Pancake recipe is a firm favourite for Sundays

A birthday on Saturday at a friends brought to my ears a phrase I never thought I’d hear at a 9 year old’s party….. “OK everyone, make sure all your guns are unloaded before you go!”

Happy Days!


One Step at a Time

I love internet shopping! Lunch time on Thursday I remembered I really did need that extra large adjustable spanner if I was going to undo the huge nuts holding the mast step in place, so I ordered it…. Saturday morning it arrived! By Saturday lunch the reluctant mast step was removed along with a very badly corroded steel floor. £17 well spent! The massive lump of oak reminded me of a piece of timber we once dug out of the foundations of the house, a  relic of the old mill that used to stand here. It had lain under the ground so long it had turned to a dark ebony like material that was so brittle and crystalline  it fractured across the grain and blunted tools very quickly.

Showing signs of nail sickness ?
The mast step showing signs of nail sickness or turned to bog oak ?

Removal came with a lot of sweat and swearing and at one point I considered just leaving it. Once removed though I was glad I persevered, given the rot that was revealed in the frame and the level of corrosion of the steel. The base of the mast is such a high stress area I’ll be much happier with a new step, and repaired frames.

This frame has a large spongy area of rot where the floor bolts through.

The picture doesn’t really do justice to the extent of the rot, but when one of the bronze bolts just fell out and my probing screwdriver sank an inch into the soft pulp, I realised something was amiss.

The heads are looking a little public but I think clearing out all the furniture and bulkheads, though time consuming, will be worth it just to get a really good look at all the frames and sort out any sistering or repairs that need doing…

Public Toilet!
Public Toilet!

I am wondering whether to keep the Baby Blake at all or whether a modern cassette type toilet might be better, less holes through the hull, less mechanics to go wrong.

The weekend wasn’t all about Flamingo (Tracy may beg to differ) There was apple pruning, whittling, and archery too!

Luke testing one of the longbows.... turns out its not as easy as Legolas makes it look
Luke testing one of the longbows…. turns out its not as easy as Legolas makes it look

Apparently, come the apocalypse, we will be hunting for our food. After half an hour of practice Luke commented that perhaps broccoli might be easier to catch…

Tracy getting to grips with the winter pruning, and Tilly Whittling marshmallow toasting sticks

And finally. The Old Man has hung up his ditty bag…. or at least passed it down to me. Its a treasure trove of well used, much loved sailing paraphernalia, whipping thread, fids, shackles and needles and more, all in a canvas bag he has had since sailing Dulcimer, a 1973 Bowman 46.

Dulcimer's Ditty Bag and a well used heaving line
Dulcimer’s Ditty Bag and a well used heaving line

The heaving line with Monkey’s Fist is the same vintage and similarly well used over the years.

thats_all_folks_

Limber Holes and Limbo Dancing

This weekend’s entertainment saw me limbo dancing at bizarre angles in the depths of the hull trying to get to the bolts holding the steel frames. At one point balanced precariously on my midriff, head down in the belly of the engine bay I felt myself toppling forward and briefly wondered, if my outstretched legs had not countered the motion and, pendulum like, swung me back, how long it would have taken my wife to find me wedged upside down in there and effect a rescue. Later that evening over a glass of wine I was unsurprised to learn… quite a long time!

a very narrow space to find yourself wedged in!


Taking a forum buddy’s advice I set about drilling a hole in the stringer to access the trapped nut. (see last post) A hidden nail means I now need to spend some time sharpening my 1″ bit. 😦

Grinding the rust and accumulated build up of paint and dirt off the steel floors was very satisfying, if a little alarming when the amount of corrosion was revealed. If they hadn’t been galvanised I dread to think how bad they would have been.

Some of the Frames removed and about to be cleaned
Pattern of corrosion. Note the limber hole

Where this plate was in contact with the wood and sealed with putty the steel is relatively clean, but in the centre it is deeply pitted from contact with the damp mulch that had accumulated there. The three steel plates have limber holes (holes designed to let water drain to the lowest point of the bilge where the pump is) none of the strap steel floors have this so there will always be a tendency for water to pool behind each one – a recipe for corrosion. The flat bottoms of the floors are so corroded I’m tempted to get new ones welded on and bolt them back through wooden blocks that incorporate limber holes….. I feel a little sketch coming on… something like this maybe?

Killing two birds with one stone. Adding limber holes and removing rusted frame bottoms.

I am definitely still on the egg breaking stage of this nautical omlette, Flamingo is looking very sad and grubby inside. I might spend some time this weekend giving the inside a really thorough clean, it needs to be done and will help show up any other problems I’ve missed.

Both benches gone and evidence of water ingress.

I think she must have been left with water in her for some time, which would explain the poor state of the steel floors and the brown muck everywhere. Seriously thinking it may be sensible to remove the whole interior and start with a blank canvas….

of course there are always other jobs to do

Sometimes it helps to not work on the boat. Time doing other jobs is good thinking time, time to imagine the gleaming interior, new floors glistening, paint work bright and woodwork glowing… 🙂

The thin end of the wedge!

Happy New Year!

I’ve taken the plunge and removed a bit of planking! It was damaged at one end and had to go. It turned out to be the thin end of a scarf joint (hopefully not the thin end of the wedge!) which as you can see from the photo below, was very thin indeed! Not surprising it didn’t withstand the rigours of life below the waterline.

the thin end of the wedge?
The thin end of the wedge?

The plank came out fairly easily once I yanked out the caulking. I’m reassured that the cotton looks in good condition so hopefully if I can just rake out and replace the old putty from the obviously cracked areas I wont have to renew it.

Pulling out the cotton caulking.

Getting to the rivets inside was a pain and I ended up removing the bench seat… It came out relatively painlessly and I’m now considering pulling the other one out too, if only to make repairs and repainting that much quicker.

Removing the bench made access so much easier.

The next task will be finding some Pitch Pine and making a Scarf Joint routing jig.

Gulp!
Gulp!

Meanwhile, and for the first time since the Marx Brother’s Tarp install, I managed to persuade one of the boys to lend a hand. The leperous surface of the sliding hatch was soon looking a lot better after Toby’s hot air and scraper had been to work on it. More sanding needed but definitely starting to look more presentable.

Old varnish removed from the hatch.

Hopefully off to see a blacksmith in Goudhurst about the gudgeon (there’s that word again) and pintle on Friday. The more I look at it the more inclined I am to think it is a repair rather than replace job.

Close up
Close up
Gudgeon and Pintle
Gudgeon and Pintle
Looking a bit worn
Looking a bit worn

more soon.

Hogging at Christmas

Christmas Eve Survey

Christmas Eve saw a visitation from Ben, a friend’s son-in-law who just happens to build and restore traditional wooden boats in Bristol, which was nice. 🙂 Lots of good advice imparted but we could have done with about an hour more to really go over everything. Topping the list of things that need attention was predictably the planking where there are several butts in a row on one frame, the garboard strake which seems to have been partially replaced leaving an odd 2″ strip running the length of the garboard on both sides of the hull. This strip is a bit spongy to my stabbing awl and makes me wonder what it is hiding.

Spongy Garboard Strake

Then there is a frame inside that just seems to peter out before actually connecting with anything significant. The top of the keel itself has been coated with some sort of bituminous goop that has set hard and blocked any limber holes (if there were any) leading to rusty floors. There was nothing revealed that I didn’t already suspect but it was good to have an experienced eye giving her the once over. The most worrying thing is the possibility that whole hull is hogged! From certain angles there is a definite droop about her sheer between midships and bow. I have been passing this off as her slightly quirky design but thinking about the overhang from the front of the keel, where she is supported, to the bow, Ben may be right. I have temporarily put a post in to shore up the bow and stop any more droop, but if this is an old problem and she has been re-decked and had a new apron fitted in the bow since, I can’t see how it can be reversed.

Maybe, like her namesake, her beak is meant to droop.

Christmas was spent by ‘the River’ where we gorged ourselves on fine meats, wines, and whiskey and ginger by the campfire…. either the bathroom scales are being mean to me again, or there is obviously more than one type of hogging!

Frosty Mornings

We’re having a bit of a cold snap here and the walk up to the “boat yard” is so lovely I had to post some pictures.

Frosty morning garden


Our chickens have long since spurned my beautifully made coop and spent the last few months roosting in the wild plum by the house. It’s a wonder the fox hasn’t got them, but short of chasing them around the garden every night there’s not much we can do. We really thought they would return to the coop once winter set in but they are sticking it out, even though poor Mrs White is moulting and has lost most of the feathers off her bottom and wings!

Chickens thawing out in the sun

Pretty frost everywhere

Everything is made pretty by the frost


Frosty fencing and Flamingo showing her half naked stern


Gudgeon, Pintle, Rudder and Rust (like a disreputable firm of maritime lawyers:)

However, work goes on despite the nithering temperature. The rudder pintle and gudgeon have been worrying me, the pintle is heavily pitted and the bolt holes are too close to the edges. The gudgeon hole has worn very large, leading to a lot of slop in the tiller. I decided it had to come off. Quite a task on my own but with lots of hammering and oily persuasion first the rudder pin, then rudder, pintle, and gudgeon are removed. The Gudgeon (can you tell how much I love the word gudgeon? Gudgeon, Gudgeon, Gudgeon…. Crikey! I hope it is the right word! You know how picky these boating types can be) had been bonded to the rudder with some ghastly sticky putty and took some persistence but finally came off.

Knocking out the studs.

Now to find a friendly blacksmith to repair or remake, and off to some friendly forums to find out about marine iron, cast or wrought, bronze sleeves or not, galvanised or painted…. or both? So much knowledge I have yet to acquire.

Lastly this bit is for Dave Boboc. The Lever measures 32 1/4″ from the pivot point on the deck mount to the very end. The measurement from the pivot to the end of the slot is 18 3/4″ and the slot itself is 16 3/16″. The adjustable hook is exactly a foot from the inside of the hook to the bolt that slides along the slot. Hope that helps. 🙂


Laurent Giles Lever
Laurent Giles Lever

That’s it for now, hopefully more time over this Christmas break for some more frosty “work”, and more blogging (much warmer!).

From the mouths of babes

Can’t resist this very quick comment. In a conversation today with my youngest (8)
Me, flicking through Classic Boat magazine: “Oh look, heres a yacht a bit like mine.
Tilly: “You don’t have a yacht daddy, it’s a shipwreck.”

Exit crushed old man stage left…

Still Stripping

With so much to do in the new half of the house, and there’s a whole saga behind that phrase, there has been little time to do much on the boat. Reading other people’s restoration blogs or articles leaves me feeling inspired and depressed in pretty much equal measure. Two young guys restoring a ferro cement gaff cutter seem to get as much done in a day as I do in a week! What I have done is extended the budget planner spreadsheet I started when going through the heart-in-mouth purchase process. It’s a scary document. Obviously I went into this project with my eyes wide open, but ignorant eyes don’t see that much no matter how far apart you prise the eyelids. Who knew that paint for the hull would be the best part of £300. Or that a built in fridge would set you back 700 quid! Mattresses, made to measure £600! The saving grace is, there is no rush, the orchard is a free and convenient storage space, and I’m only 49 (sobs quietly into glass of Fursty Ferret) so plenty of time before she’s a hundred….

Hopefully more exciting content next blog. 😀

Planning the Layout

I’ve been cogitating on the layout inside and wondering how the forward bunks will work with a bloody great mast in the way. Lots of lunchtime doodles later and it was clear I needed a scale plan and elevation of the existing layout to work from. It was grey and miserable on Sunday so I was happy to be below decks, though I could have done with more light. Choosing the bulkhead between cabin and cockpit as my datum I sketched out the current layout.

Plan Elevation

So the question is; should the heads stay where it is, or move up to under the hatch? Then the forward bulkhead could be removed and the two forward bunks moved aft where there is more space. Or is it bad enough squatting in the existing angled cubby hole lurching up and down without restricting the headroom? There is good headroom where it is but the current bunks in the forward cabin are very cramped, in fact I struggle to see how you would access them at all once the mast is stepped. Then again…. crawling in to a bunk maybe inconvenient, but crawling into a toilet could have very messy consequences! I dont really fancy the ‘bog under the bed’ that lots of small boats have so I suppose really the question is, can I create a space big enough for the heads with a door to separate it from the cabin?

Time to redraw the sketch in AutoCAD and test the theories.

The restoration of a 1930's Gaff Cutter